My boyfriend’s wardrobe consists almost entirely of slim-cut button-down shirts, which look great but don’t last forever. A few of the older ones have started fraying and two of them have developed the dreaded elbow hole. Since it’s summer (THANK GOD) and elbow patches don’t sound too appealing right now, I decided to chop off the sleeves and hem them so the shirt’s still wearable.
I found this simple tutorial from The Mother Huddle, and the process is nearly as straightforward as it seems.
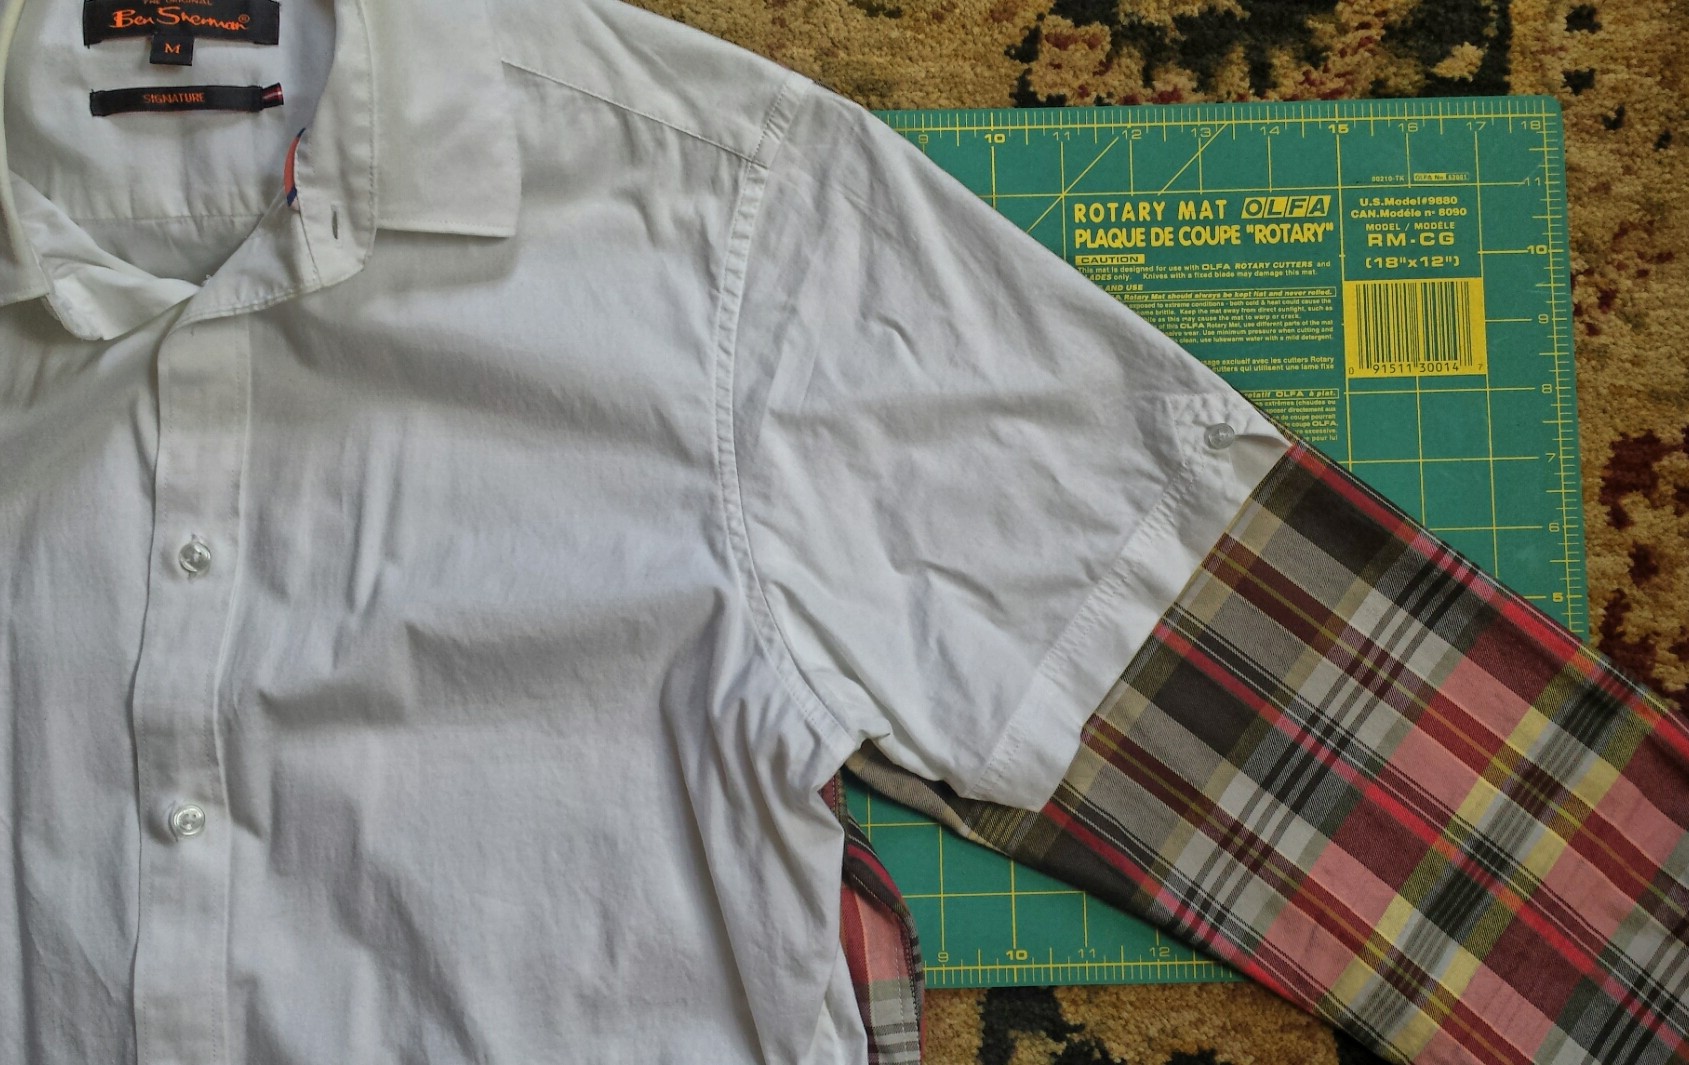
First, find an existing short-sleeve shirt to act as your guide.
Using a rotary cutter, cut parallel to the line of the short sleeve, leaving an extra 1.5″ for hemming purposes.
You should be left with something like this. (Sorry for the clashing floral carpet/plaid. My eyes!)
Fold the raw edge of each sleeve up 3/4″. Give this fold a quick press so it stays uniform and doesn’t unfurl.
Fold the sleeve edge up again another 3/4″ and press thoroughly. You might want to try the shirt on at this point to make sure the sleeves are even.
And now for the slightly tricky, but manageable part: stitching around the cuff without having the seam pucker. For whatever reason, there was a little extra fabric leftover the first time I hemmed the sleeve, causing it to pucker where the stitches ended. After ripping those suckers out, I tried again. I avoided the seam pucker the second time by starting the stitch about 1/4″ past the underarm side seam. That way, the small amount of leftover fabric can be folded directly under the side seam, hidden from view.
Keeping that in mind, back to The Mother Huddle’s directions:
On the right side of the sleeve (from the starting position mentioned above), sew a row of stitches at 5/8″ from the bottom of the cuff. Take your time with this, keeping the stitches uniform all the way around. Sew another row at 3/4″ from the bottom. Don’t forget to backstitch! Press the finished double-row stitching. Repeat for the other arm.
The hem should look something like this.
And it’s really that simple. No more throwing away holey shirts or using them as expensive dish rags. Happy upcycling!
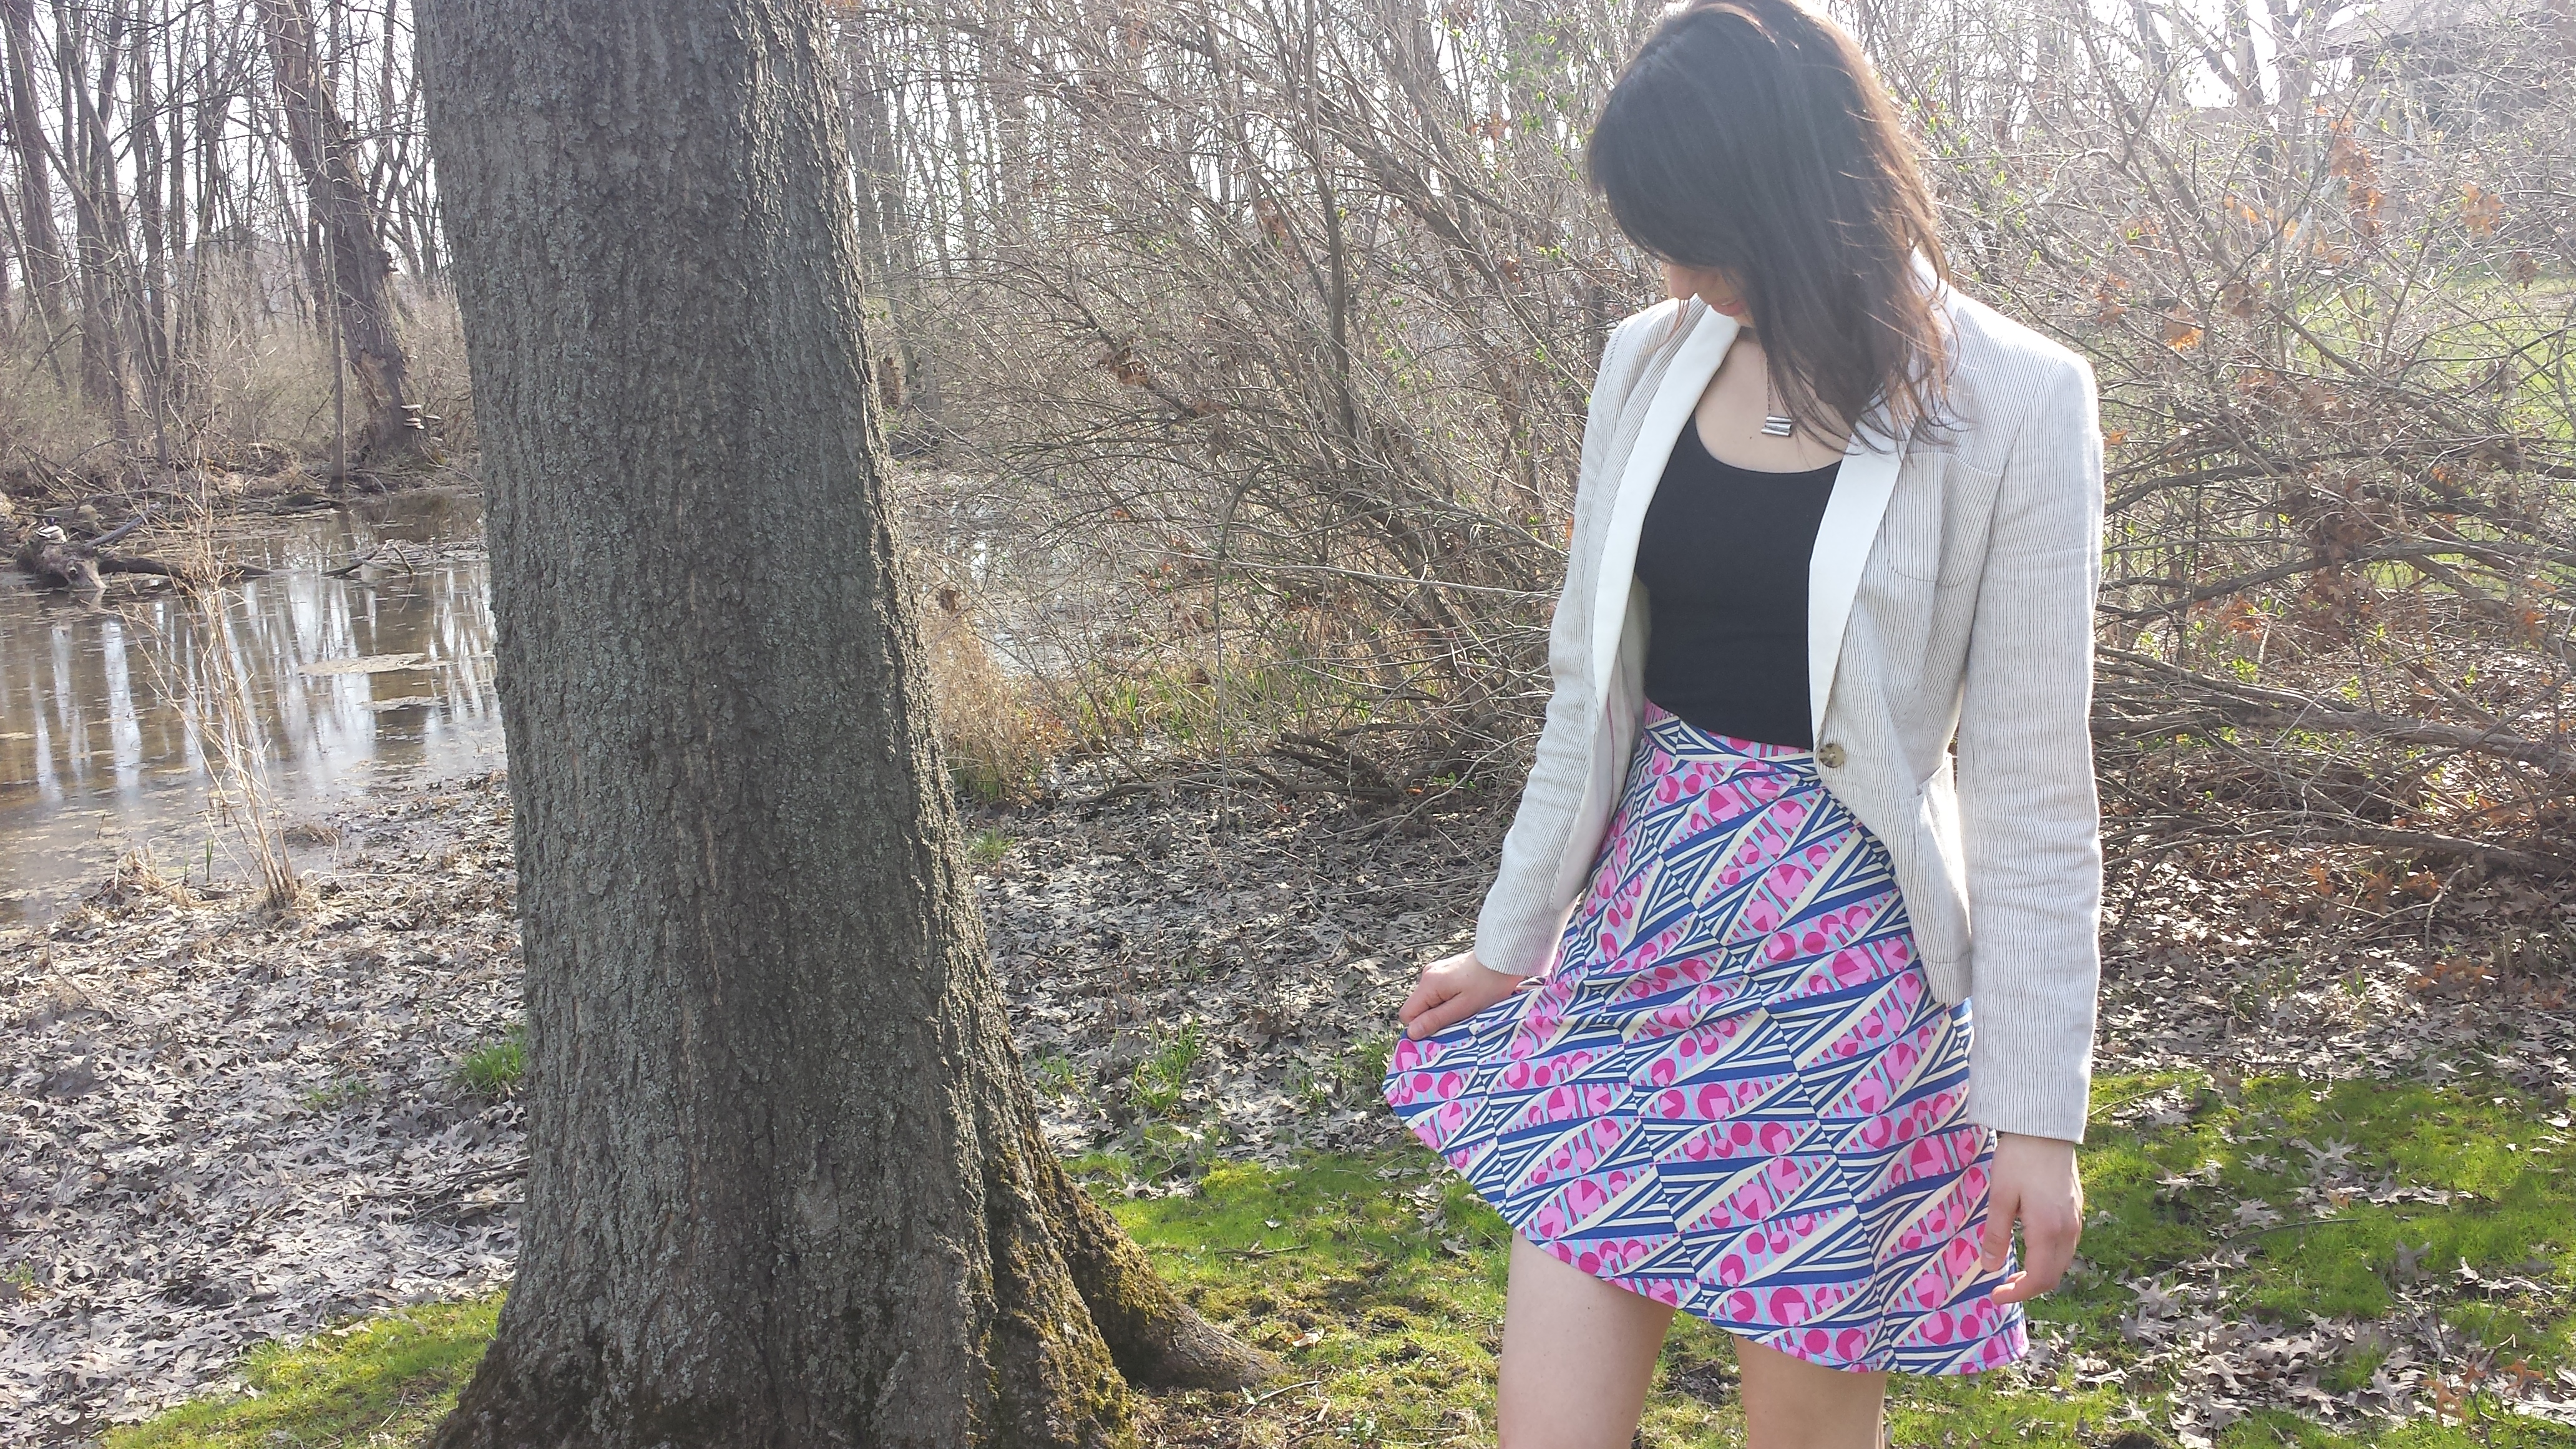
Living in Chicago, I’m all for changing with the seasons. In the spring and summer, that means walking everywhere, eating on patios, and drinking a lot less bourbon and lot more gin. It also means ditching boots and sweaters for—finally—all the skirts and dresses.
But when I flipped through my closet recently, I realized that there’s a particularly large hole in my wardrobe in the form of shirtdresses. And I love me a good shirtdress, since all you need is a belt and a pair of sandals and you can go anywhere from work to a family party to a metal-blasting burger bar. (I speak from experience).
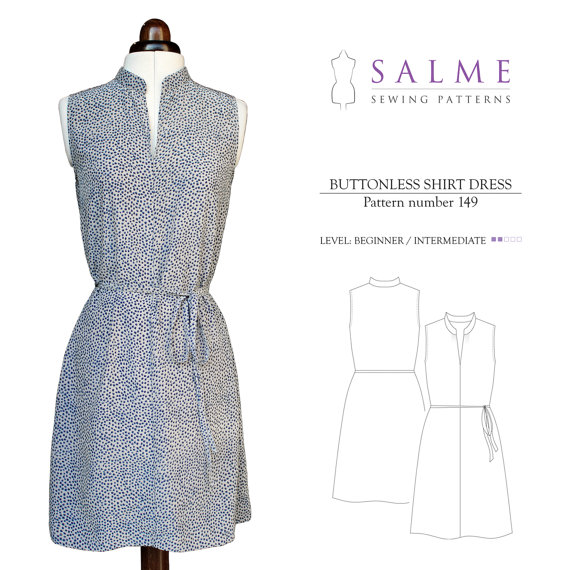
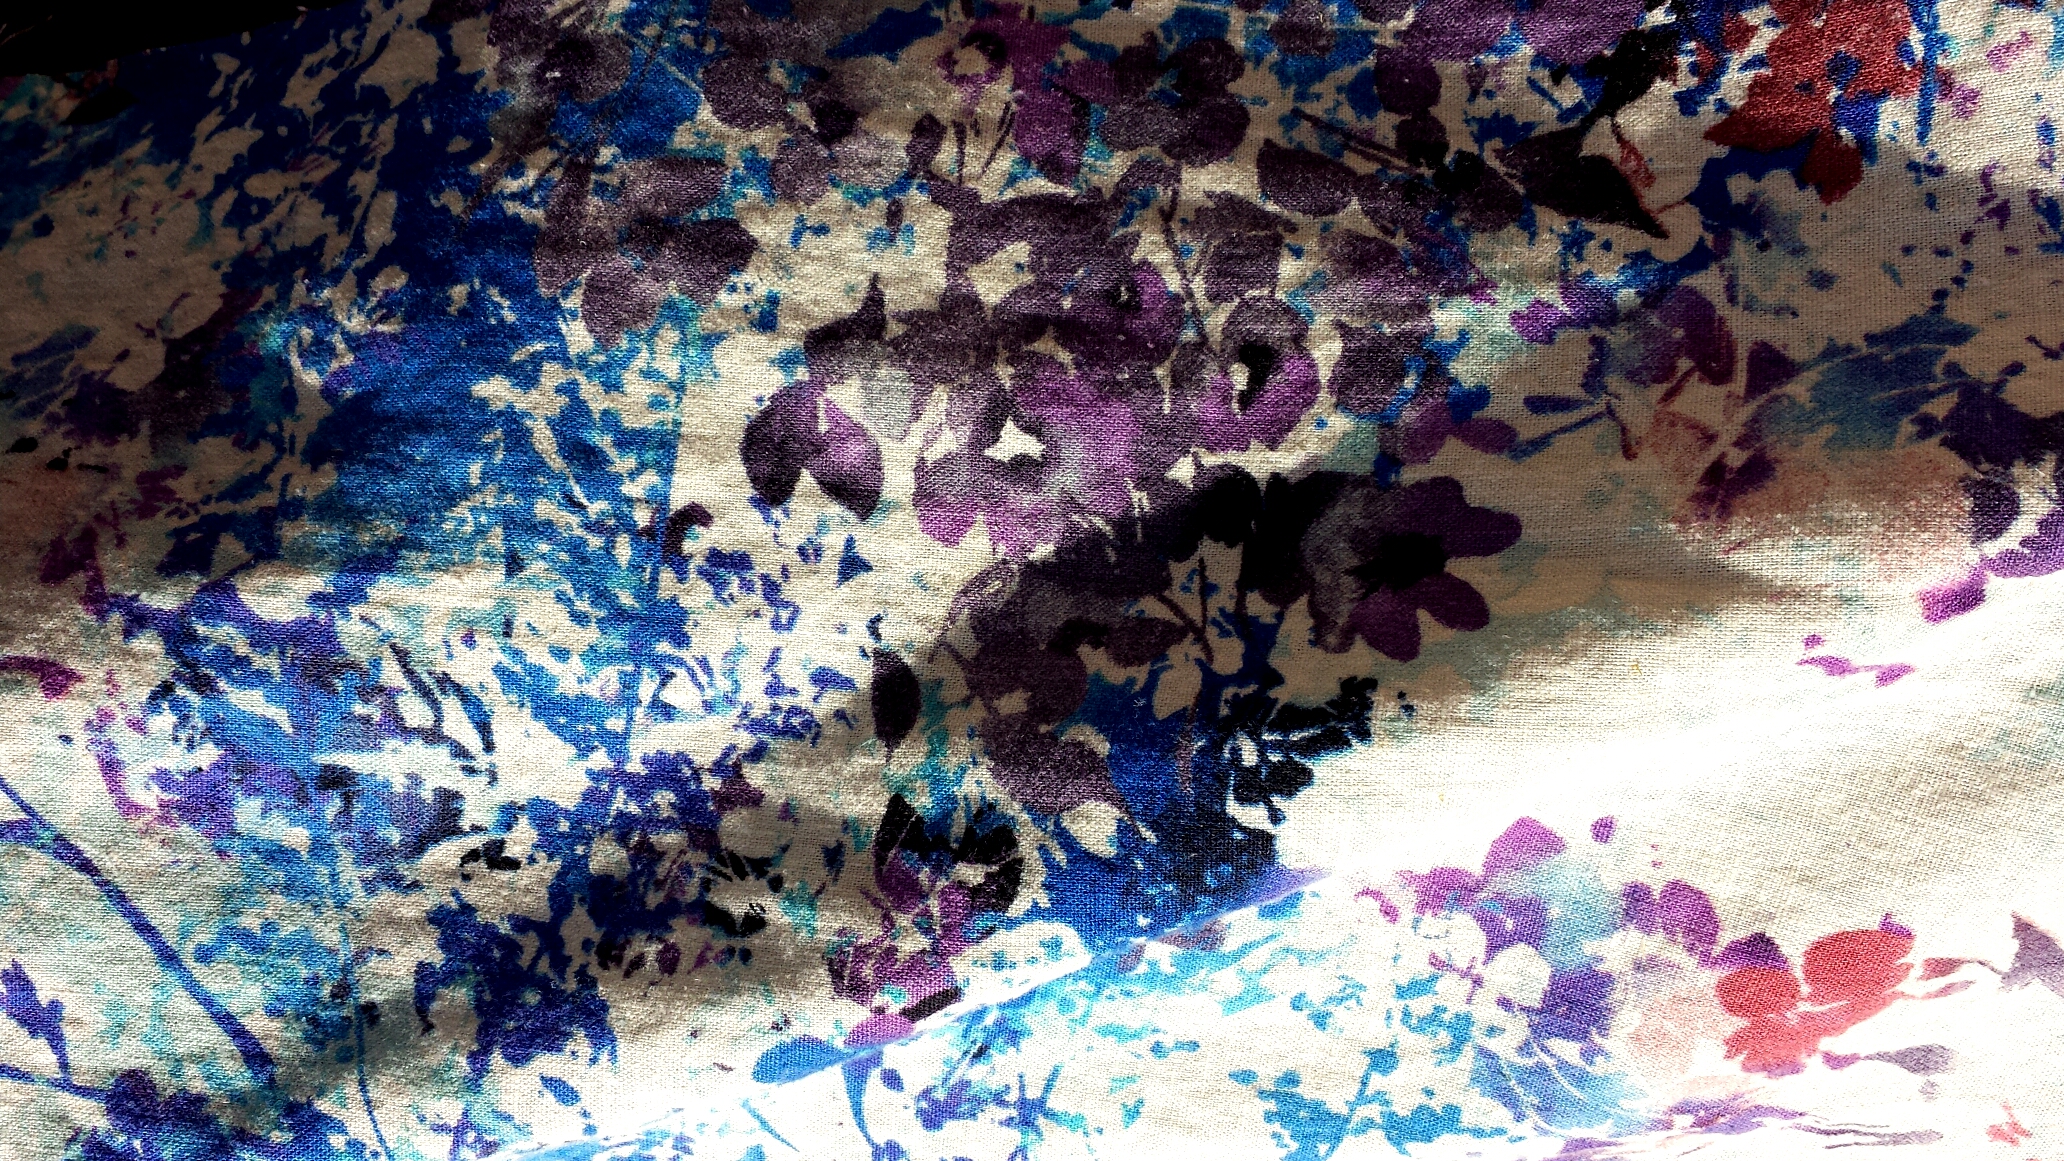
Enter my first foray into sewing up a PDF pattern (also part of my summer sewing goal). This one is Salme Pattern’s Buttonless Shirt Dress (#149), which calls for cotton, a cotton/poly blend, etc. Linen wasn’t a suggested fabric, but I couldn’t resist this abstract floral print. Plus, if there’s any fabric that begs to be worn on a hot, sticky summer day, it’s linen. Or mesh, but that ain’t happening. (Not for a shirtdress at least.)
I took the better part of a weeknight to cut out the pattern, tape it together, cut out my size, and finally cut the fabric pieces. My next step was fusing interfacing to the collar pieces and the inner front, from the bottom of the slit to the neckline. After that I got to work sewing the whole thing up. Other than a few hitches here and there with fit, it was pretty straightforward. I’d definitely recommend this to a beginner/intermediate seamster.
A few things I’ll keep in mind for next time:
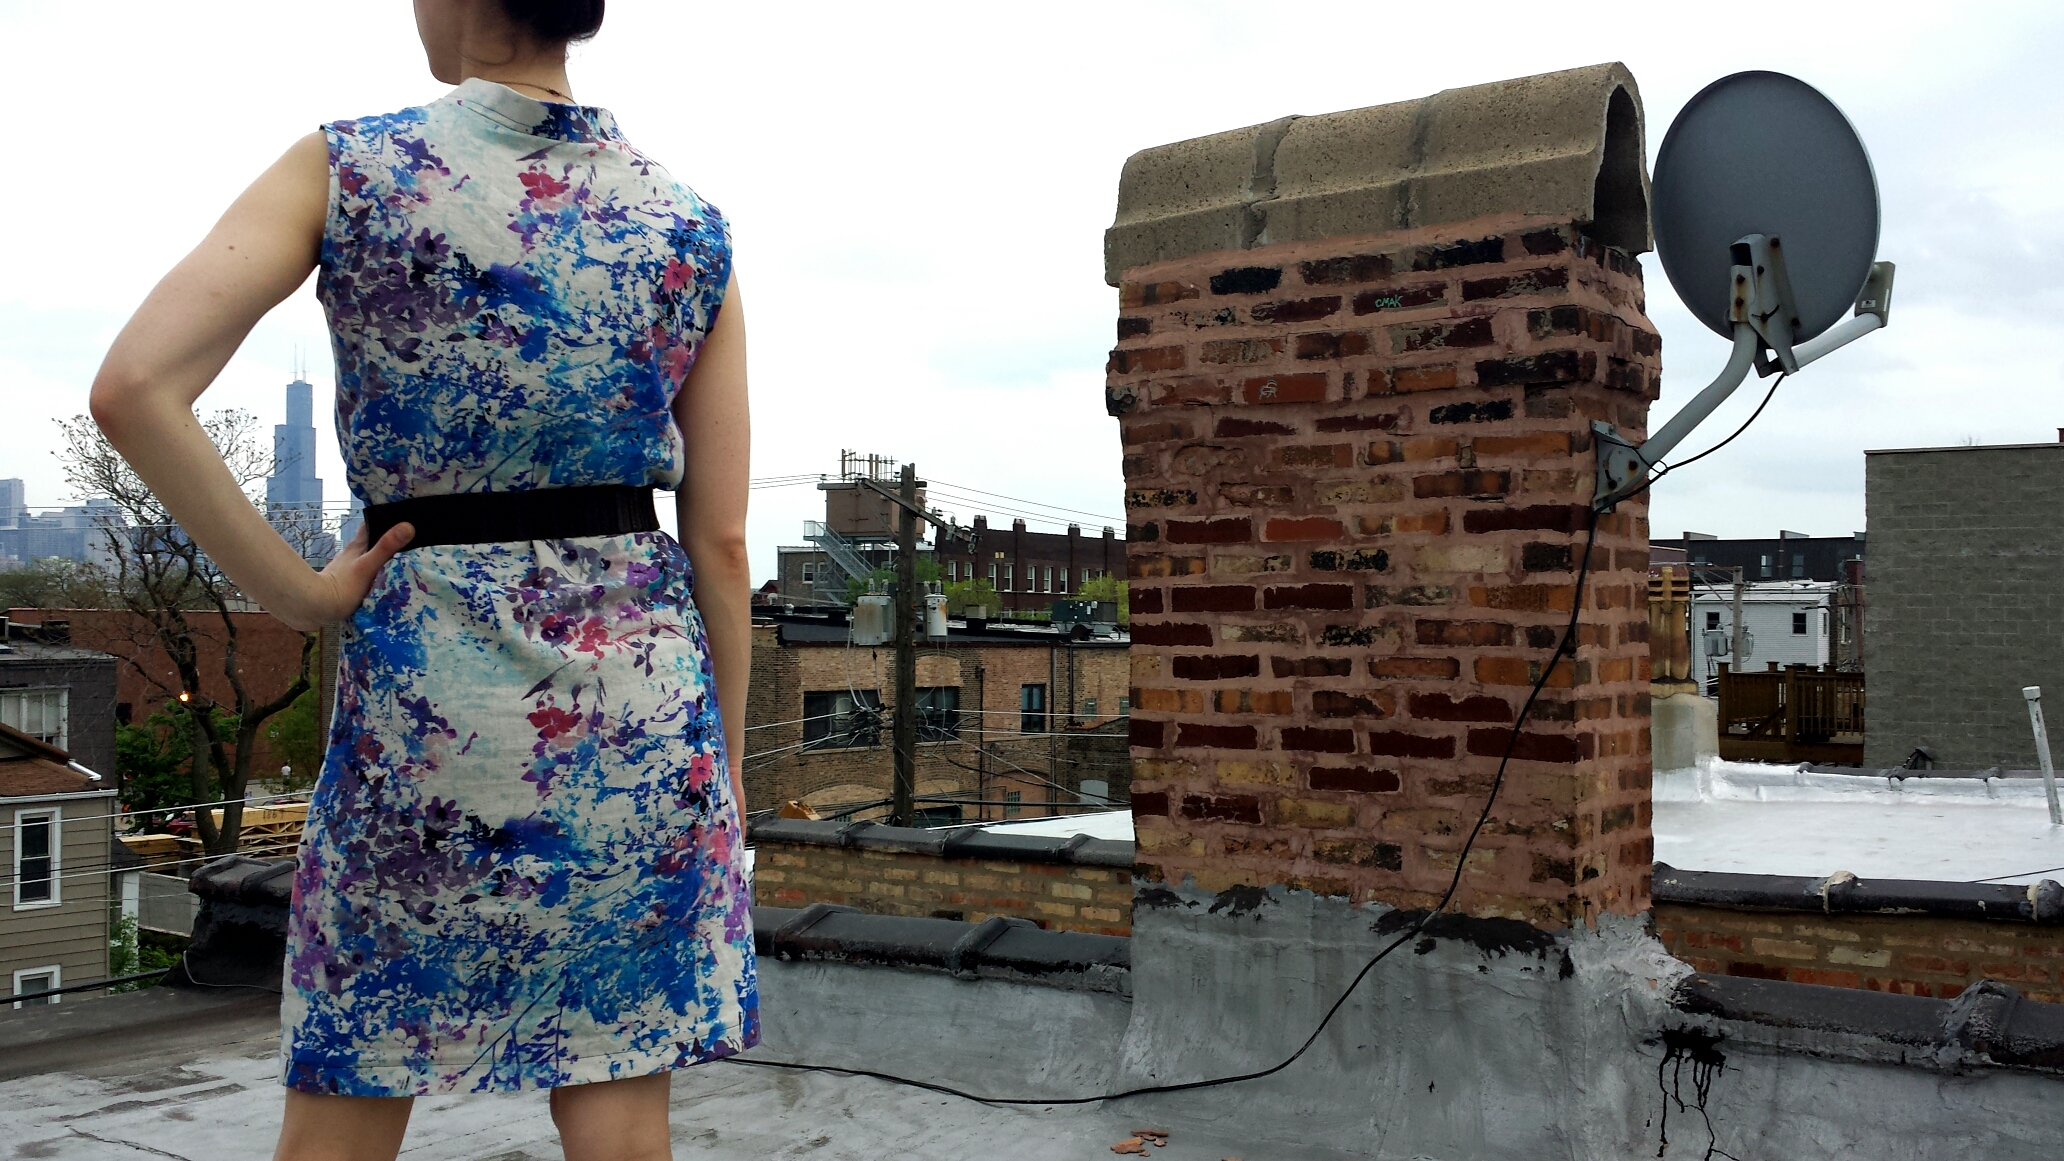
The sizing runs large. Even if your measurements match a particular size, I’d suggest going down one. I’m usually a US 6/8 in dresses, and my measurements matched up to a US 10/UK 12. It was definitely too big, and I had to compensate by taking it in after I’d sewn the side seams.
Thecollar directions are a little confusing. My collar turned out slightly unfinished at the very edges, and I’m still not sure why. Next time I’ll do some more research about attaching standup collars, and hopefully I’ll have a more polished end product.
I have a long torso, so I added about 1 inch to the pattern at the waist before cutting out the fabric. It didn’t seem entirely necessary, but I think it helps if you’re going to pair this with a belt (which I always do).
Since I added length at the waist, I figured that meant I should place the belt loops an inch lower. WRONG. For whatever reason, the PDF directions that place the belt loops at 7 7/8″ below the armhole are pretty spot on.
I opted for a brown leather/elastic belt, worn over the belt loops. The matching fabric belt works, too, but I like the edge of this darker color to balance the pretty floral.
Luckily, Monday’s storm held off long enough to snap some photos from the top of my building. There’s nothing like an 80º day on the roof to drink in that ridiculous Chicago skyline. (Even with a few trees in the way).
Anywho, have any of you sewn a Salme Pattern before? I’d love some suggestions for great PDF patterns—leave a comment if you’ve found any gems!
Lately, I’ve been in a bit of a creative sewing rut. I could say it’s because I’ve been busy with other life stuff, but really, sometimes I’m just overwhelmed by the sheer number of options at my fingertips. I think too much of a good thing can be stifling sometimes. Step away from the Bloglovin’ feed, Dani. But instead of abandoning the sewing machine until inspiration strikes, this time I’m taking a more proactive approach. I know it’s risky to say (type?) a goal out loud, in a public forum with the Internet as my witness, but here goes:
My goal for the spring/summer is to sew at least one PDF pattern from an independent designer each month.
Whew, that wasn’t so hard. Yesterday I bought, pieced together, and cut out my first pattern. Here are the deets:
Circle skirts are the epitome of Sewing 101. But since I seem to do everything backwards, I have nary a full- or even a half-circle skirt under my belt. Naturally I decided to remedy that on Easter morning, just hours before a family party. Ahem. I was mentally prepared for a disaster that might result in me wearing dirty jeans and a Mars Volta T-shirt on Easter afternoon, but miraculously my new skirt turned out pretty well.
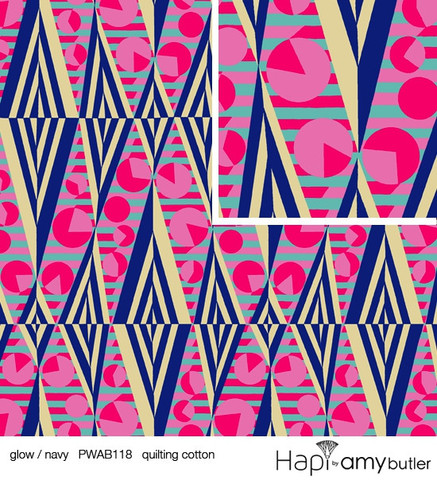
I should start by mentioning that this isn’t a standard circle skirt. It’s a quarter-circle skirt, which I like to think of as the flirty, yet sophisticated cousin of the full circle. It falls like a classic A-line but with a bit more movement and flow. I initially wanted to make a half circle, but it turns out that the Amy Butler fabric I fell in love with at The Needle Shop comes in 44″ wide bolts, which just wouldn’t leave enough fabric for anything but a quarter. (Unless you have like a 20″ waist or something.)
To figure out how much fabric I needed and how to cut it, I used this fantastic Circle Skirt App from By Hand London. You simply choose your desired fullness and length, plug in your waist measurements, and click “Do the maths, please!” (Sidenote: Do British people say “maths”? Am I an anglophile for thinking this is kind of charming and not dumb?) Anywho, the app spits out your waist radius and the fabric length required—seam allowances included. It also tells you whether or not your skirt will fit onto 45″ or 60″ wide fabric.
After marking my waist radius and fabric length, I drew the arcs using a janky handmade compass—also known as a piece of twine tied around my marking pencil. I then used a combination of this youtube tutorial and this By Hand London tutorial to sew up the skirt, insert the invisible zipper, and create and attach the waistband. I went for a lapped waistband with a hook-and-eye closure.
To finish up, I sewed a narrow hem all the way around. If you’re not familiar with hemming round edges, check out this super helpful Coletterie tutorial.
As a whole, I really love this fabric and the fall of the quarter circle. Next time I make a circle skirt (and there will be a next time), I’m going to add another 1″ or so to my waist measurement. After a big family-style meal, I was mildly afraid that my hook-and-eye was going to burst off and get lost in the lemon meringue pie. Luckily that didn’t happen.
Hope you had a relaxing holiday filled with many sweets and salty meats! Have you ever made a circle skirt? Any suggestions?
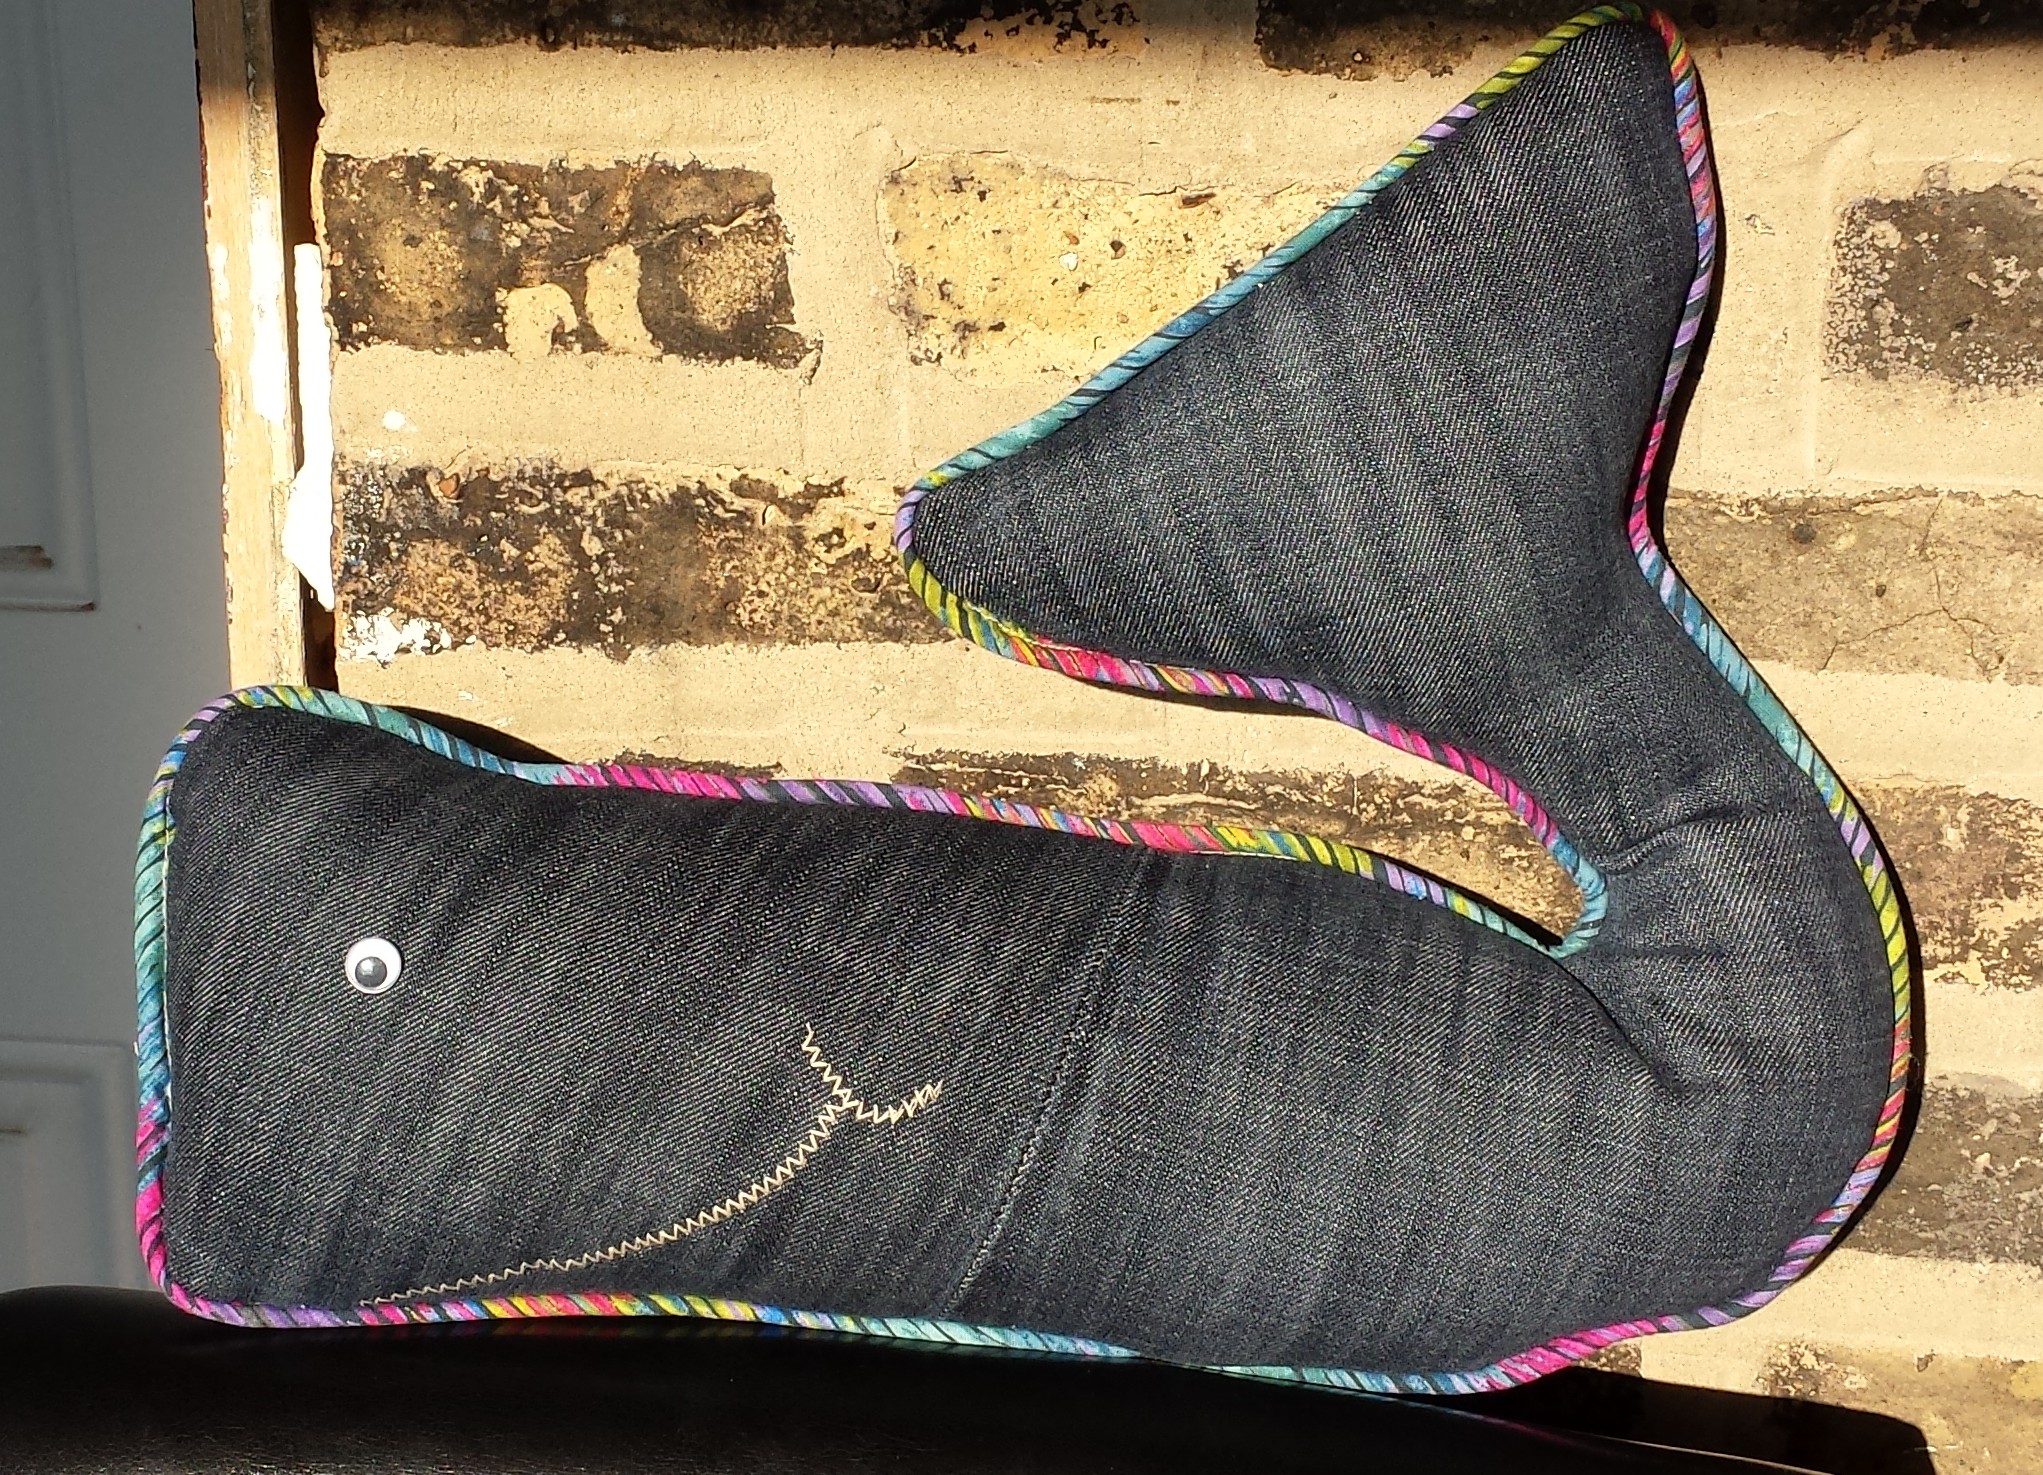
I dig whales. As a kid, I was obsessed with the beluga whales at the John G. Shedd Aquarium. There’s even a picture of my older brother and I “riding” Shamu at Sea World at the respective ages of 6 and 4. (I definitely talked myself into believing that ride happened.) My latest whale obsession is this Marushka whale-print sweatshirt—pictured above—from Study Hall, a similarly nautically obsessed boutique in Ukrainian Village. I’ve been living in this sweatshirt every weekend, and it inspired me to sew up some whale decor for the apartment. The best part about this project is that you don’t even need to buy fabric (except for piping). So grab an old pair of boot-cut jeans and let’s get to work!
What you need:
Old pair of jeans (the wider the leg, the better)
Button for the whale’s eye
Contrasting thread
Polyester fiber stuffing
Piping
Marking pencil
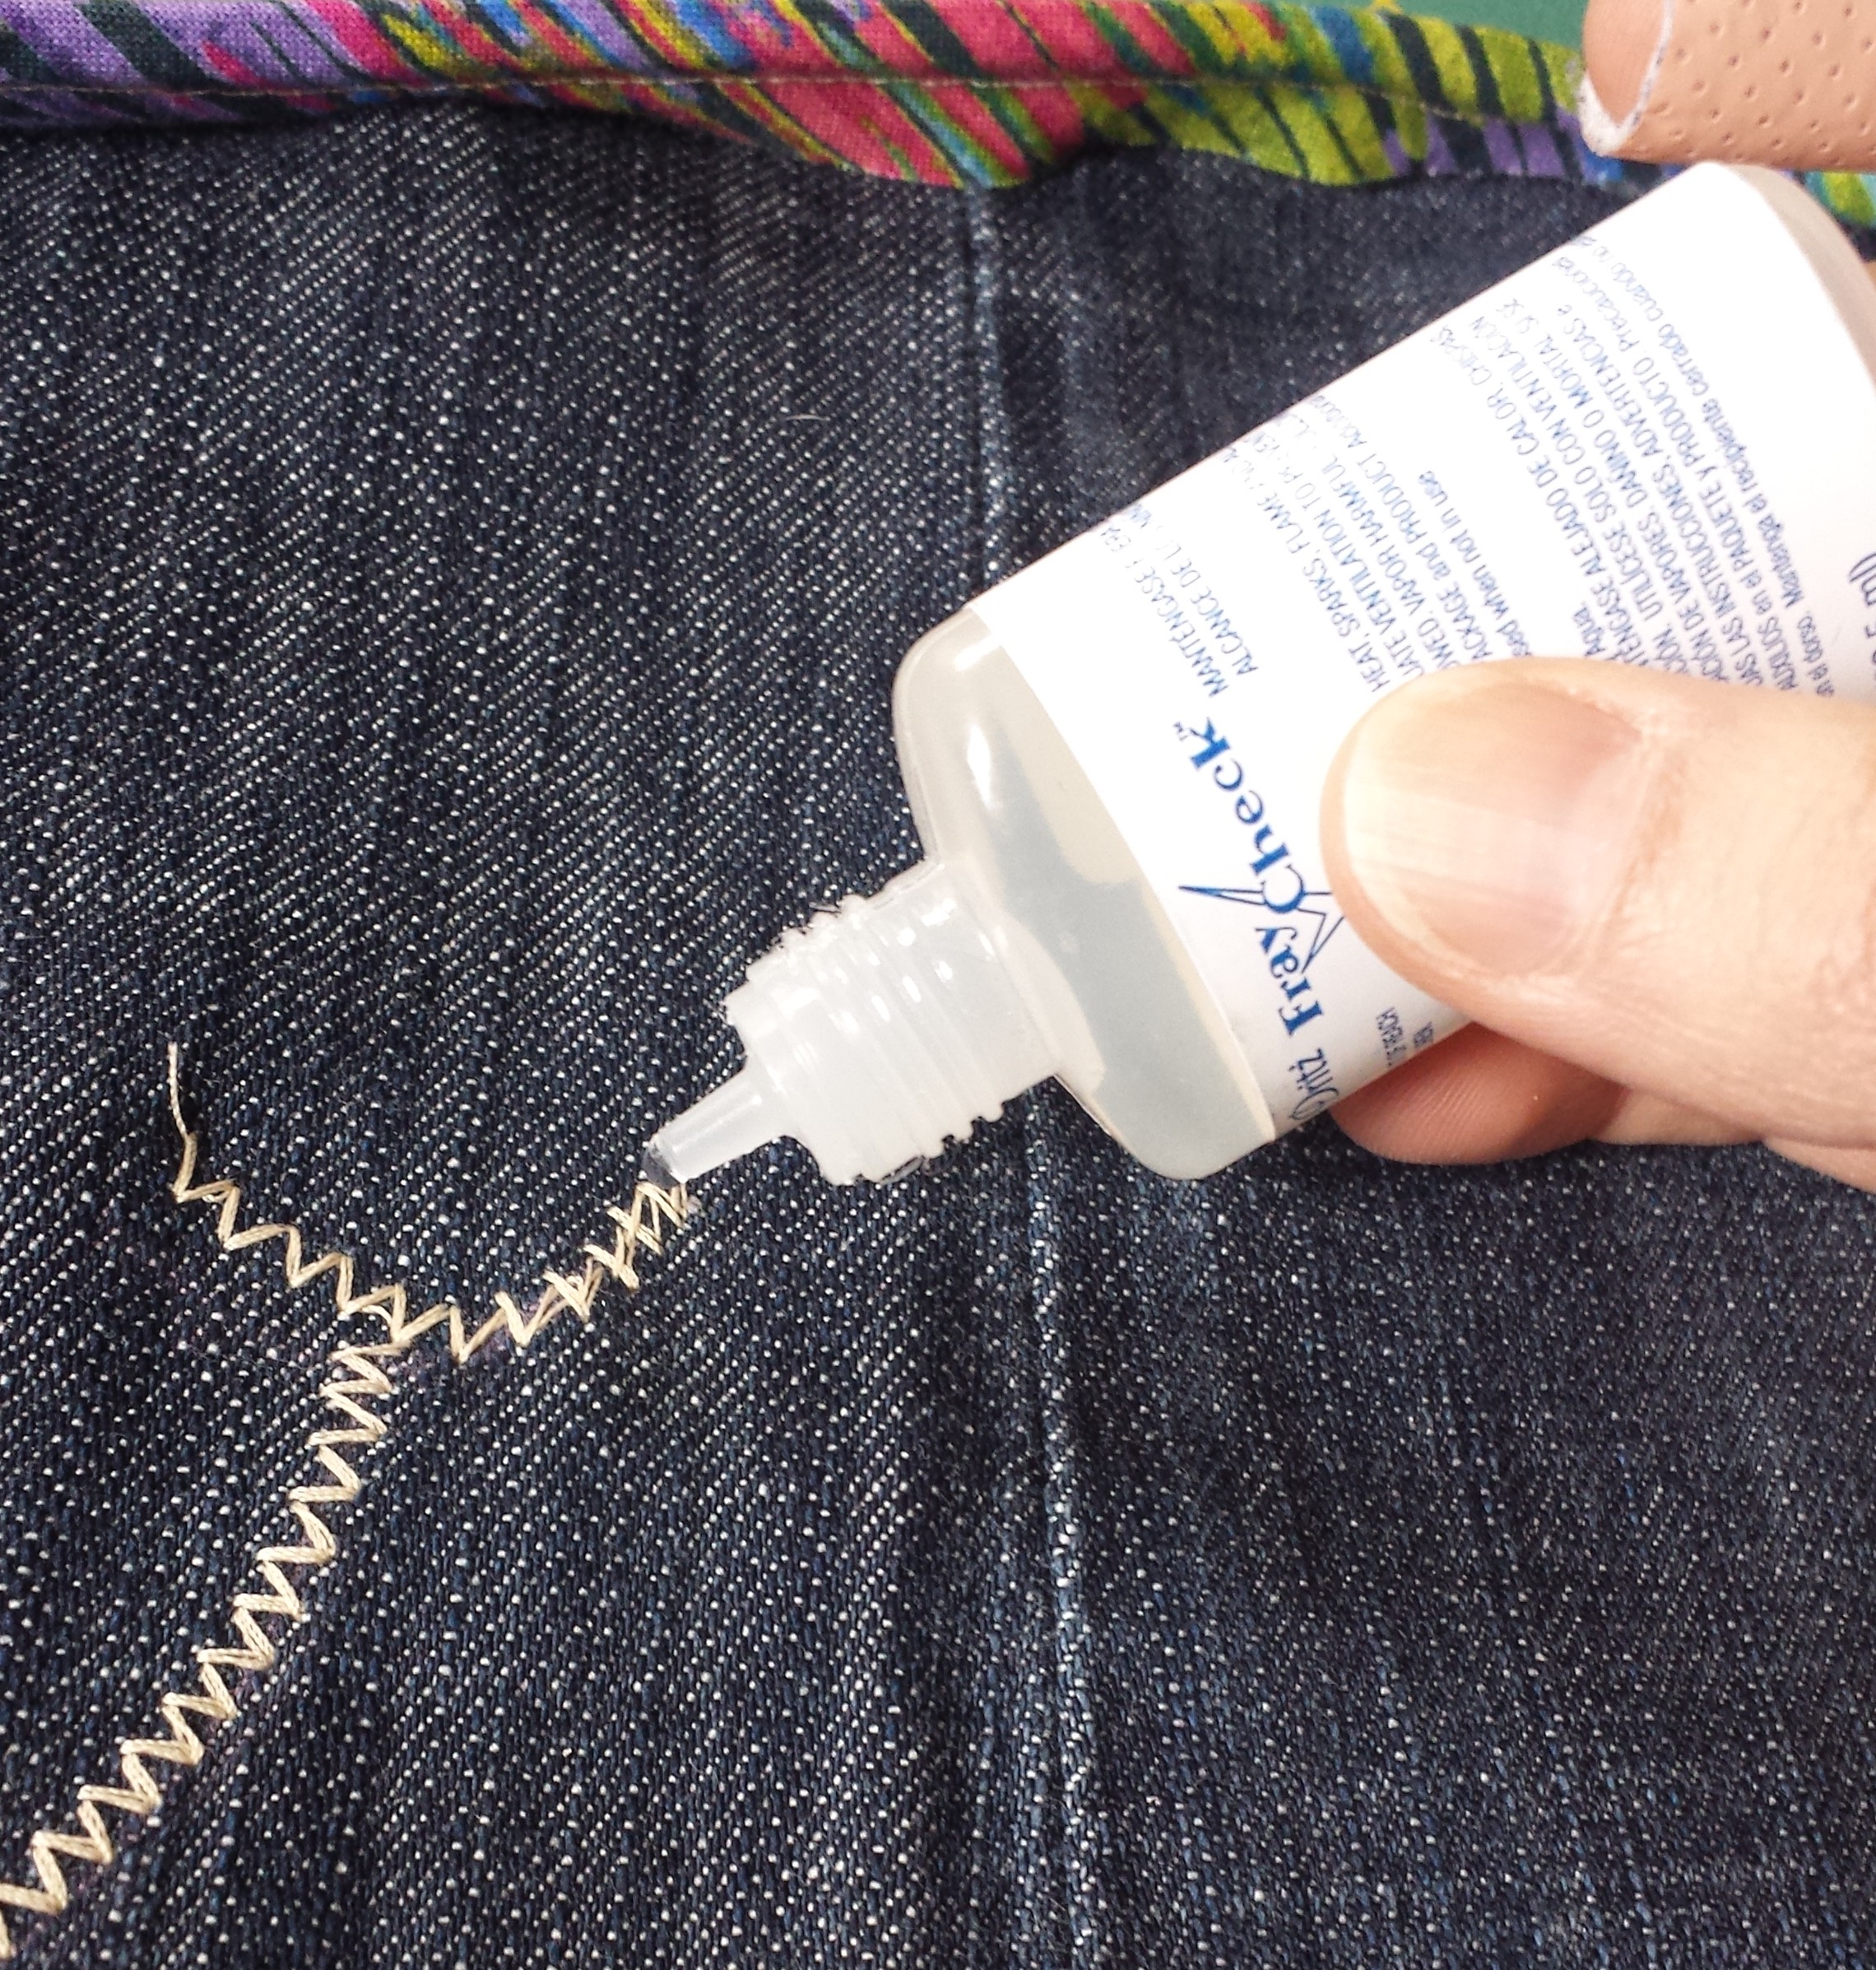
Fray Check
1). Draft a pattern. This step leaves some room for creativity depending on the shape you want to end up with. Whatever you decide, make sure that you first draw the whale as you want it to look, then add a 5/8″ outline around it. That will act as your seam allowance. You can do this on the actual pattern, or just add 5/8″ once you lie the pattern down to cut it. I traced my pattern on a paper grocery bag since it’s got a little heft.
Coasters help weigh down the pattern so its easier to trace
2). Deconstruct your jeans. This part is actually pretty fun (and therapeutic if you have anger issues). Cut a notch on the bottom hem of the leg near one of the side seams, and then rip upwards until you reach the back pocket. Cut a clean line right under the pocket so you have one flat piece of fabric. Iron out any creases.
3). Trace and cut out two mirror image whale pieces. You might be able to use one pant leg if you have enough fabric and don’t mind cutting slightly against the grain.
4). On the wrong side of one pattern piece, draw a mouth. Make sure to account for the seam allowance when making your placement. Using contrast color thread and a fun decorative stitch pattern, sew on the mouth. Remember to backstitch! I also used a little Fray Check at the ends so the thread won’t unravel later.
5). Mark a spot for the eye and hand sew a button on.
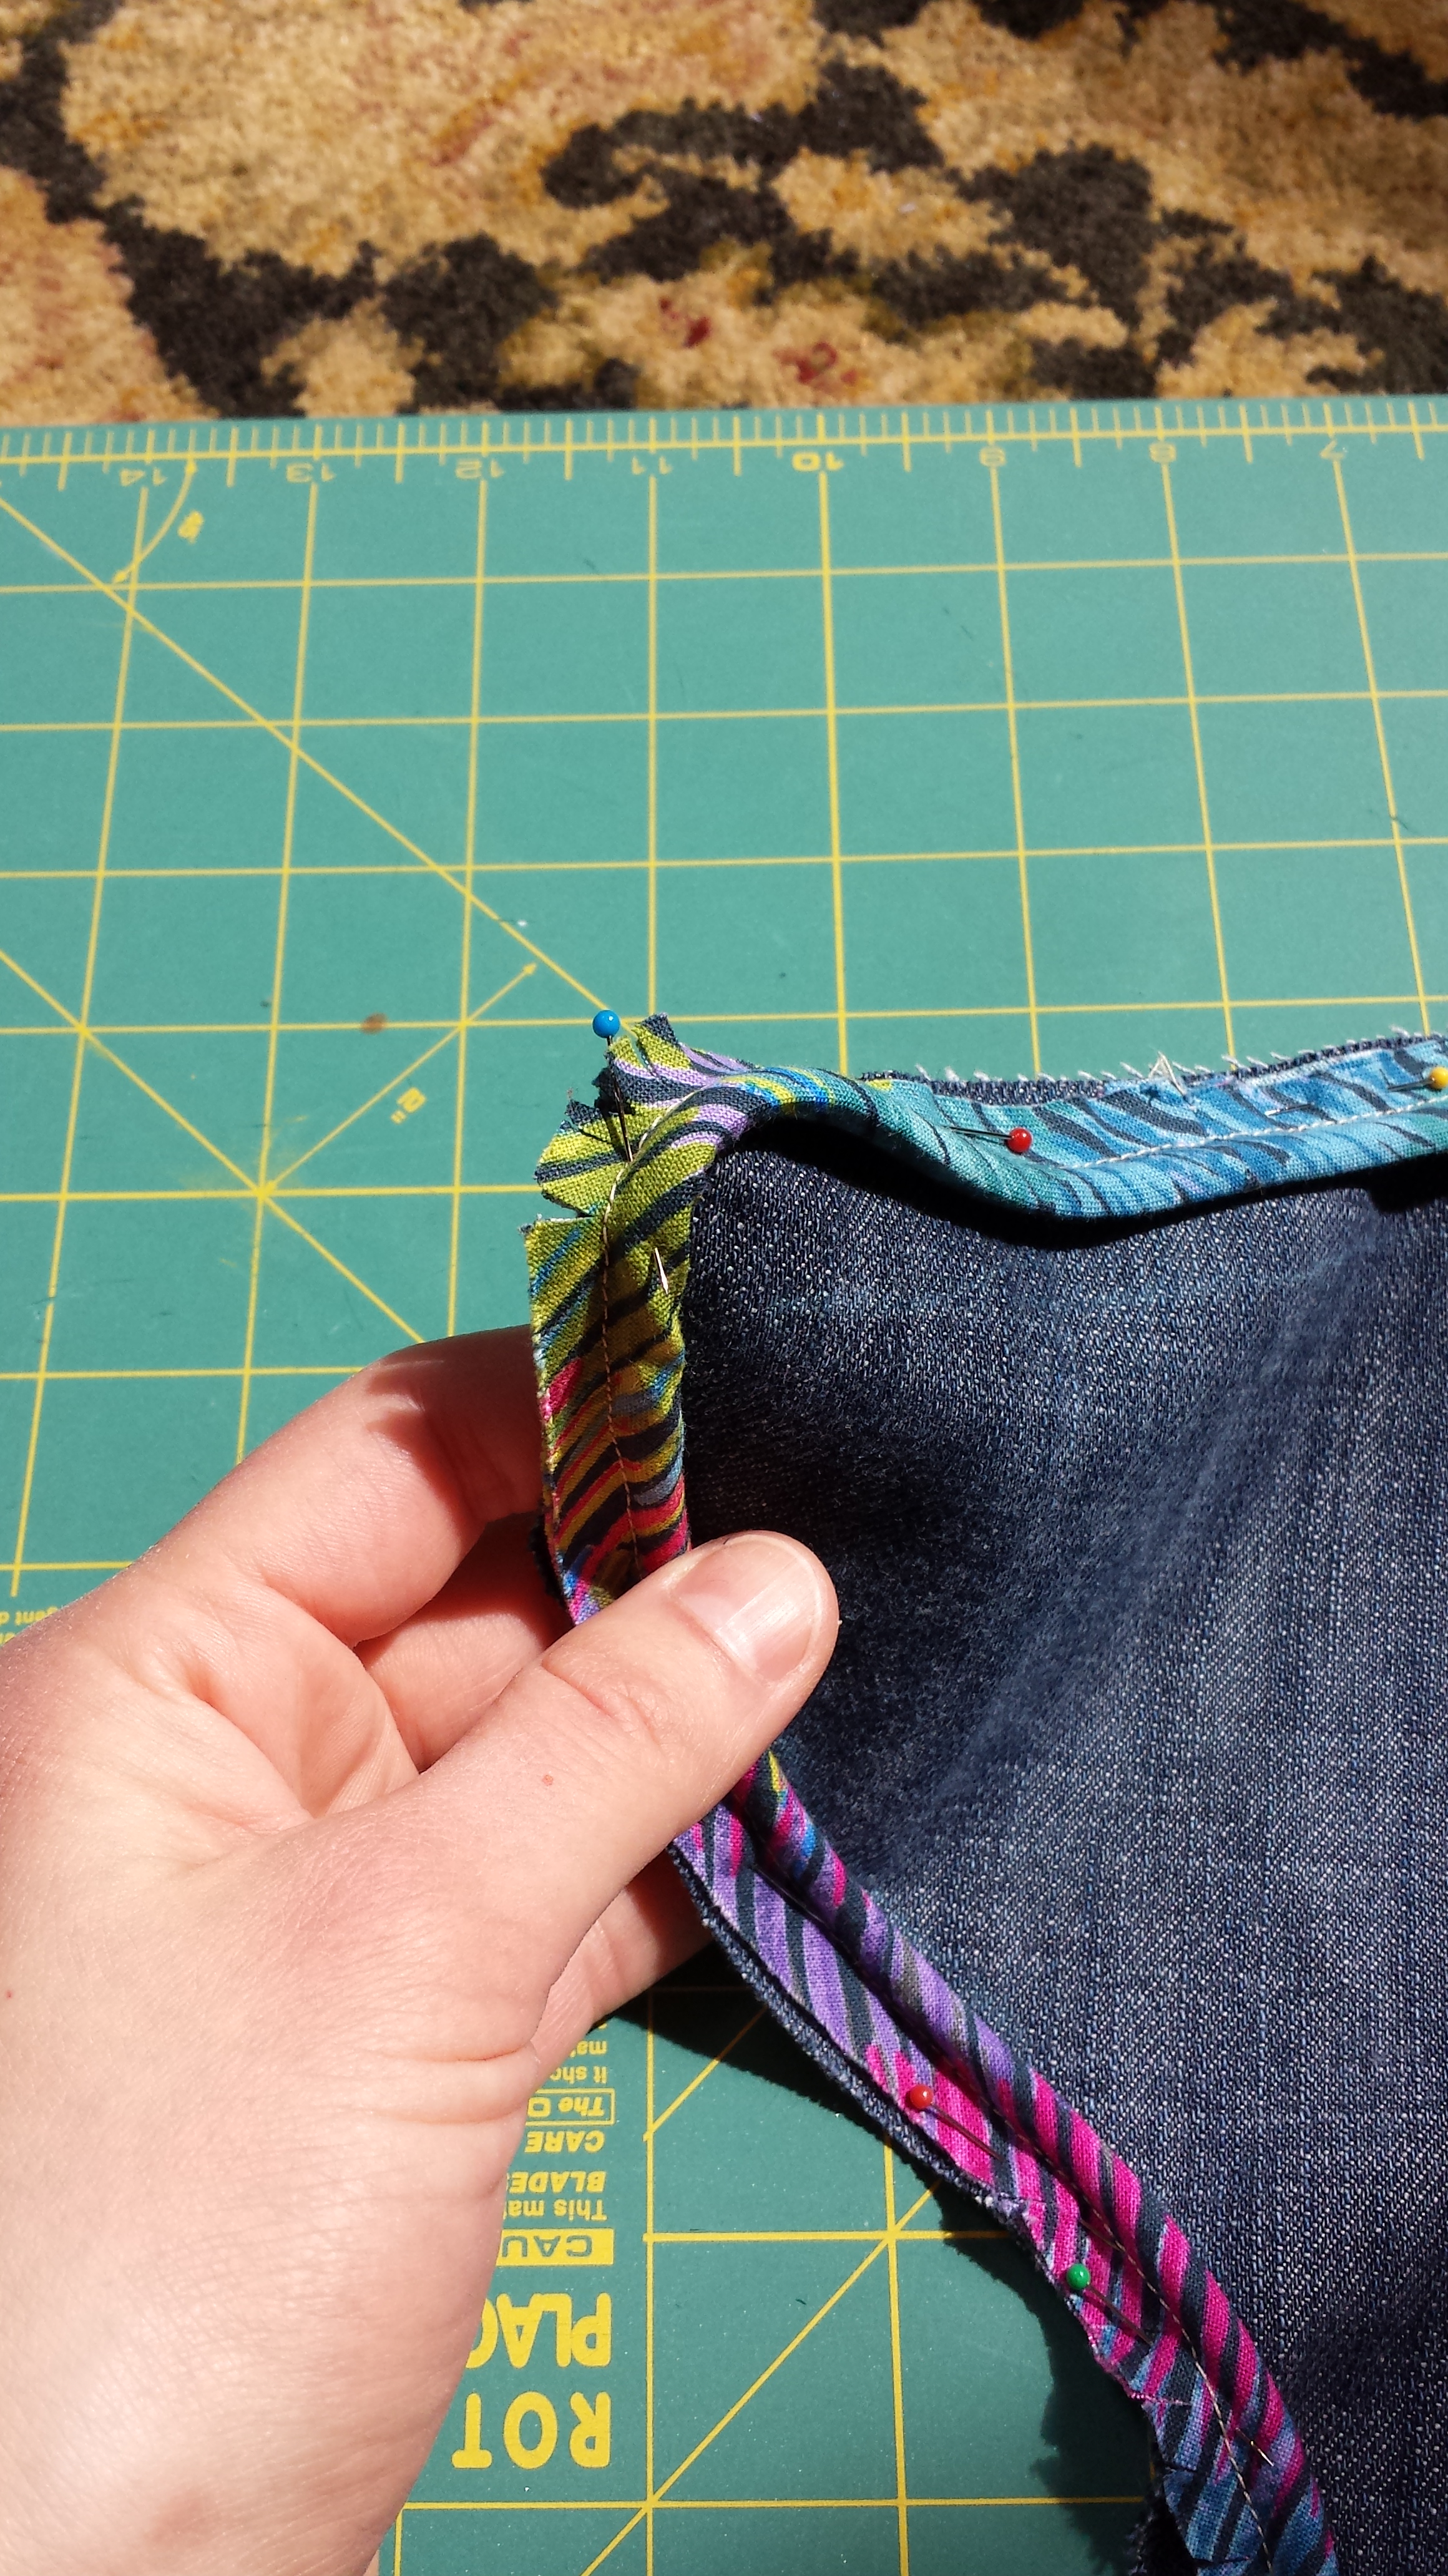
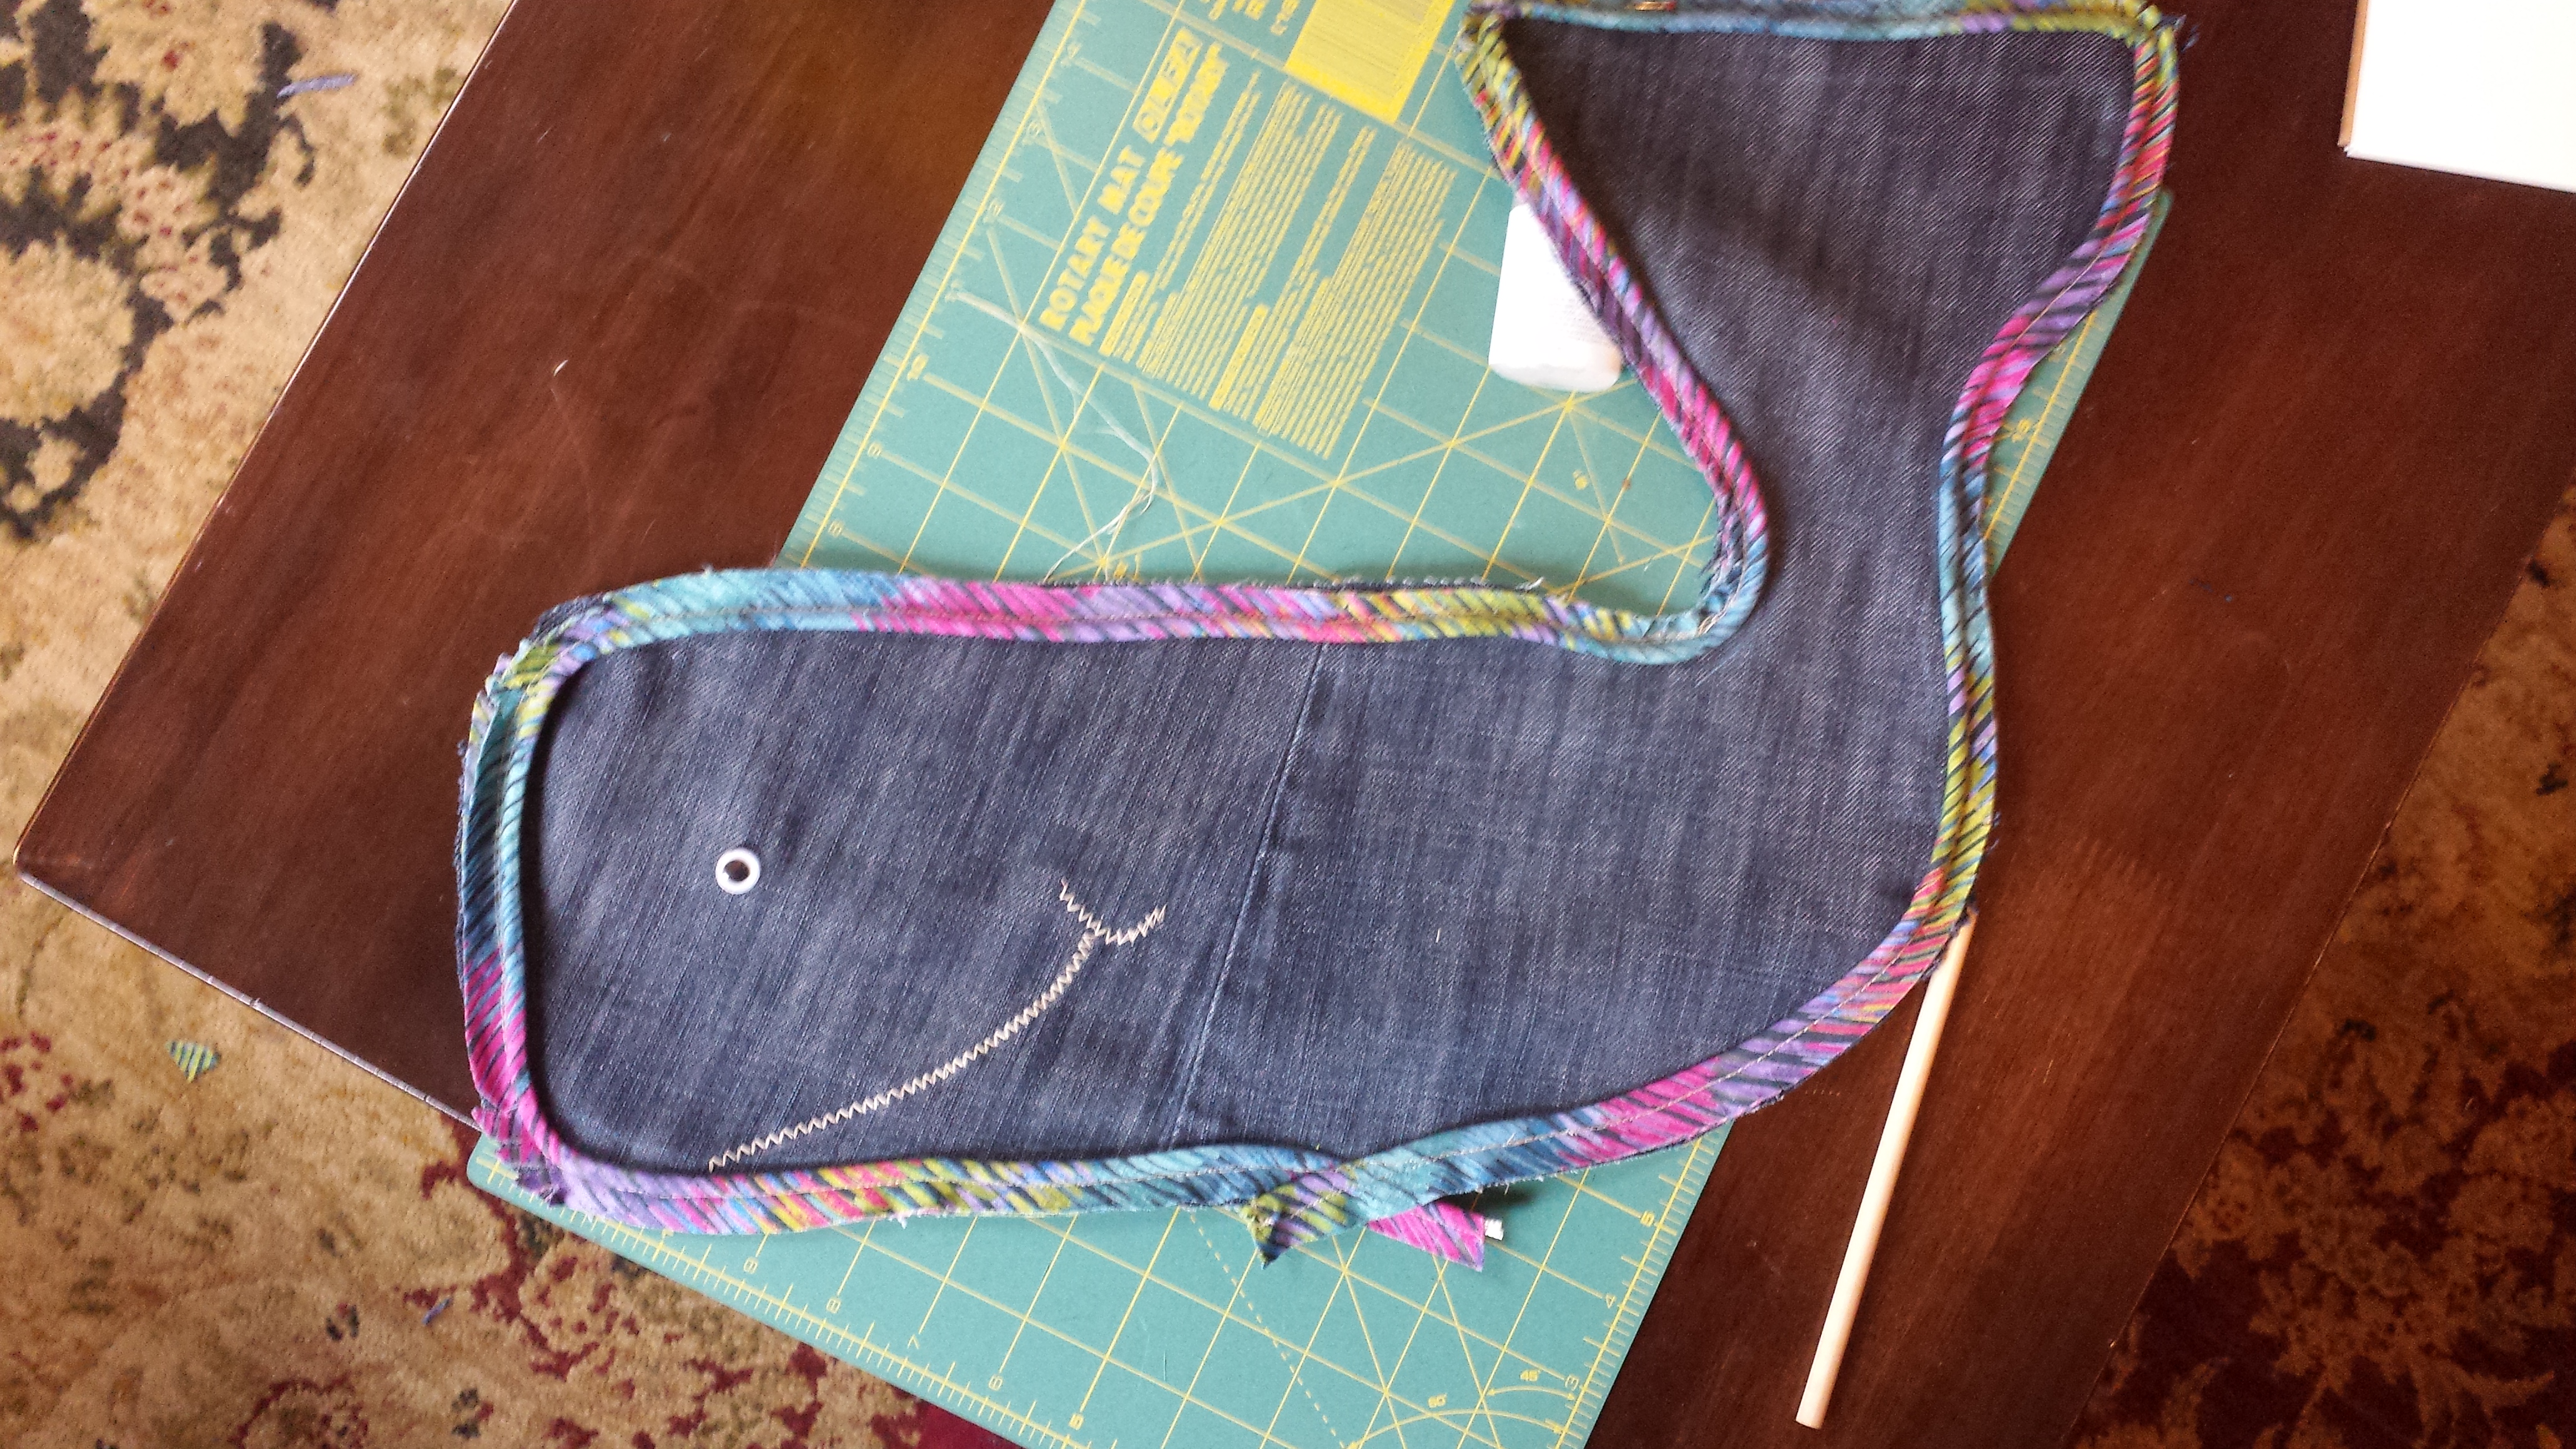
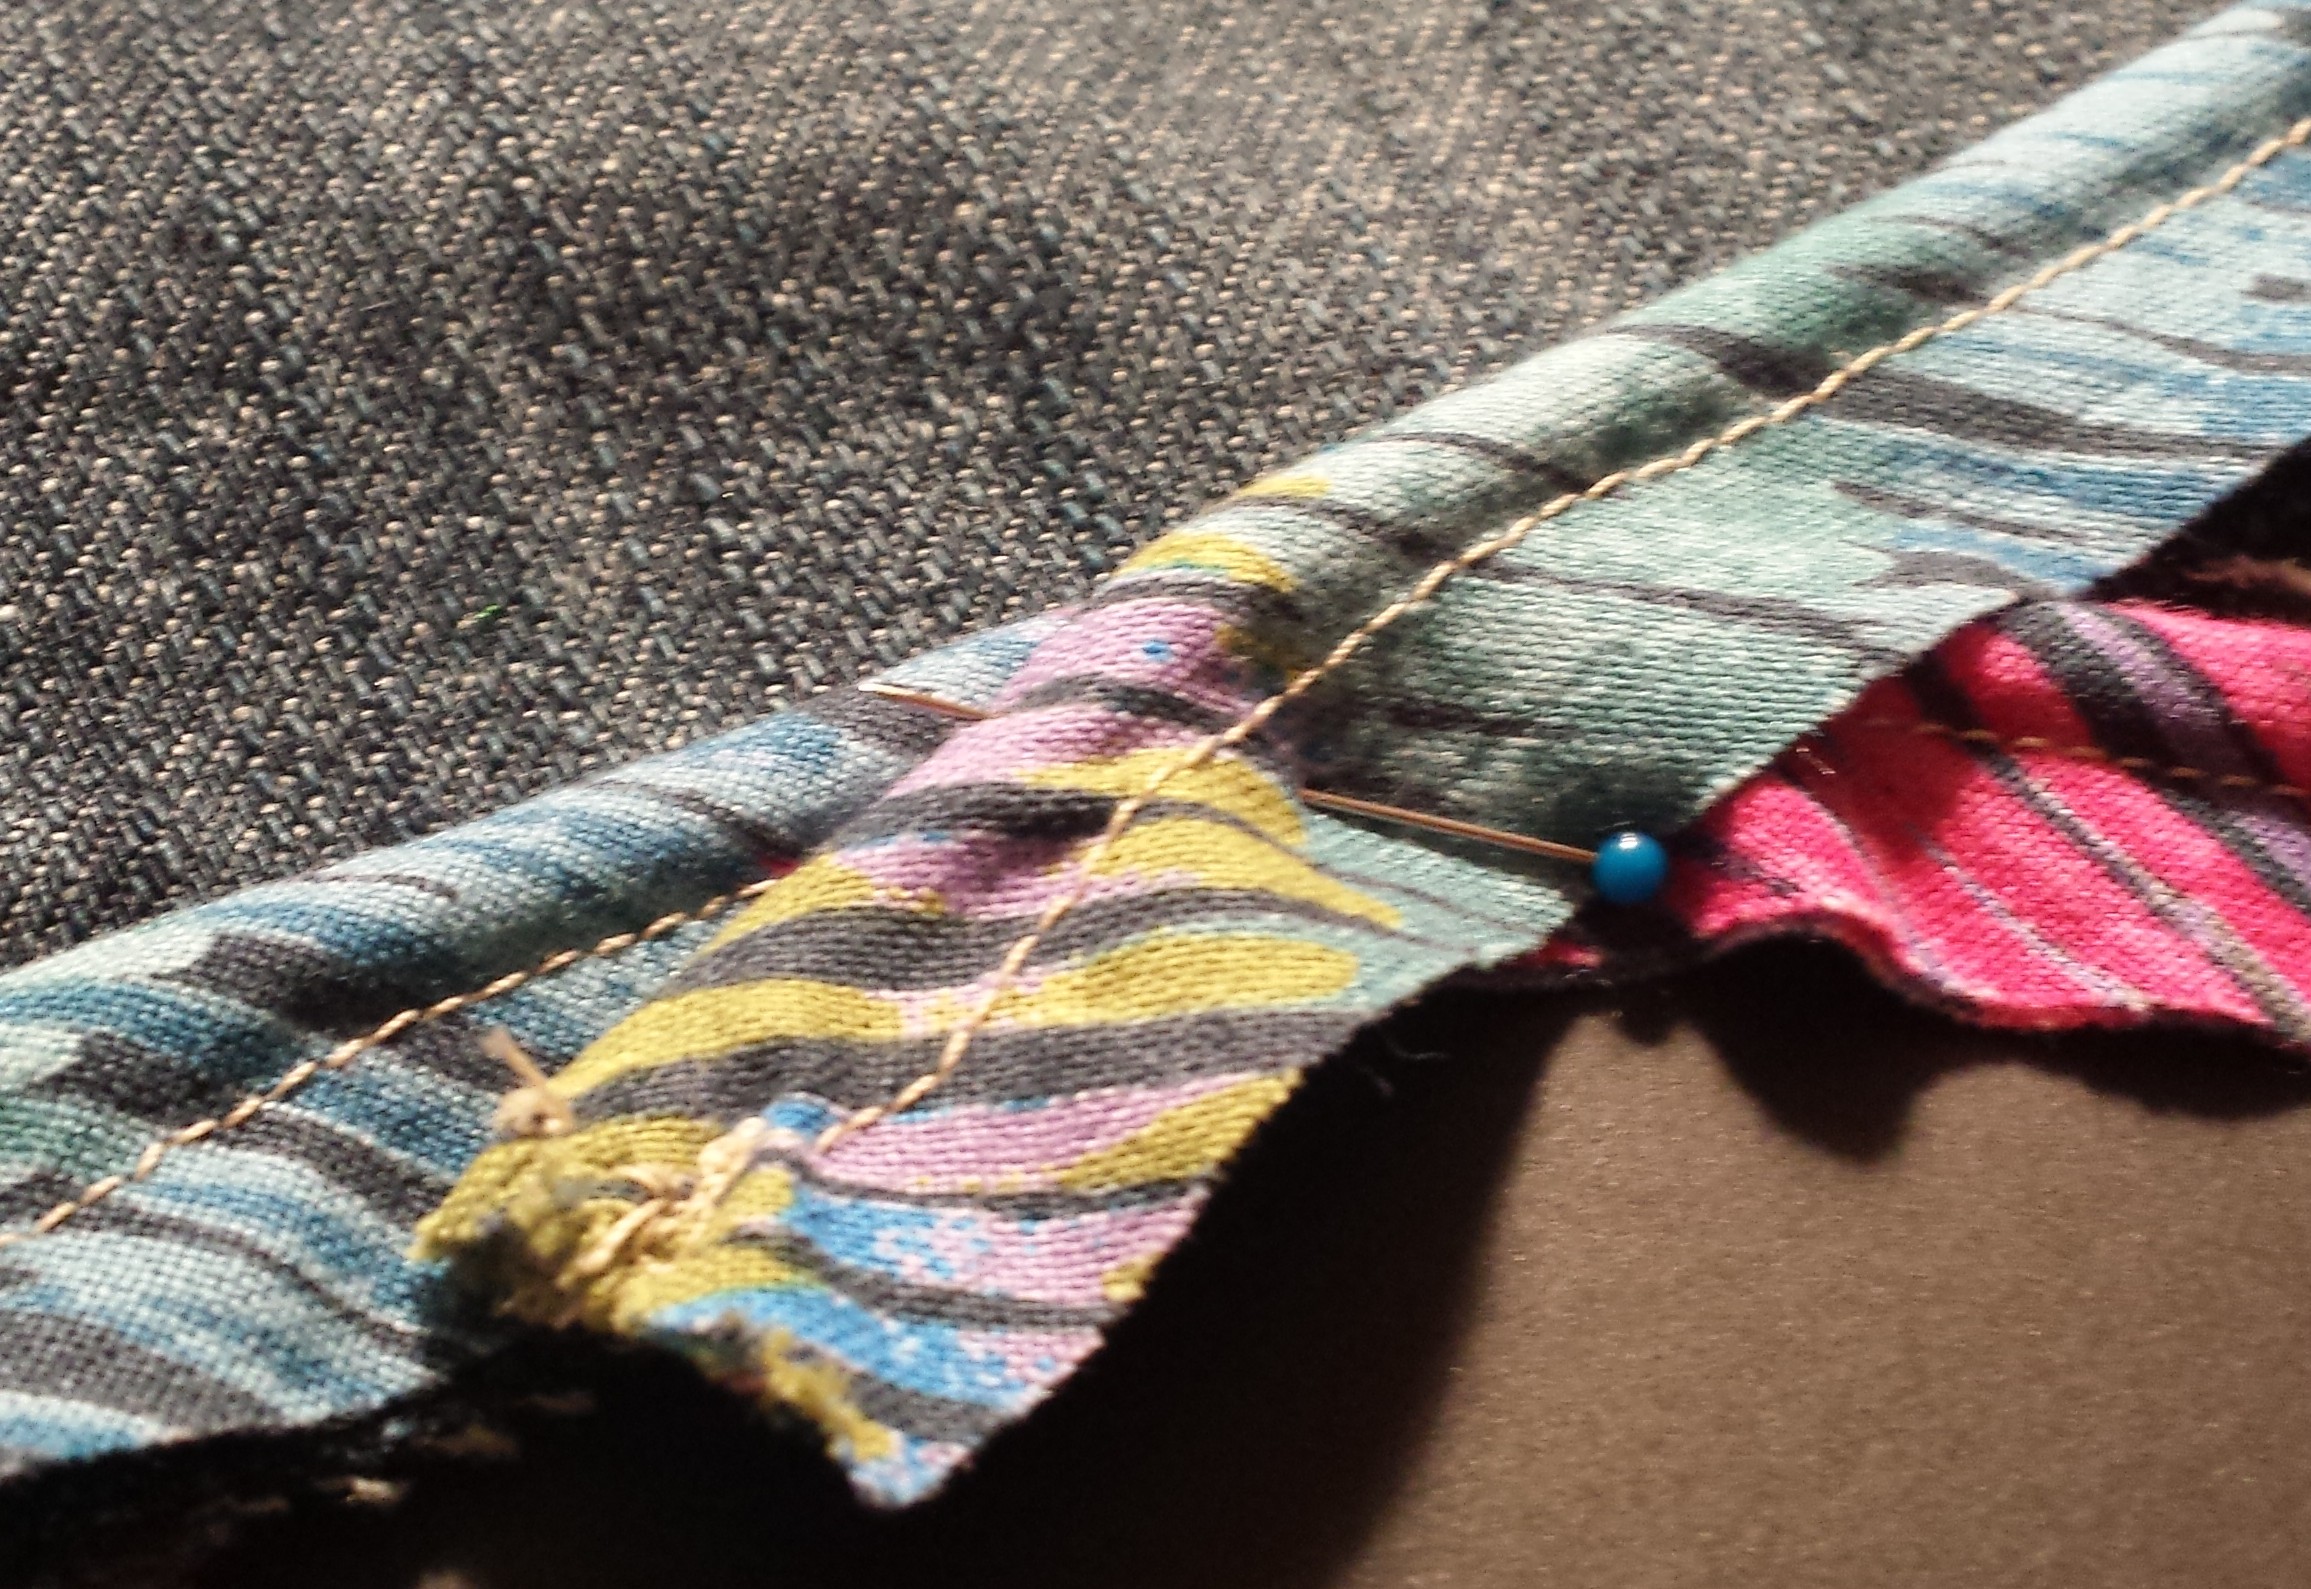
6). Pin the piping around the edges of the pattern piece with the mouth and eyes. I made my own piping for this project using this handy tutorial, but you can buy premade stuff at most fabric stores.
Adventures in DIY piping
With the rolled edge of the piping facing toward the center and the flat edge flush with the raw edge of the pattern, pin the piping around the exterior (to the right side of the pattern). Pinning around all the curves and corners of the whale’s tail can be a little tricky. Clip around the edges so it’s easier for the piping to lie flat.
When you get back to where you started pinning, overlap the edges.
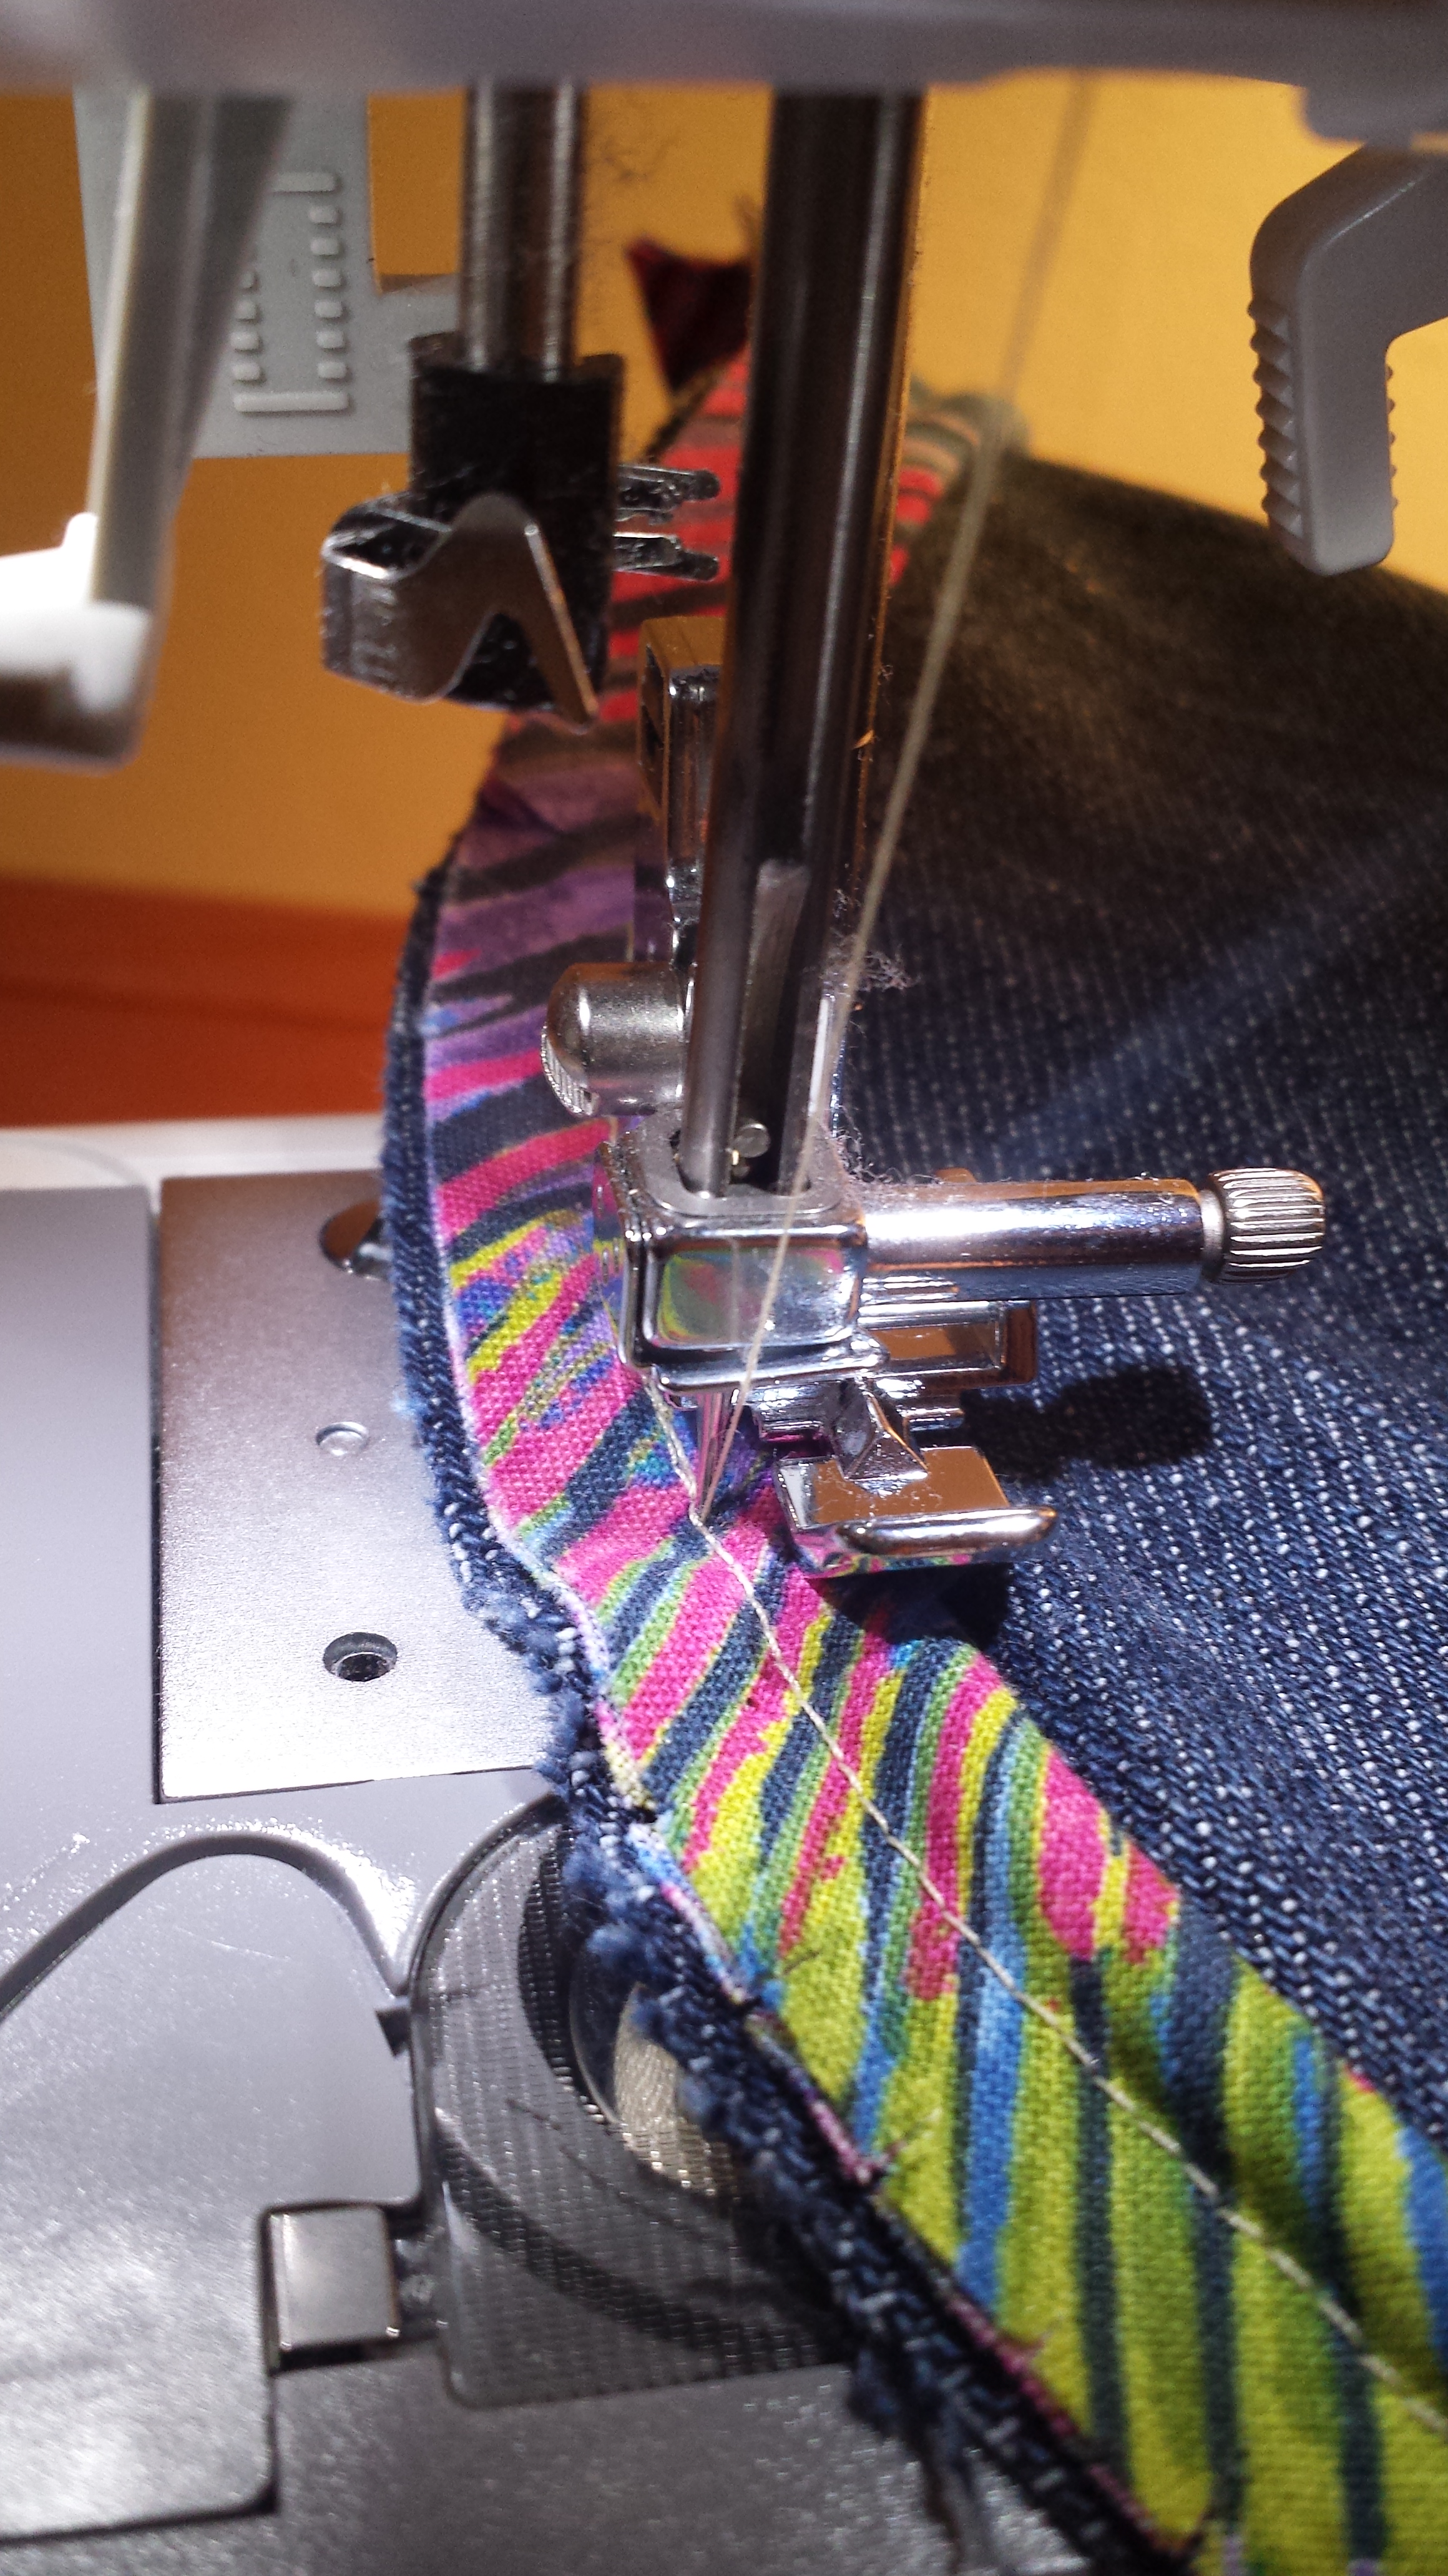
7). Now it’s time to sew the piping on. This part requires some elbow grease and a lot of patience. Using your longest stitch and a zipper foot, baste the piping to the pattern following the stitch line that creates the piping. Go as slowly as you need to. When you get to the overlapped section, just sew straight through, following the same line you were sewing before.
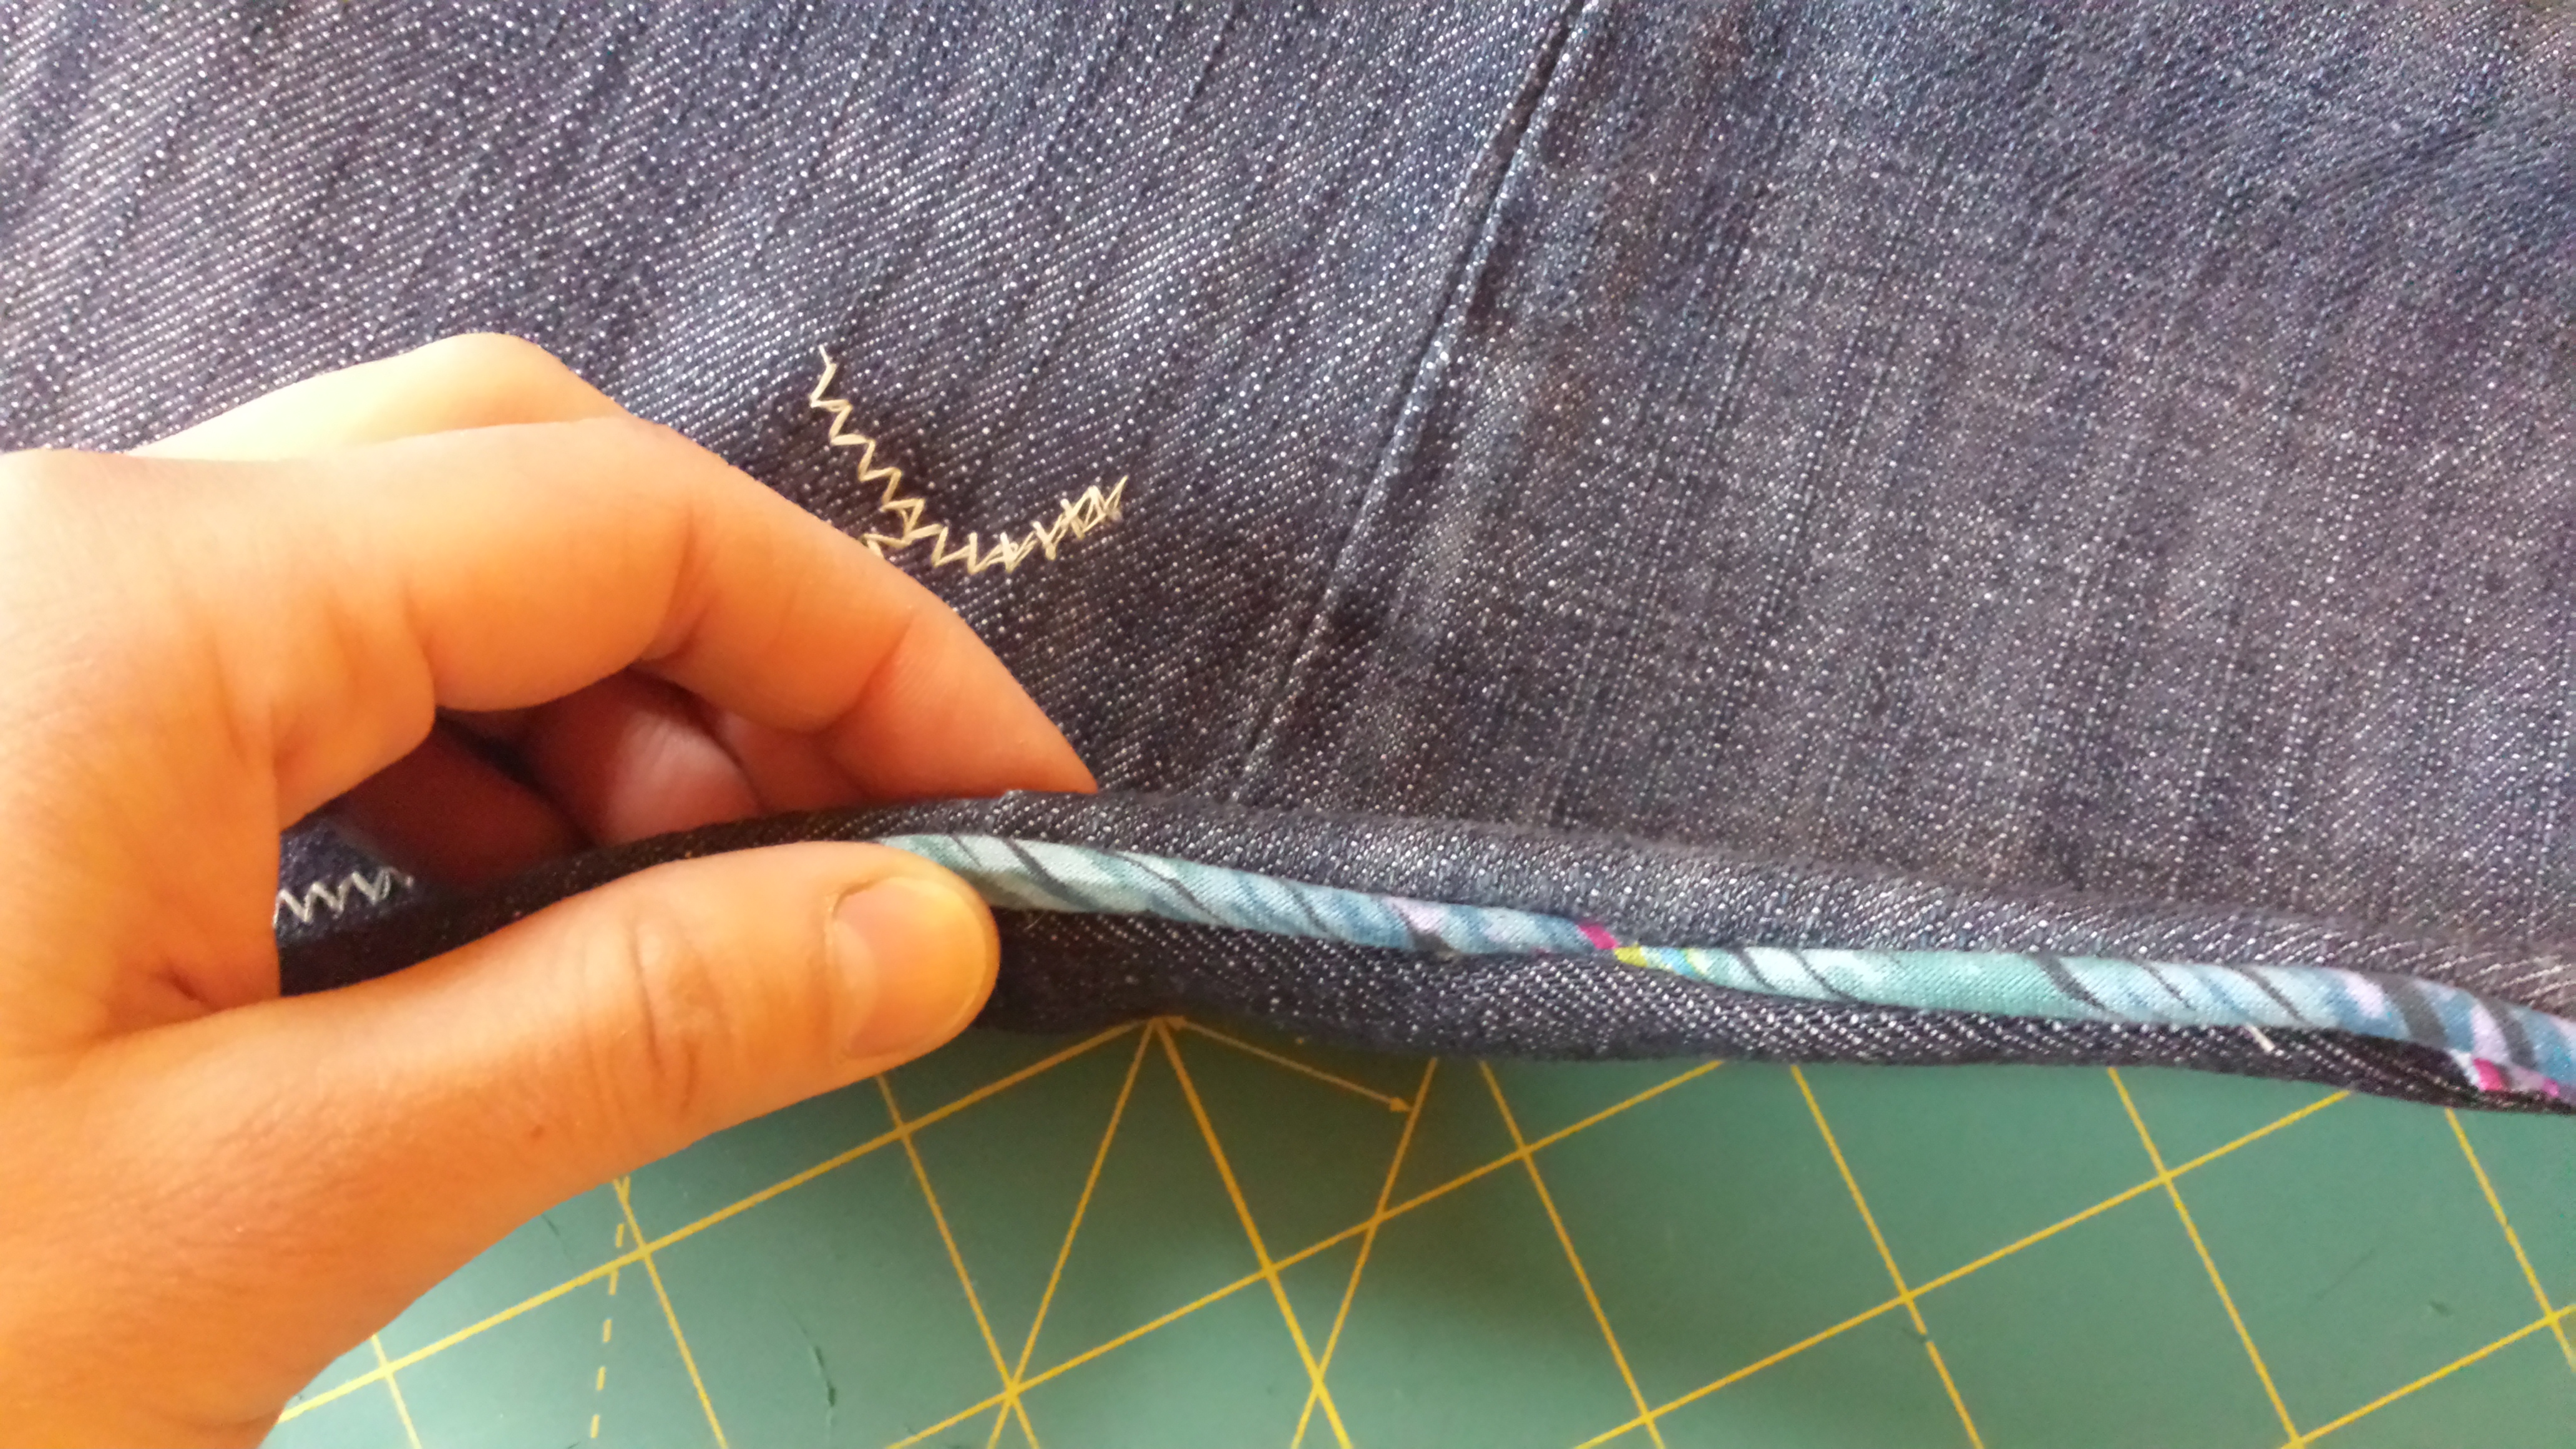
8). Pin the pattern pieces together, right sides facing. Make sure you’ve switched back to a regular sewing machine foot and standard stitch length. Stitch the two pattern pieces together by following exactly along the basting stitched you just made on the piece with the piping. Make sure to leave enough space on the bottom of the whale to turn the pattern inside out when you’re done.
9). Clip excess fabric from the seam allowance. Grade around the curve of the whale’s tail and clip the corners.
10). Turn the pattern inside out, starting with the tail. Push out the corners with something sharp—a pair of scissors or eraser end of a pencil works. You’ll see that the overlapped section of piping isn’t too noticeable.
11). Starting with small handfuls of filling, stuff the whale. I always start with the tail since that seems to be the trickiest part. Make sure you use enough stuffing so the whale tail stands up on its own.
I’m not proud that I’ve uttered those words. I’m not a quitter. But to be fair, as far as hobbies go, sewing can be pretty frustrating. There are times when I just can’t grasp a pattern direction or tutorial. Other times I’m defeated by a tricky fabric or stick a pin through my finger (ouch). But then I force my impatient self to take a step back and look at the big picture. When I compare when I first started sewing to now, the difference is night and day. In fact, it took sifting through the archives of my old Tumblr to realize just how much my skills have evolved in the past 1.5 years. From learning the difference between a hand needle and a machine needle to discovering which weird-looking foot to use for knits, digging into this new hobby has been exciting—and infuriating. Here’s a look back at a few of my favorite projects—some good, some strange—from the first 1.5 years of my hopefully never-ending sewing journey.
January 2013
The beer sleeve that started it all. This was made from a $1 fabric remnant from JoAnn. I think the prototype of this had an ugly, sickly little arm, and then I overcompensated and went too big with the sleeves on this guy. Thus, the beer dashiki was born. Magic Hat Brewing even retweeted my pic, which to this day is the height of my Twitter fame.
September 2013
This top is simple, but it’s a significant piece since it marks the first time I made a wearable piece of clothing without a pattern. I have a handful of slouchy shirts that I practically live in, so I used some leftover sweater-knit fabric and pieced together this shirt. Sure, the neck’s a little wide and the armholes gape a bit, but it’s comfy and it drapes nicely. If only I would’ve realized that you need a different needle and machine foot to sew knits… I’ll just chock that one up to the learning process!
October 2013
This was a big Halloween. For years, my talented mom had been making me pretty unbeatable sewing costumes. (I was the Titanic in second grade. Like, the actual ship.) But this time, I wanted to see if I could create something completely on my own, from concept to finished product. I’d been eating a lot of shrimp spring rolls that fall and figured it wouldn’t be too tricky to create a dress version of the cylindrical food. I sewed up a simple shift with some $2.99/yd. velour, then made orangey-pink shrimp pillows and hand-sewed them onto to dress. The vermicelli noodles are rope. Sadly this grainy picture doesn’t do justice to the felt cilantro and basil hiding under the tulle rice paper, but you get the gist.
January 2014
Anyone who knows me knows about my unhealthy obsession with things that are comically undersized. Tiny hats, Barbie-sized Coke bottles, little armchairs, you name it. When I finished up sewing this simple clutch, I had a little bit of leftover fabric. Naturally, I decided to make a baby wallet that could fit inside the already modest-size clutch. I’ve been using the clutch as my primary wallet for months now, and I still haven’t gotten rid of its teensy counterpart. Where else am I supposed to keep my inspiring fortune cookie fortunes and lucky pennies?
January 2014
Finally—I used the right equipment for a knit! It turns out that using the right tools—in this case ballpoint needles and a walking foot—can make all the difference. This dress is a Tracy Reese Vogue pattern that’s ruched on the sides and lined throughout the body. I used a stretchy mesh for the lining, and the outer fabric is an ugly-sweater knit from The Needle Shop. Whenever I sew a dress, I always extend the torso 2–3 inches, since roughly 80% of my 6 feet of height lies in my torso. That lengthening really helped with the overall fit and fall of the dress. It’s one of the more flattering items I’ve worn, and I’m really proud of it! The ruching is surprisingly forgiving—it even masked my bloat after my birthday dinner, during which I ate 10 pounds of sushi and drank my weight in sake. Nomnom.
So, there you have it. Not necessarily all the best, but definitely five of my favorite sewing projects thus far. Hopefully that gave you a little taste of things to come! (Halloween’s only seven months away, after all.)