A lot of important decisions I make are determined by two distinct, opinionated voices in my head. I’d like to think of them as Ambitious-Bordering-on-Irrational Dani, and Calculated-Bordering-on-Boring Dani. This past week, their conversation involved sewing.
ABOI: Should I make a dress to wear to Bianca and Jon’s wedding?
CBOB: Absolutely not.
ABOI: But I never make formalwear—it’ll be fun!
CBOB: The wedding is five days away, dummy, and you haven’t even bought a pattern yet.
ABOI: It’s fiiiine. I’ll go to JoAnn and get a nice Vogue pattern and some fabric. Kill two birds with one stone.
CBOB: But what if it doesn’t turn out? You know you have dramatic tendencies when sewing under pressure.
ABOI: I’ll pick an “easy” pattern. I’m not worried about it.
CBOB: I’m worried about it. This is a bad idea.
ABOI: [Frolics off to catch the bus to JoAnn.]
CBOB: [Yelling:] Don’t expect me to calm you down when your needle breaks and gets lost in your sewing machine at midnight on Thursday!
ABOI: Can’t hear you! Too busy flipping through pages of designer dress patterns!
CBOB: [Still yelling:] Or when you realize that the pretty dusty-rose fabric you’re about to buy is a rayon-lycra blend that will make you consider throwing your sewing machine off the roof of your building!
ABOI: Oh stop being such a grouch. It’ll be a learning experience! Plus, I have other dresses to wear if this turns out to be a total disaster.
CBOB: I guess that’s true. Fine. Do it. But I’m not buying the Spanx.
ABOI: I already did.
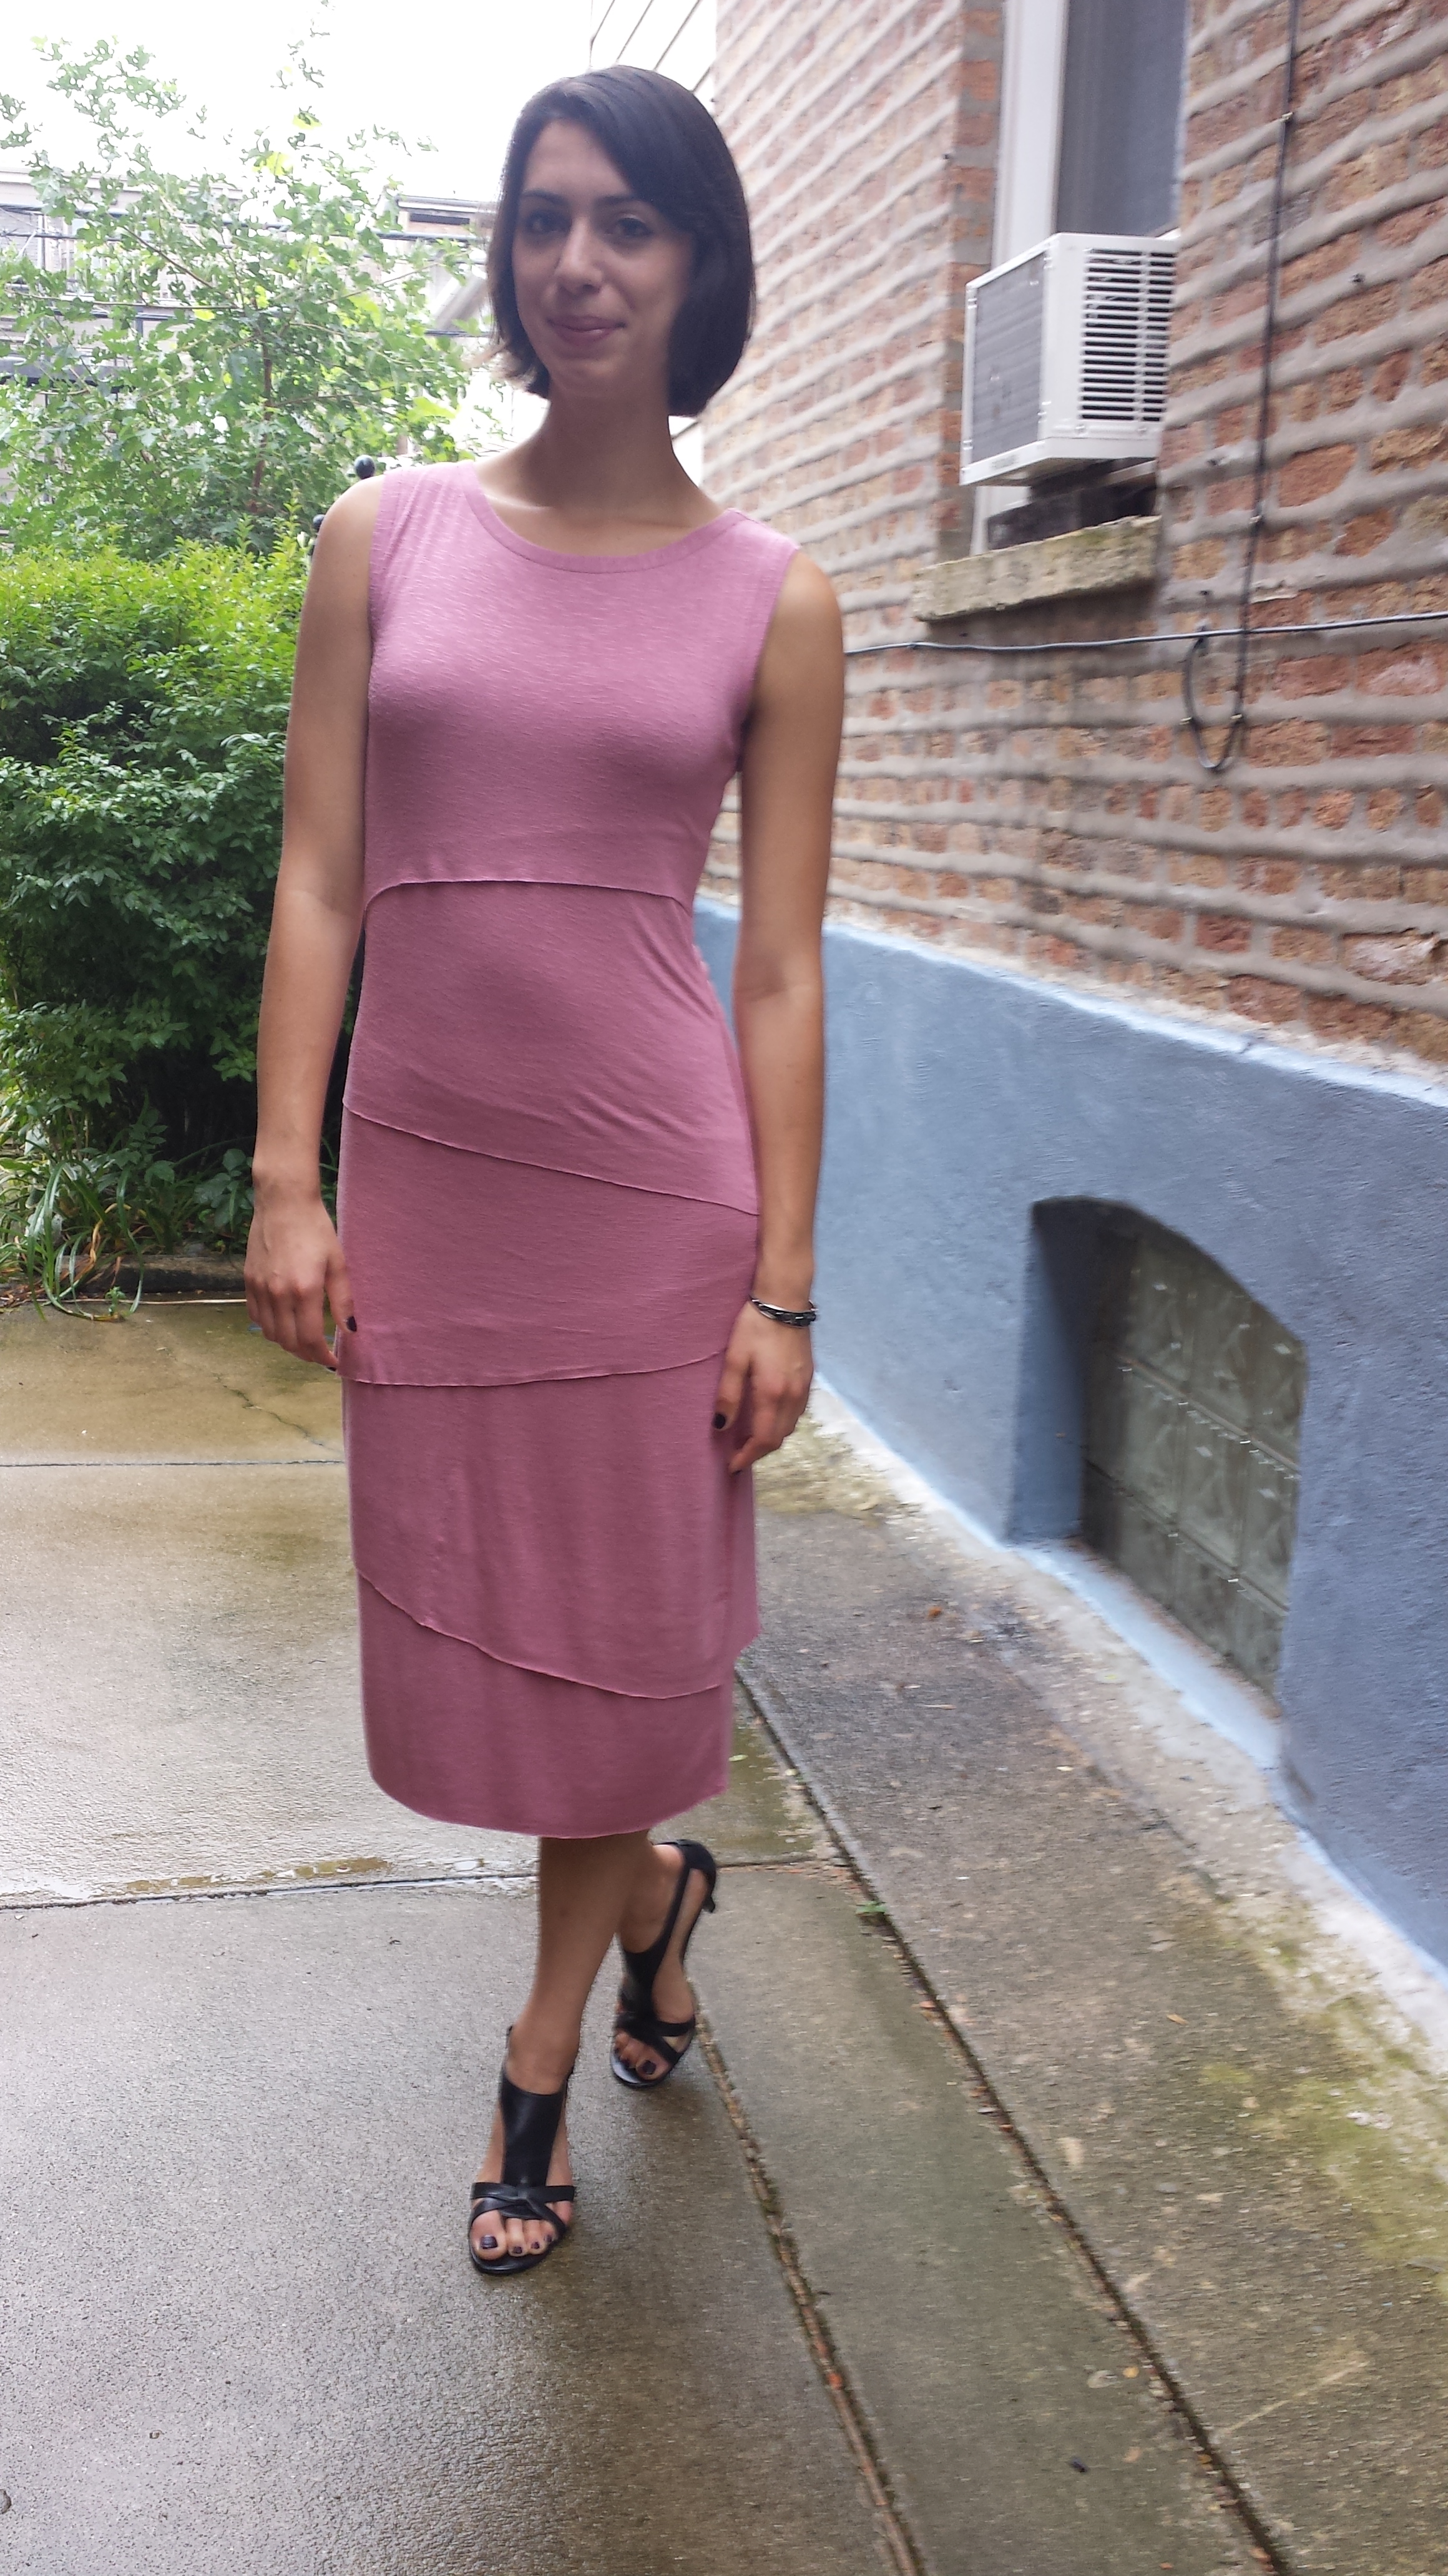
And so, Ambitious-Bordering-on-Irrational won that round. While it’s important to self-edit when it comes to project ideas, especially when precious $$$z are involved, it’s also pretty liberating to follow your gut. I’m happy to say that this particular gamble turned out well enough that I didn’t have to outfit repeat. (Not that there’s anything wrong with outfit repeating.)
Here’s what I ended up with after sifting through three giant pattern books and the limited selection of knits at JoAnn:
The Pattern
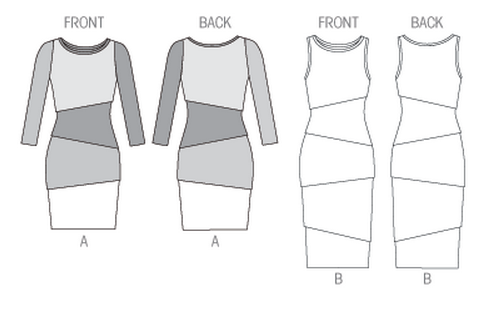
- Vogue 8904 Marcy Tilton Shingle Dress, view B
- Difficulty: easy
- Cost: $16.50 (at 40% off, but you can get it for $4.99 online grrr >:-o)
I normally avoid buying Vogue patterns when they’re not on sale for $5, but, being desperate, I made an exception for Vogue 8904. Several other bloggers who’ve made this dress have commented on its striking similarity to a layered column dress from Anthropologie. Years ago, I tried on a near-identical version of that column dress and fell madly in love. It was one of the most flattering, comfortable piece I’d ever worn, but I couldn’t justify the roughly $150 price tag. Sadly, I left it on the rack that day. Enter Vogue 8904, which not only fills the void of that layered column dress, but also offers a shorter option with sleeves for the fall/winter! I’ll definitely be trying view A (and maybe making one for a friend… eek!) at some point in the next few months.

The Fabric
- Dusty rose rayon-lycra blend with slub texturing
- Difficulty to work with: !!@#$%^&*!!!!!
- Cost: $17 (after using a 60% off coupon)
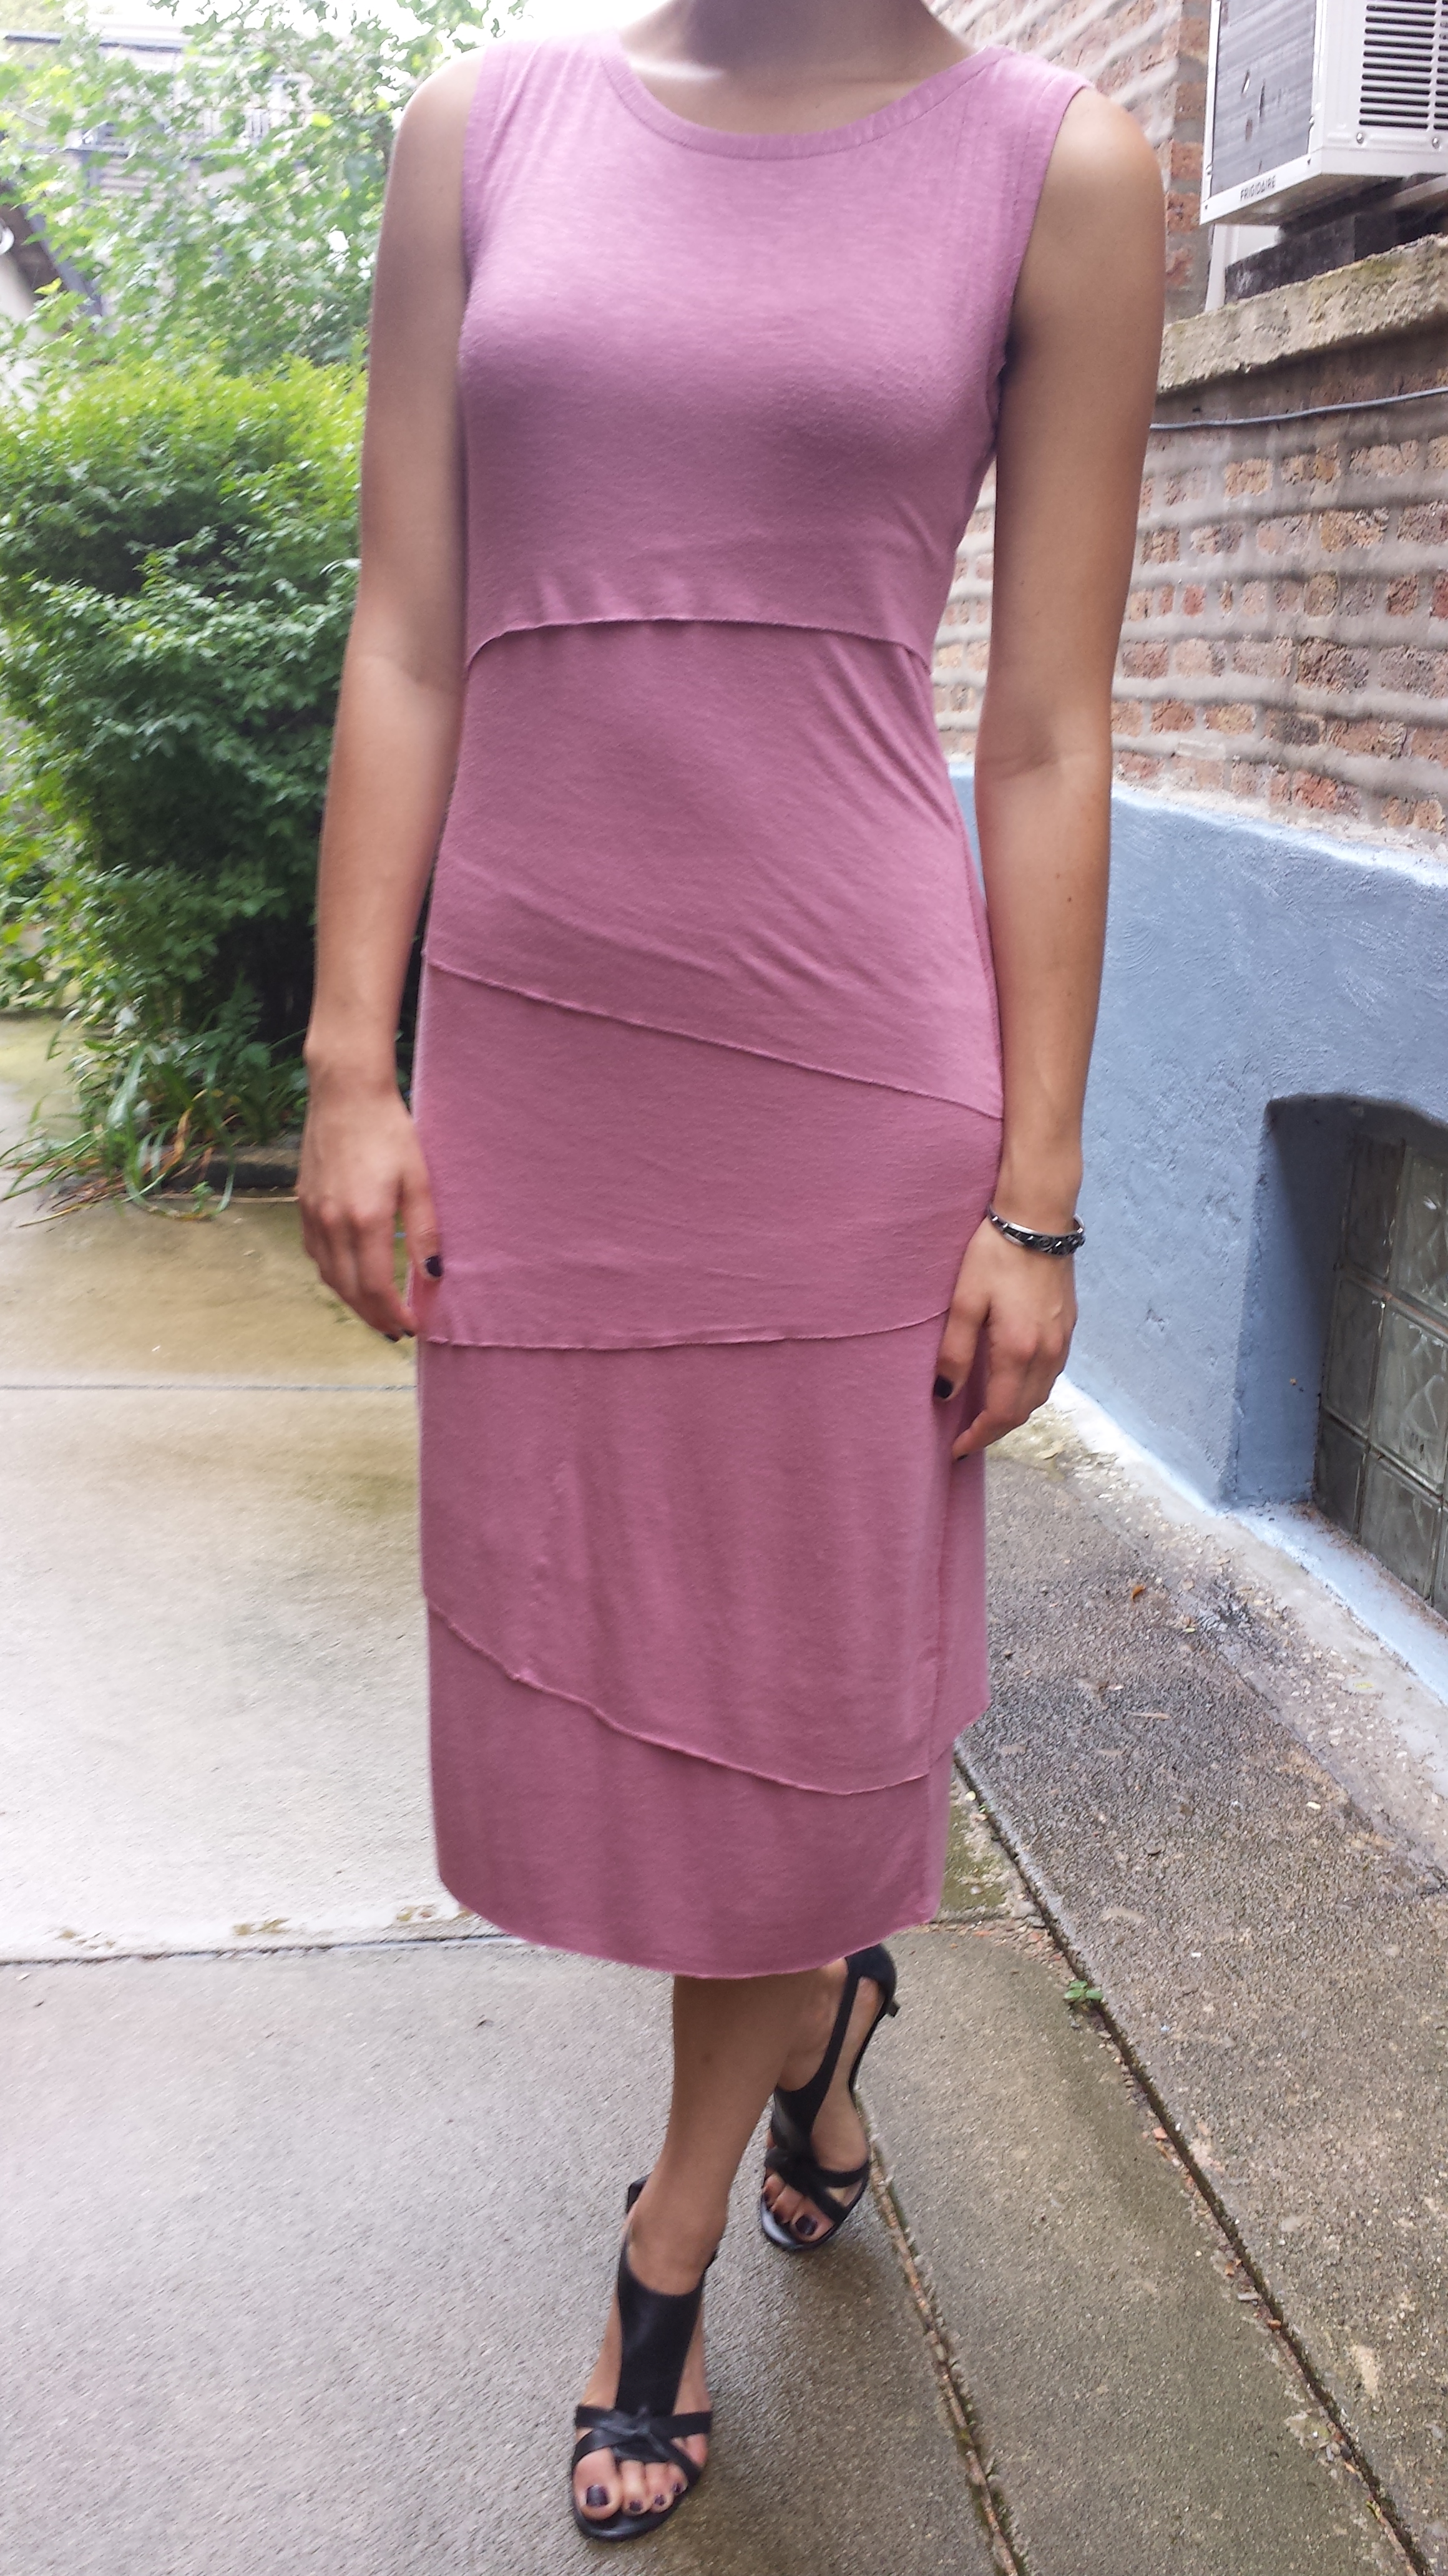
Ohhh, where to start with this one. I really should know better than to rely on the selection of knits at JoAnn, but I just didn’t have time to order anything online. I settled for a very pretty, very slippery rayon knit that turned out to be quite a doozy to lay out and cut. Using a rotary cutter helped, and that’s what I made sure to use to carefully cut the raw edge portion of the floating panels (“shingles”) that are sewn on top of the base layer. The base layer doesn’t have to be the same fabric as the shingles (mine was), but I assume it makes life easier if you use the same fabric or one with a very similar stretch/drape.
All I can say about sewing this material is thank god for my walking foot. Having the top and bottom layers feed through evenly was key to this material not ending up a puckered mess.
The pattern deserves its “easy” difficulty, but it’s not a project that you can whip up in an afternoon. Marcy Tilton, the pattern’s designer, wrote an informative blog post that I highly recommend reading if you plan on trying this pattern out. It’s full of great tips and in-progress pictures.
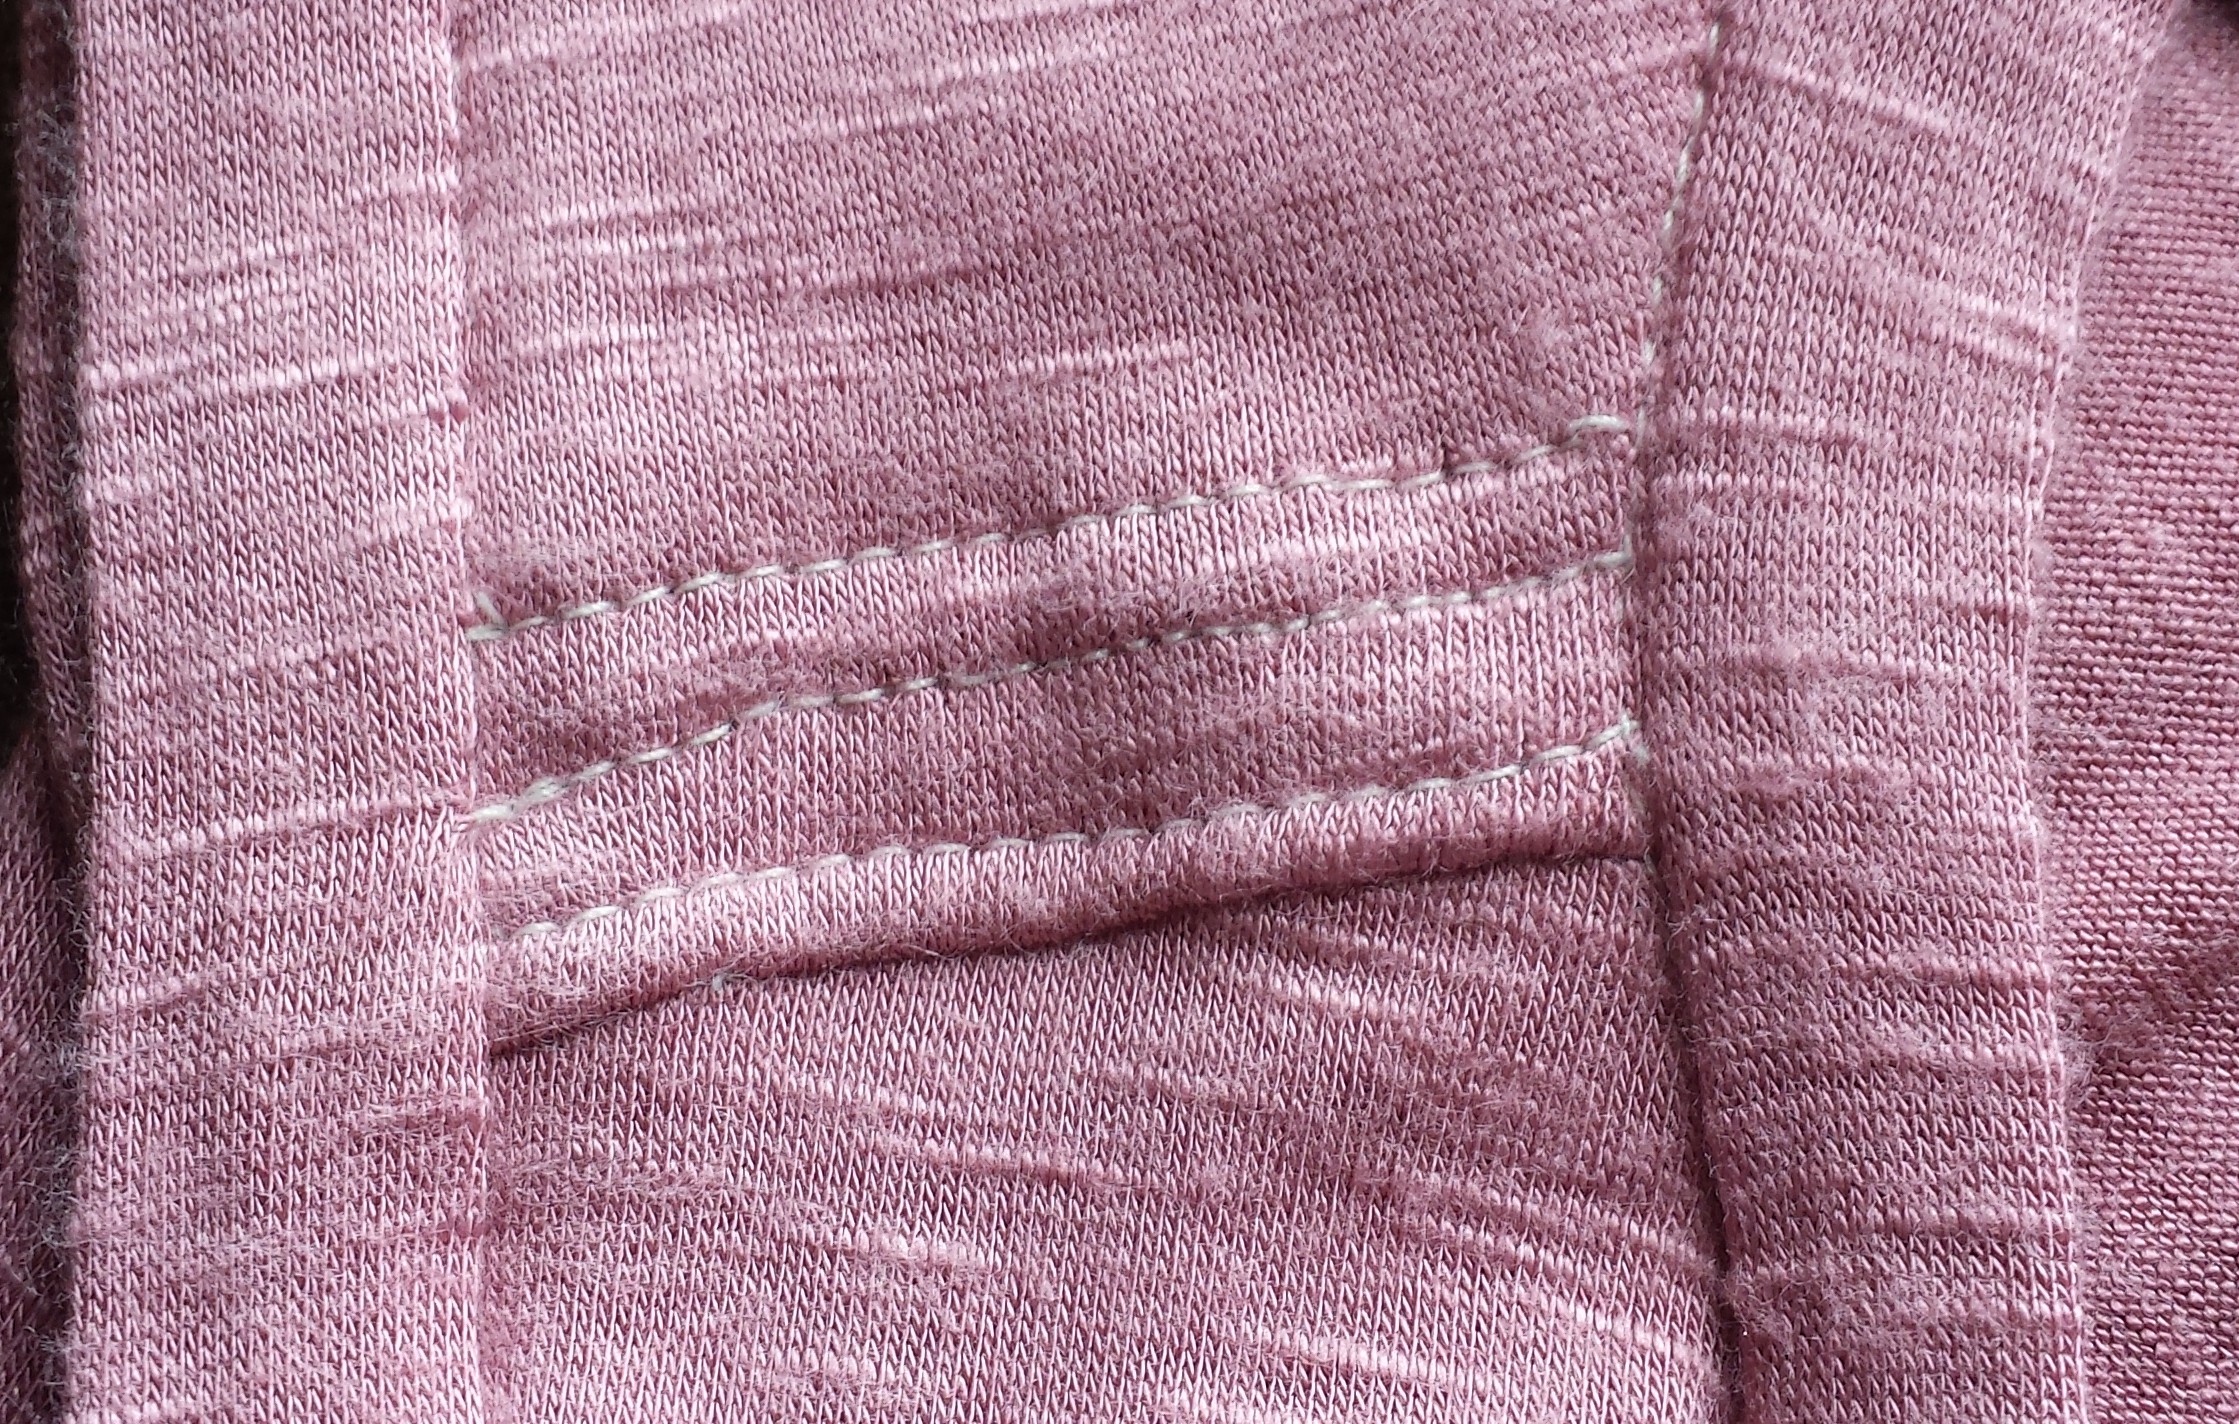
The main pain points I had during construction were with the neckline and armhole binding. I’ve never bound a knit before, let alone a super-stretchy one, and the finished neckline and armholes ended up a little droopy where I didn’t stretch enough when attaching, and a little puckered where I stretched too much. I also decided to add some self-material stabilization since the dress was getting heavy. I folded a small strip of fabric attached it with two layers of topstitching, parallel to the already existing topstitching at the shoulder. Not sure if it was necessary, but I think it made the dress feel more stable.
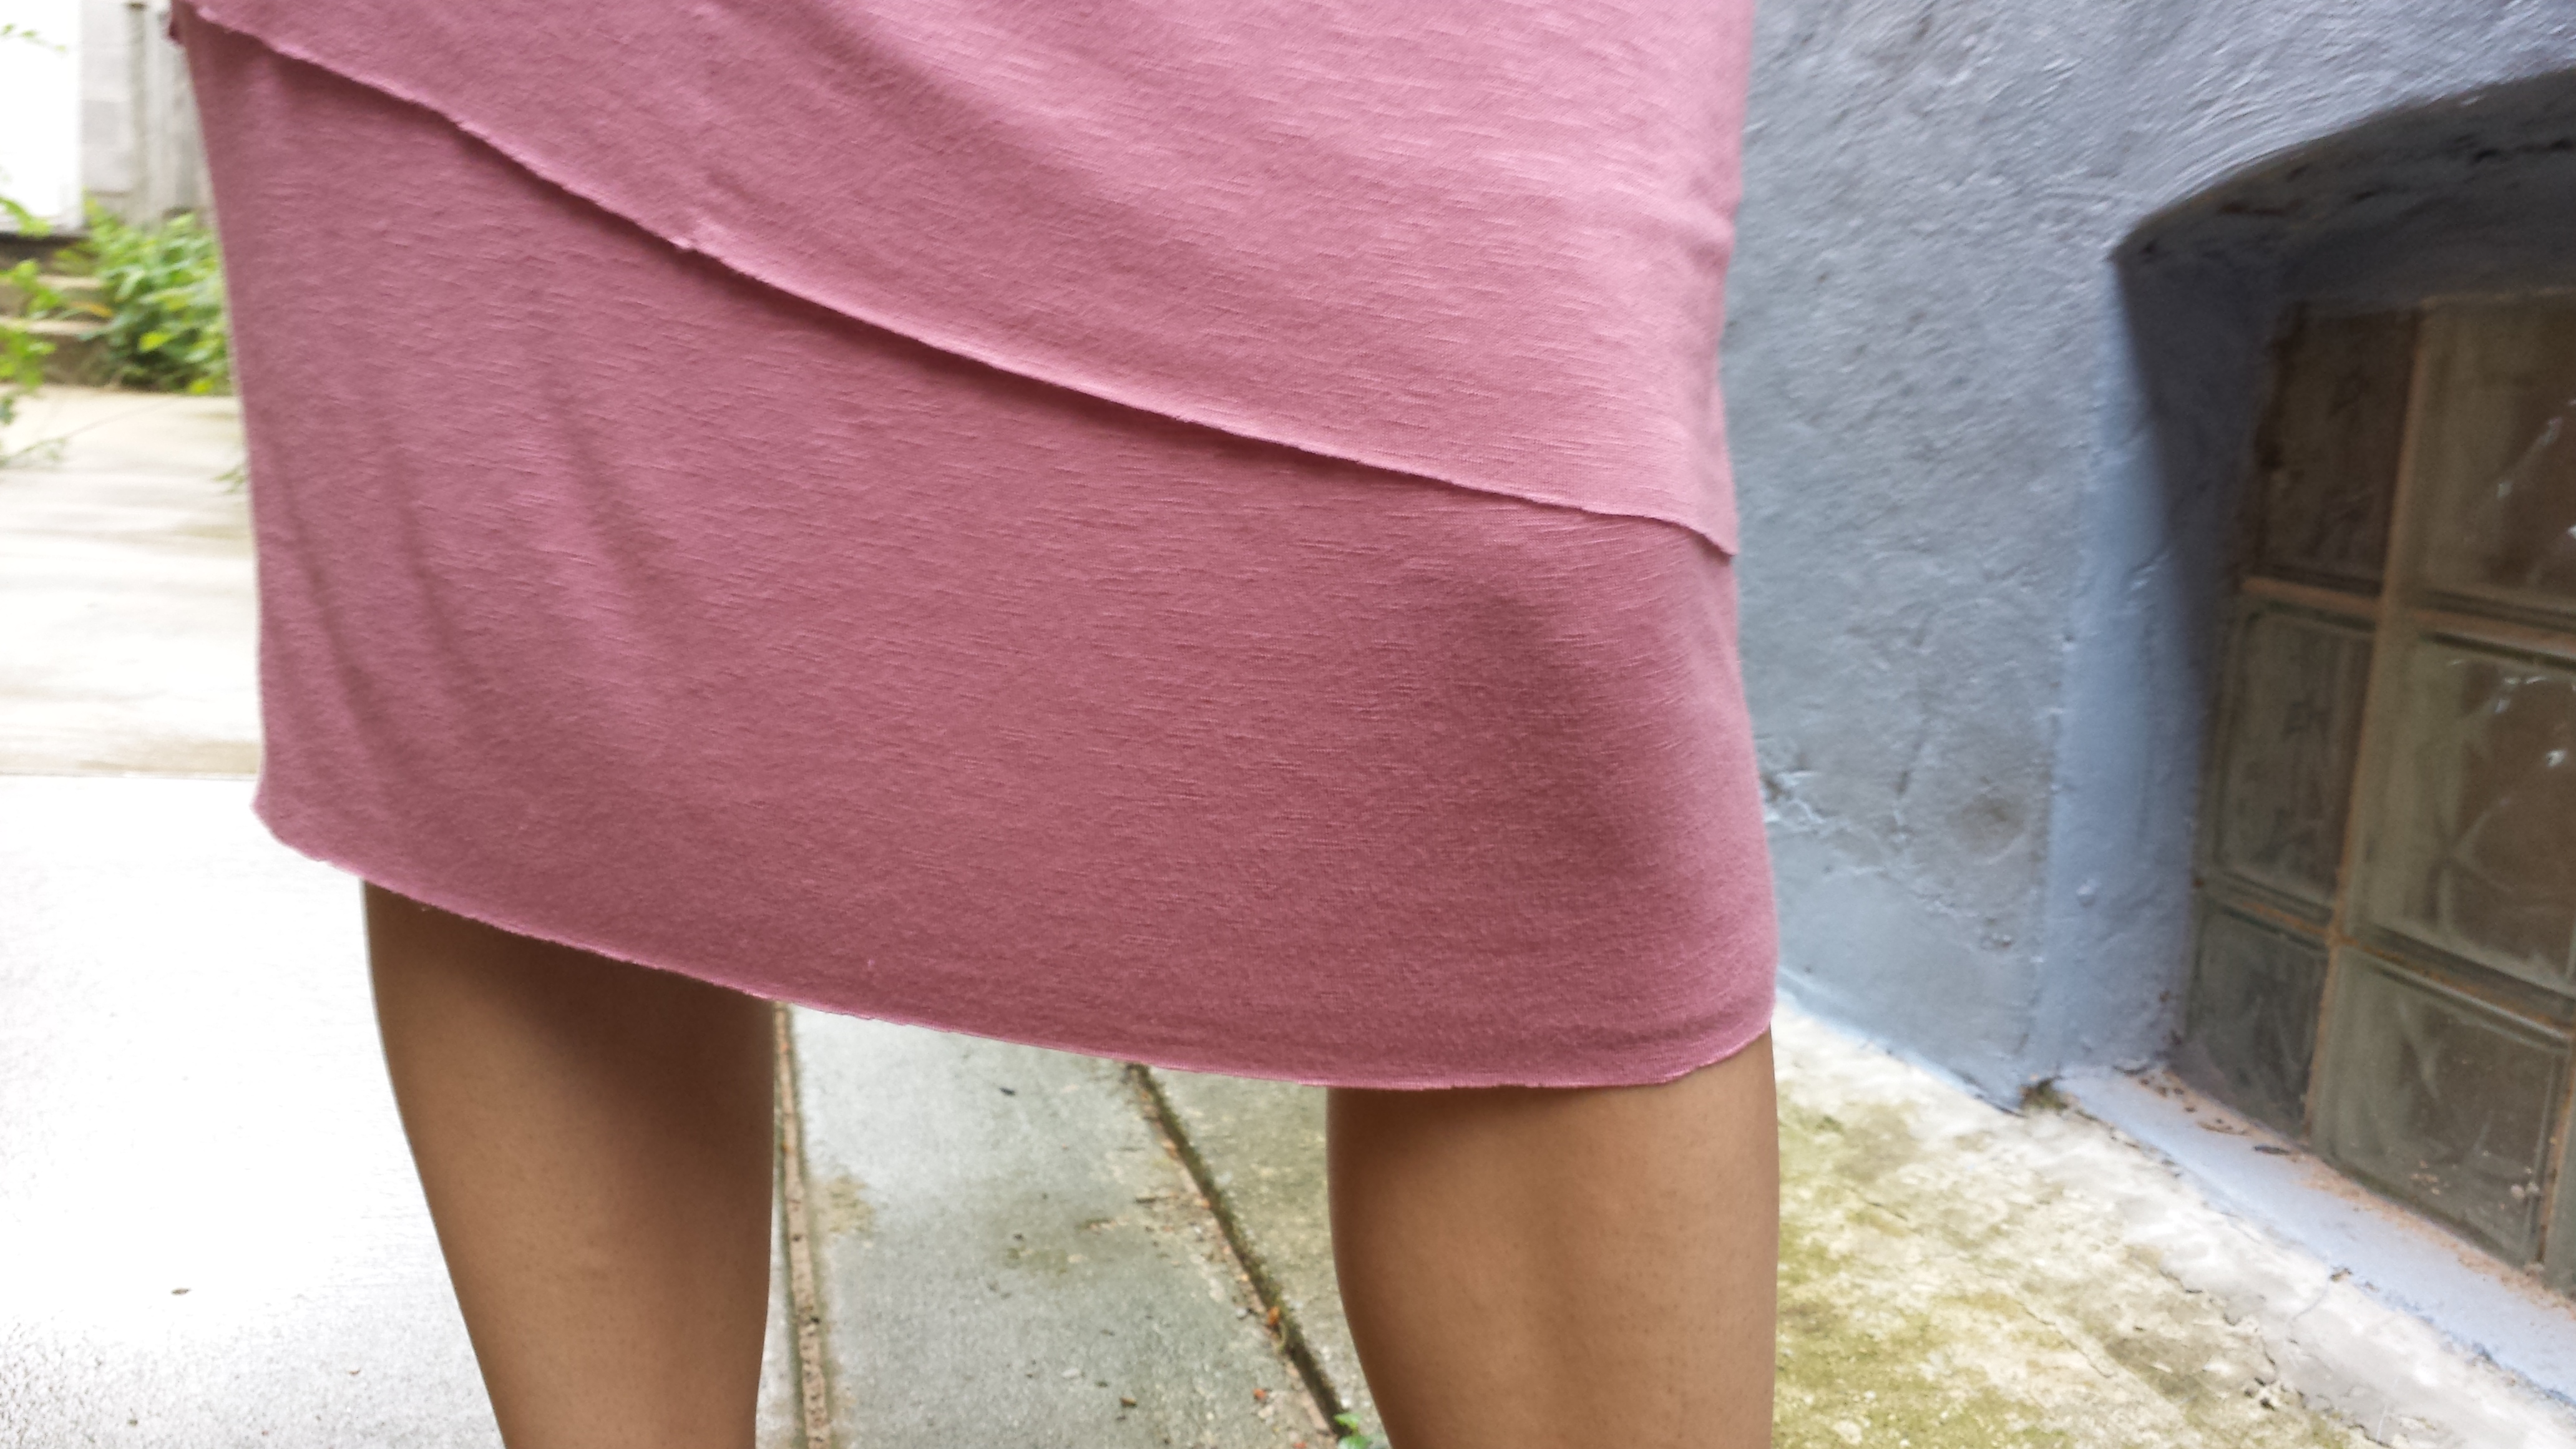
Oh, and in case you noticed the strange imperfection in the second-from-the-bottom front layer, that’s from where I ran out of fabric and had to piece two scraps together. (That’s what I get for buying the last of the fabric bolt and hoping that I wouldn’t need those extra two inches.)
I was pretty worried about the clinginess of the material, but the double-layer construction (and some microfiber shorts) helped to reduce most of the cling. That said, this dress is definitely cut to hug the figure. Marcy points out that you can sew it a size bigger if you want to reduce the bootylicious factor (in so many words).
Per usual, I lengthened the pattern at the waist by about 1″ to accommodate my long torso, and I think that was the correct amount, although I’m wondering if that added length is what made the middle back panel a little droopier than the rest.

A raw-edge hem allowed for total freedom of movement.
I’m happy to say that this dress held up pretty well during an amazing day that included a pre-wedding cocktail hour, ceremony, dinner, and reception full of sweaty dancing. The raw edges did start to run a little bit, and the material is already pilling under the armpits, but it pretty much felt like I was wearing fancy pajamas all evening. That’s really all a girl can ask for when it comes to formalwear. But a handsome date doesn’t hurt either.

Congratulations Mr. and Mrs. Mecoli! The outpouring of love shown at your wedding is a true testament to both of your characters. It was a beautiful day (not to mention a total blast) and made me proud to call myself your friend. Can’t wait to start sewing y’alls some baby clothes!!! 😉