This is a lengthy post, so feel free to jump down to the tutorial for tips on sewing your own Star Trek costumes, including supplies, altering your sewing patterns, sewing the points, and adding the patches and pips.
I am a Halloween fiend. Ever since I started making my own costumes, the stakes seem to get higher and higher each year. This year, in particular, I felt the pressure because it was EVIE’S FIRST HALLOWEEN!!!

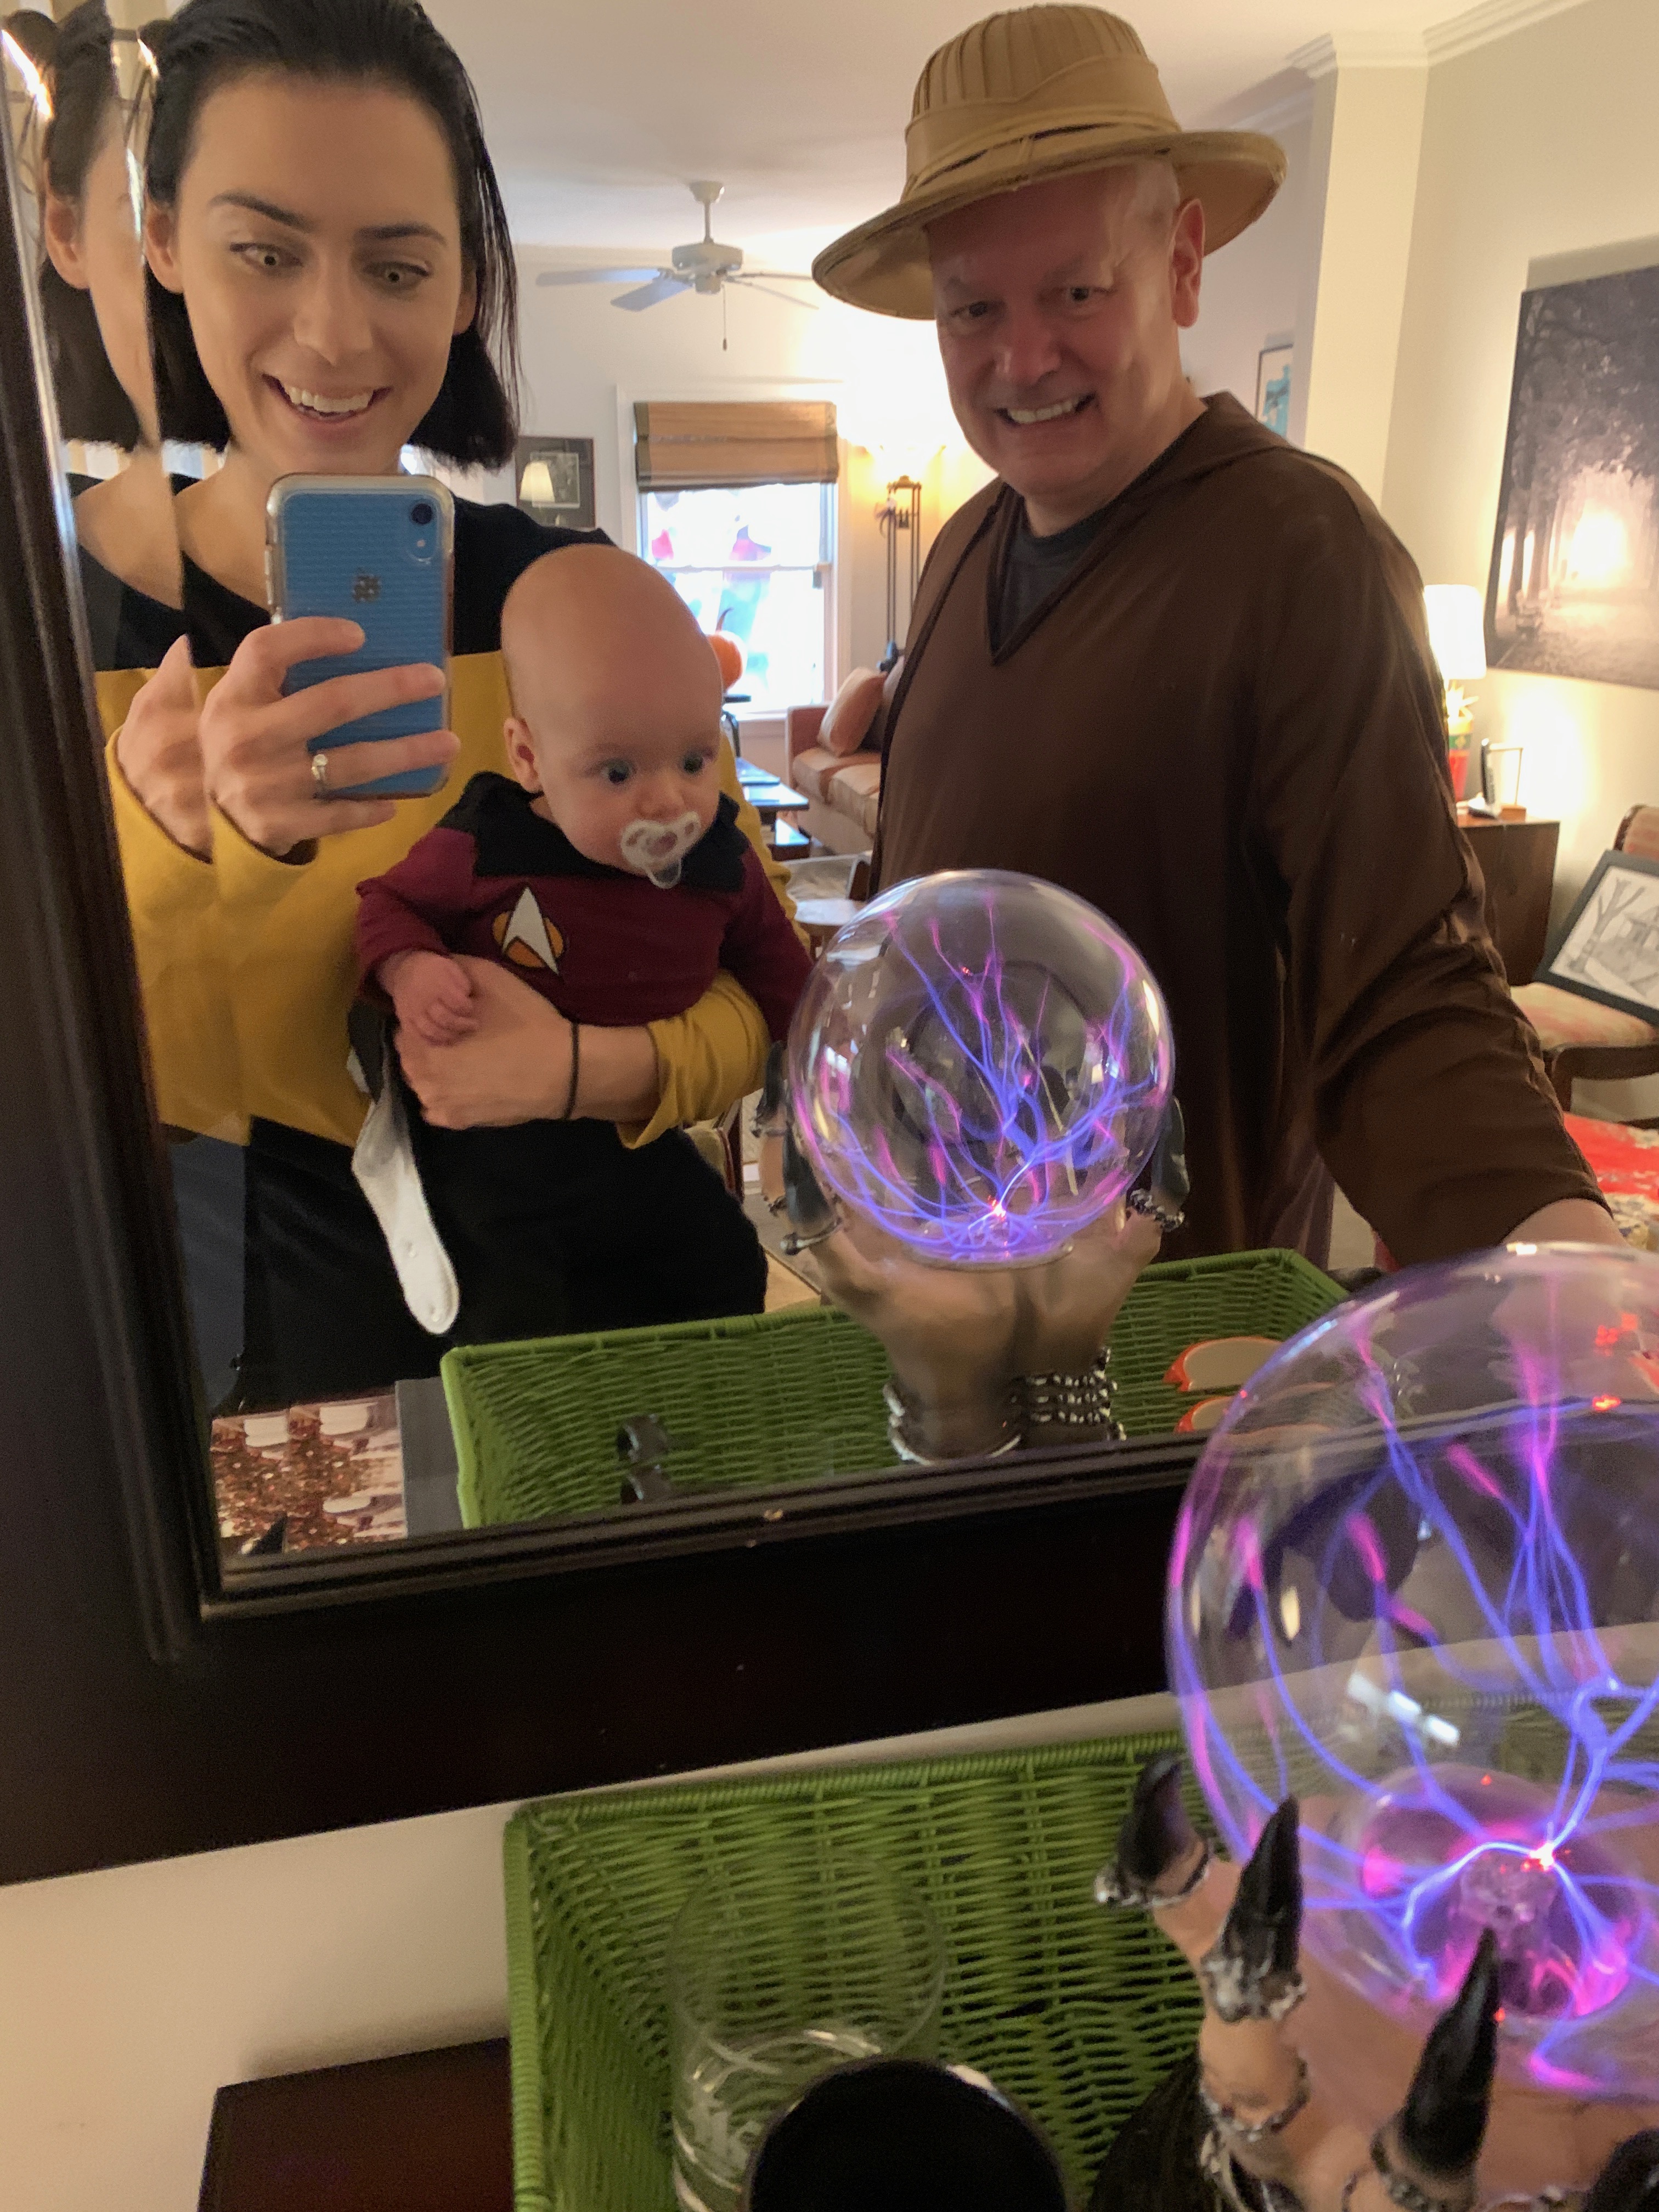
I was impatiently waiting for inspiration to strike, and trying to figure out how to make the most out of my daughter’s hilarious and adorable male pattern baldness. That’s when my friend said, “What about Picard?” And the rest is history. Marc and I aren’t Trekkies (so please forgive me for any egregious errors haha), but we both grew up with The Next Generation TV show and movies. And we just so happened to resemble a few of the crew members!

Evie as Captain Jean-Luc Picard

Marc as Will Riker

Me as Ms. Data

Here are my hair and makeup deets:
- Eyes: I wore these yellow contacts—they’re prescription! I wear contacts daily and these were pretty comfortable, aside from my vision being ever-so-slightly obscured by the opaque yellow irises
- Hair: I slicked back my towel-dried hair with Reuzel Fiber Gel
- Makeup: Sponged Maybelline Instant Age Rewind concealer (in Warm Light) all over my face and then brushed with Revlon PhotoReady Candid Glow foundation (in porcelain) all over, including my lips; brushed a bit of bronzer on my cheeks for definition and then added metallic gold eyeshadow on my cheeks, nose, eyes and forehead
Cora as Dr. Crusher

Tutorial – DIY Star Trek Costumes
This tutorial is designed for people with advanced beginner/intermediate-level sewing skills. It assumes you have the basic supplies needed for sewing (i.e., sewing machine, serger (optional), iron, seam ripper, etc.).
Step 1: Gather Your Supplies
Here’s what you’ll need to make your own Star Trek crew uniforms:
- Sewing patterns:
- Baby: Easy Onesie by Mama Can Do It (size 3-6 months)
- Adult: Strathcona T-shirt by Thread Theory Designs (size S), but you can use any crew-neck T-shirt or sweatshirt pattern you already have on hand!
- Dog: I traced off one of Cora’s sweatshirts so I don’t have a pattern, but this pattern is pretty close to what I drafted
- Knit fabric: black, burgundy, and blue cotton/spandex blends, all from Girl Charlee; yellow knit from JoAnn (I bought this in the store, but I THINK that link is correct…)
- Communicator badges: I got these patches from Etsy
- Gold collar “pips”: I created the pips using a hole puncher and this iron-on heat transfer vinyl
Step 2: Alter Your Sewing Patterns
For the sake of this tutorial, I’m only going to show how I altered the adult sewing pattern. Marc and I pretty much wear the same size, so I was lucky and only had to do this for one pattern between the two of us!
The basic steps are:
- Use a ruler to draw “cut” lines across the upper chest, the side panels, the V at the front and back, and the sleeve V
- TIP: Cut one side panel line first, and then fold your pattern in half and trace the “cut” line for the other side panel; this way you only need one pattern piece to cut the fabric for both side panels
- TIP: Use the sleeve notches on your sewing pattern to guide where to make the upper chest and sleeve “cut” lines; you’ll want to be as accurate as possible here so the black/color fabric matches up when you attach the sleeves
- Add seam allowance (SA) everywhere you cut the pattern; you can do this on the pattern, or use a marking tool to add SA to the fabric itself
- Clearly mark each new piece (i.e., FRONT, BLACK or FRONT, YELLOW)
I think it’s a lot easier to digest this visually, so here you go!


Step 3: Cut Out Your Fabric
This step is pretty straightforward. If you’re adding your SA straight to the fabric itself, I suggest using a chalk marking tool and ruler to add 1/2″ SA to each seam.
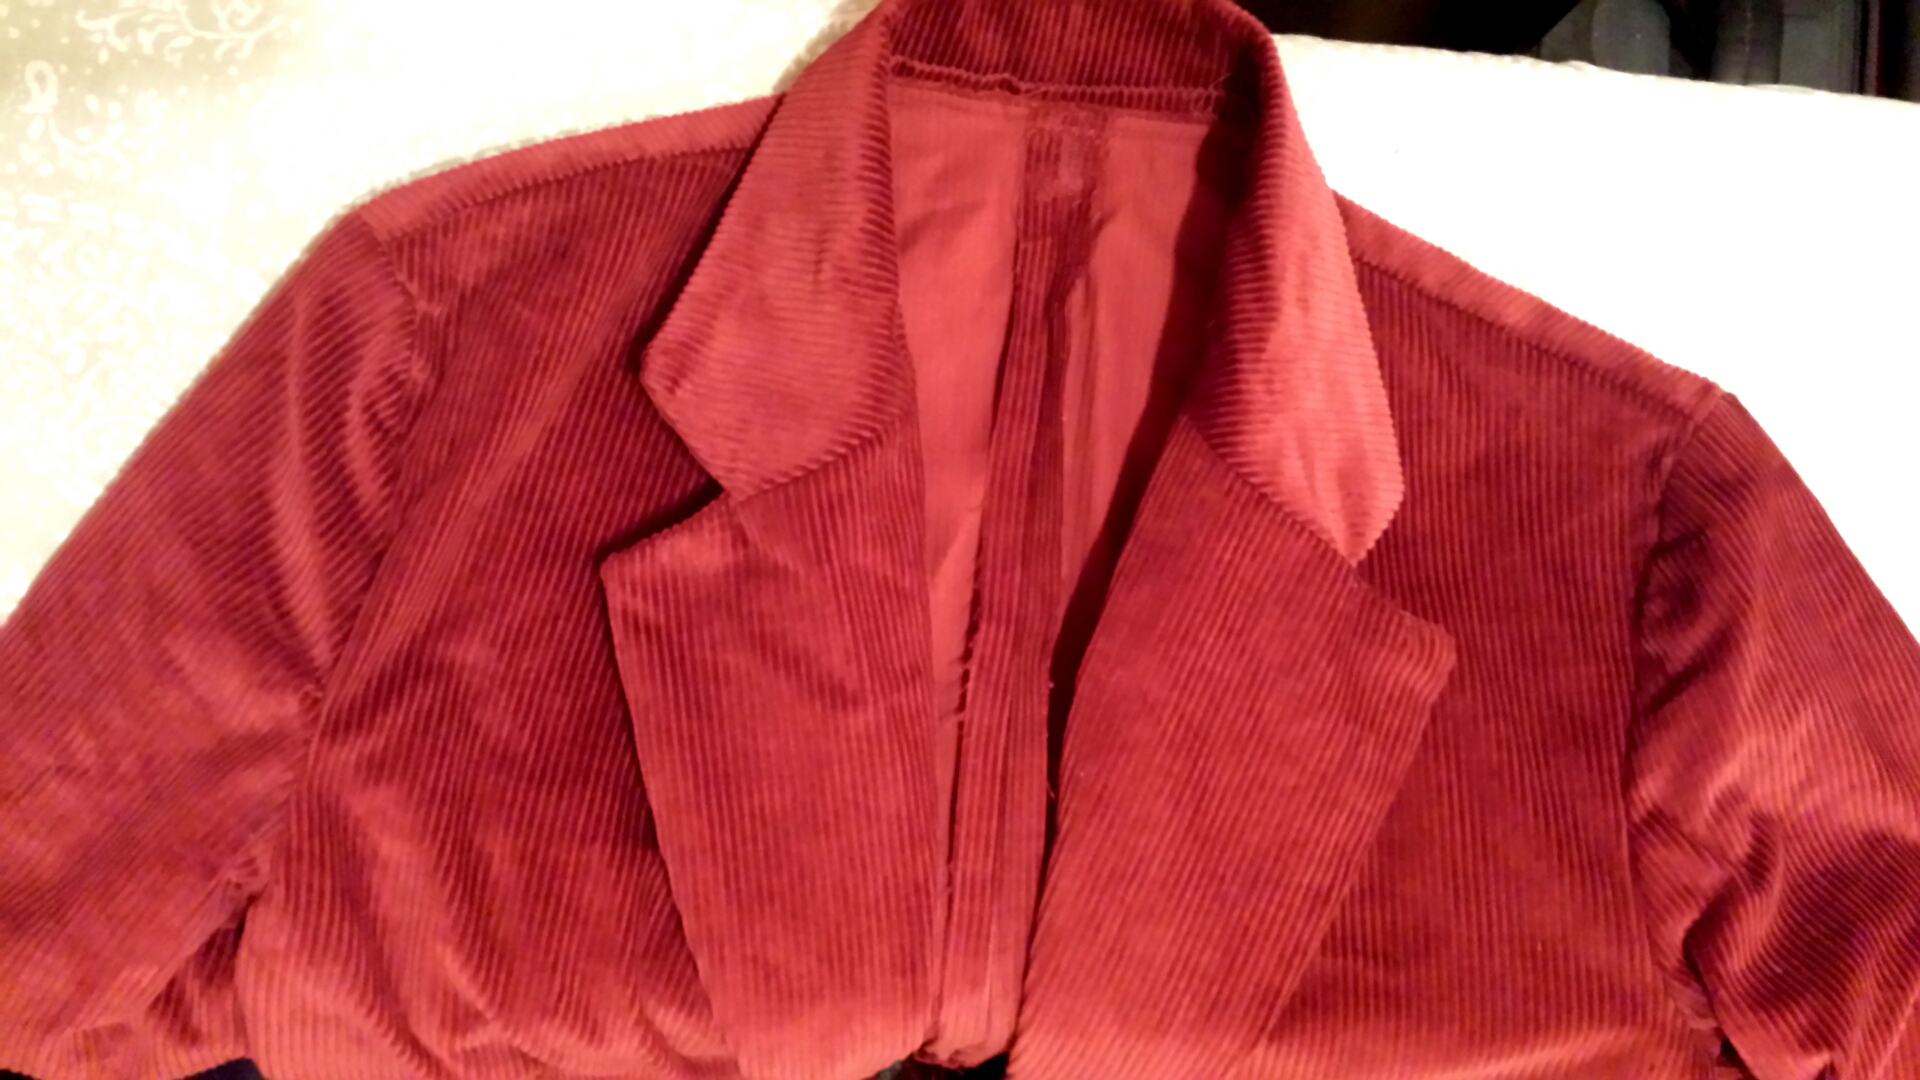
Step 4: Sew the Points
Ah, now for the most tedious part of the costumes. I referenced the Grainline Studio Lark Tee V Neck tutorial to sew the V-shaped points on the body and sleeves. Click through my slideshow below to see the steps!

1. Staystitch the concave part of the V 
2. Clip to but NOT through the point of the V 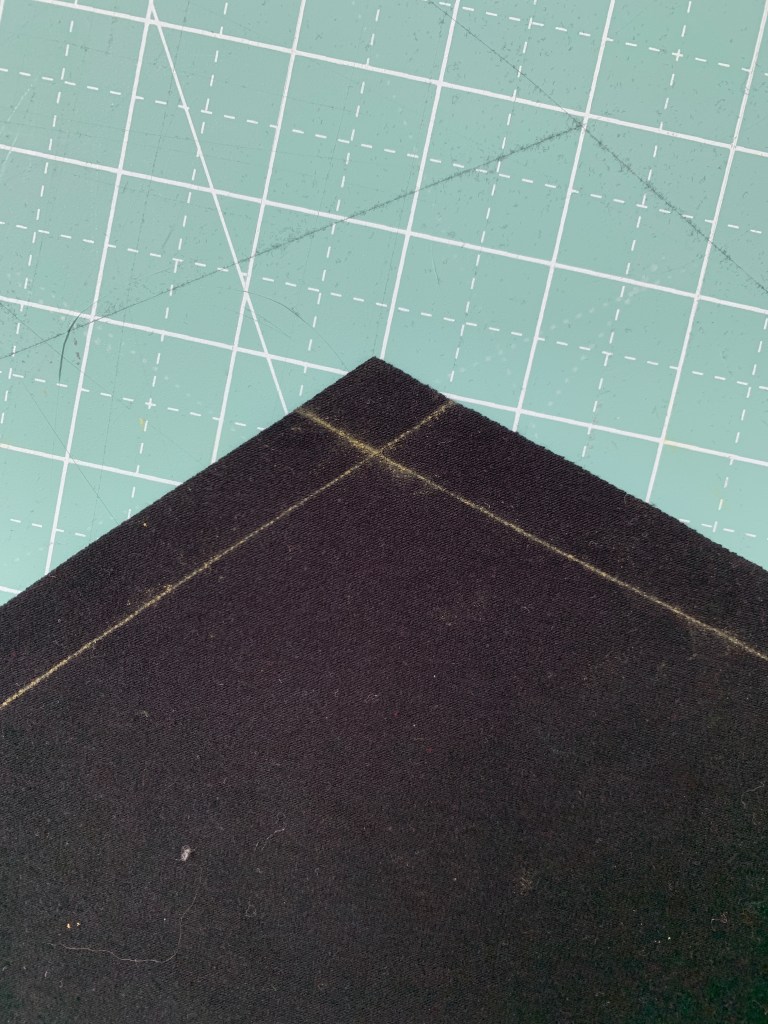
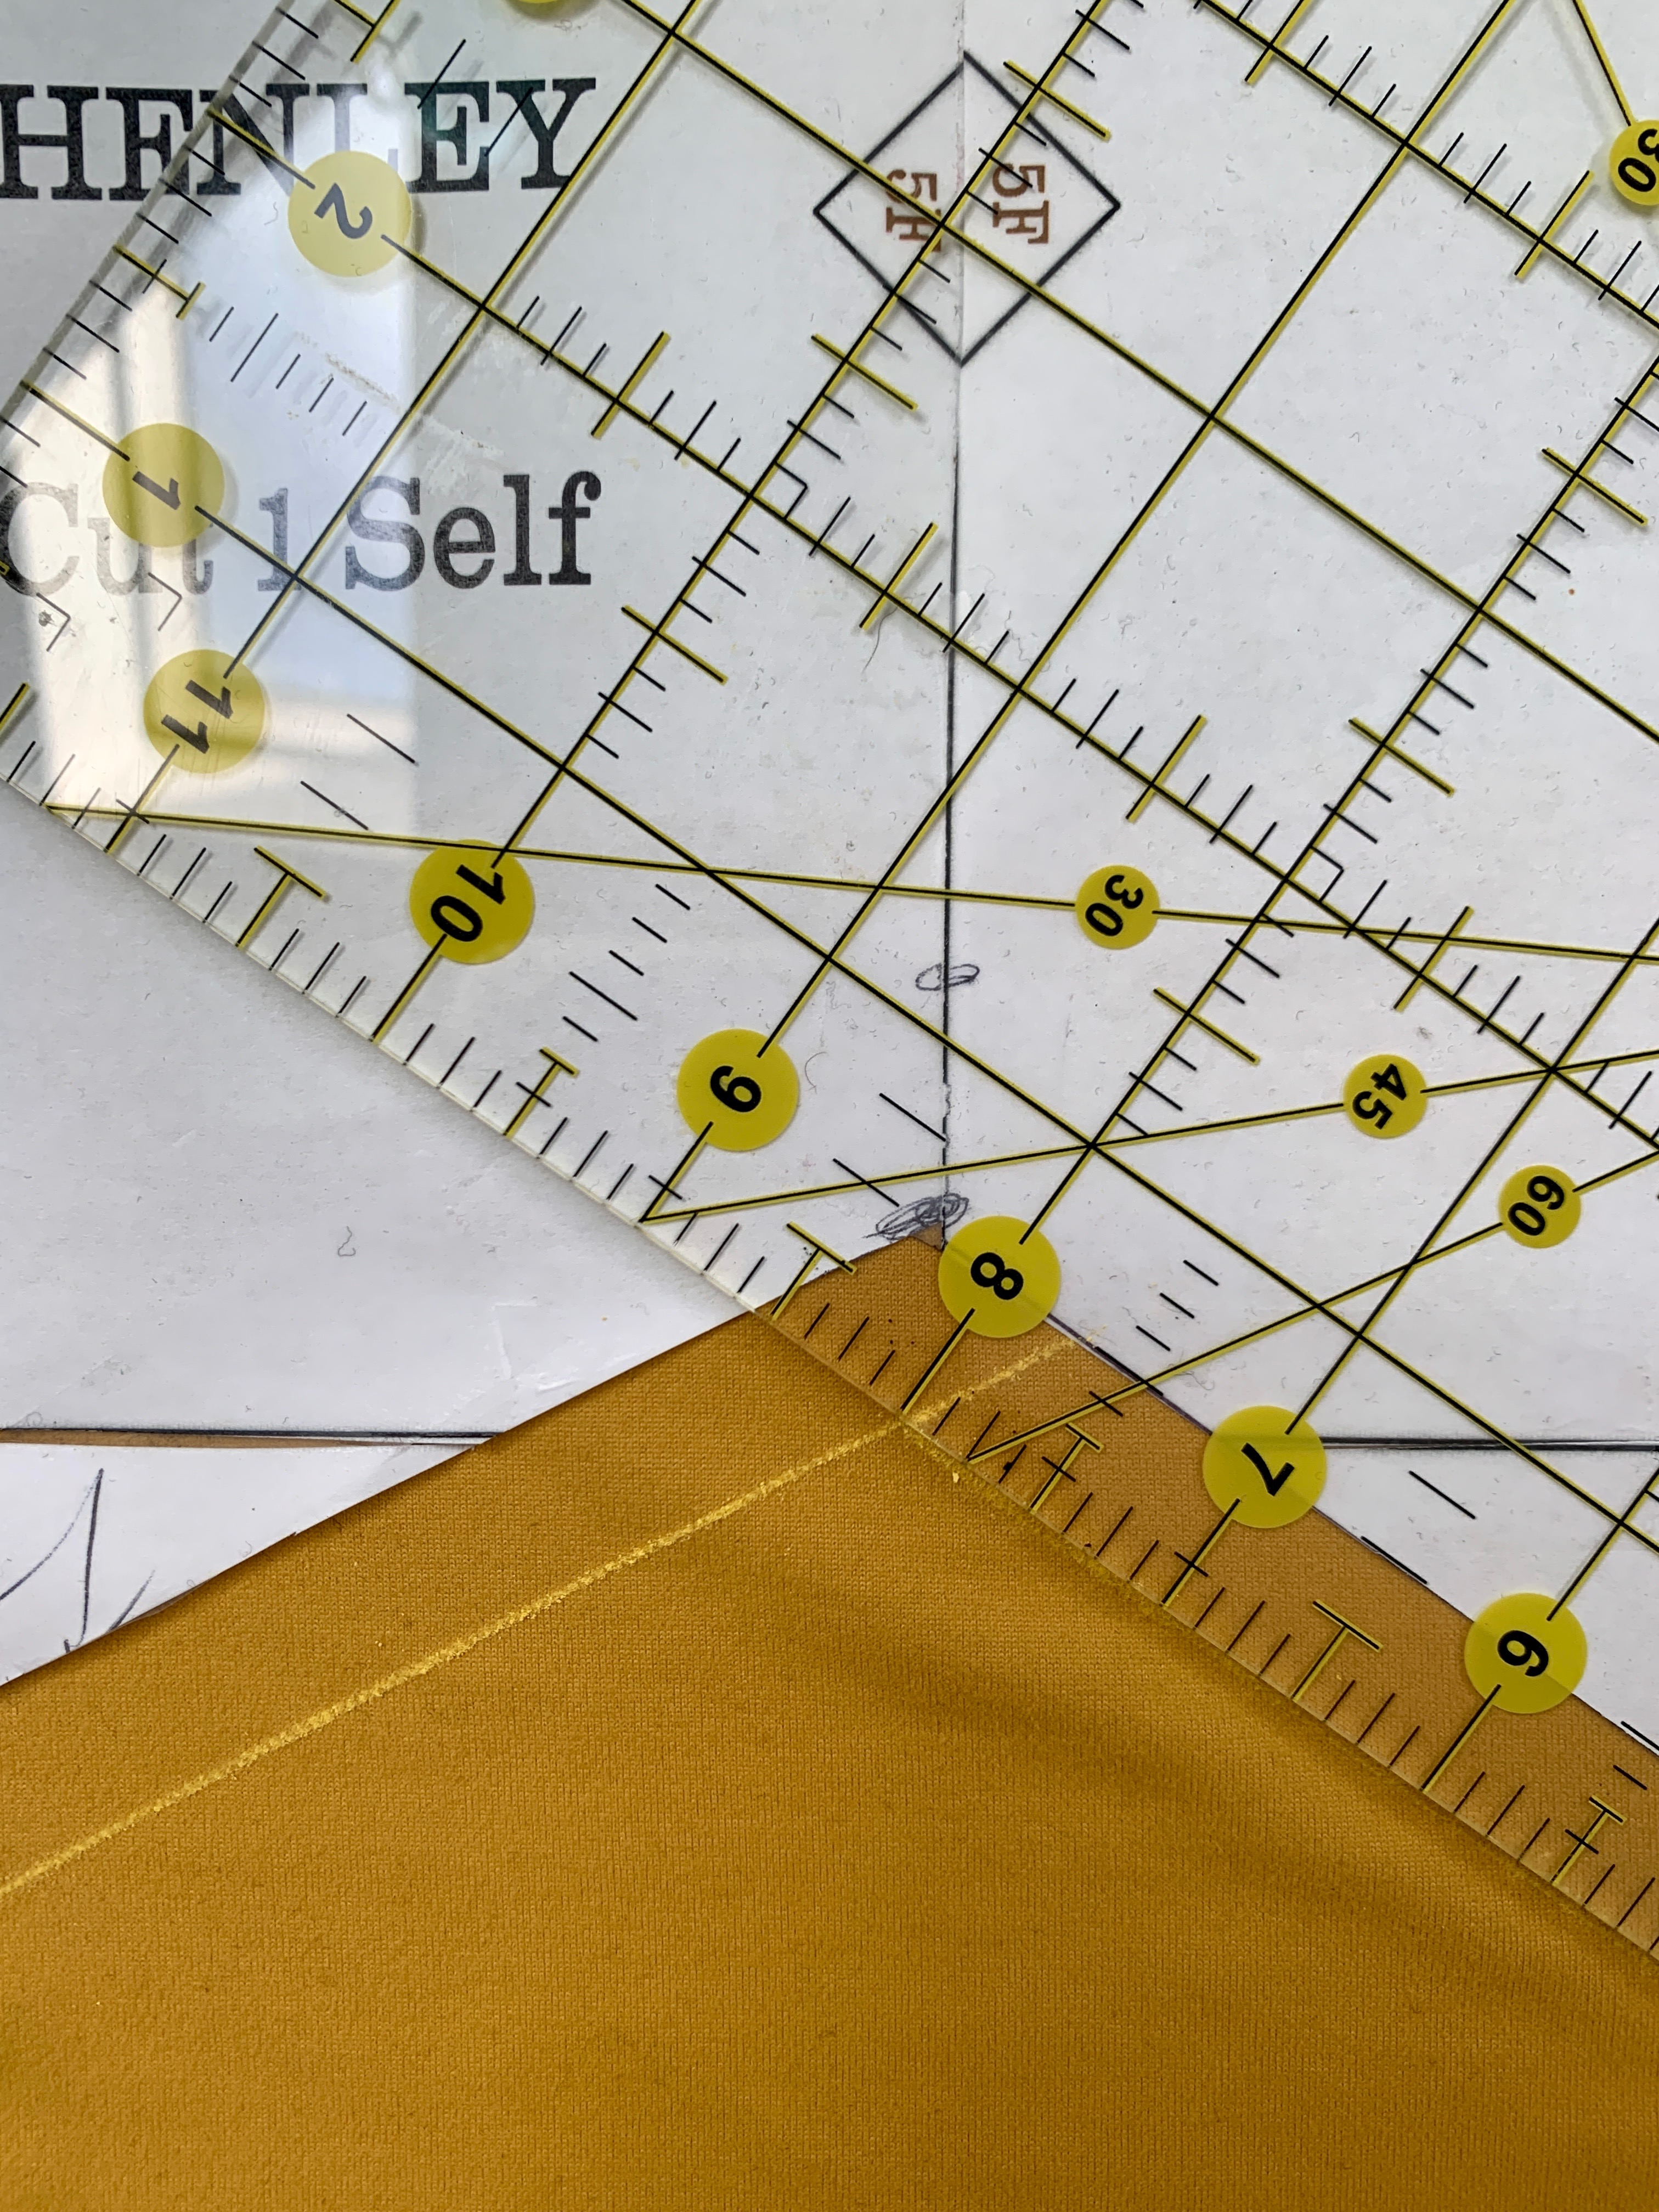
3. If you haven’t already, draw your seam allowances on the convex part of the V 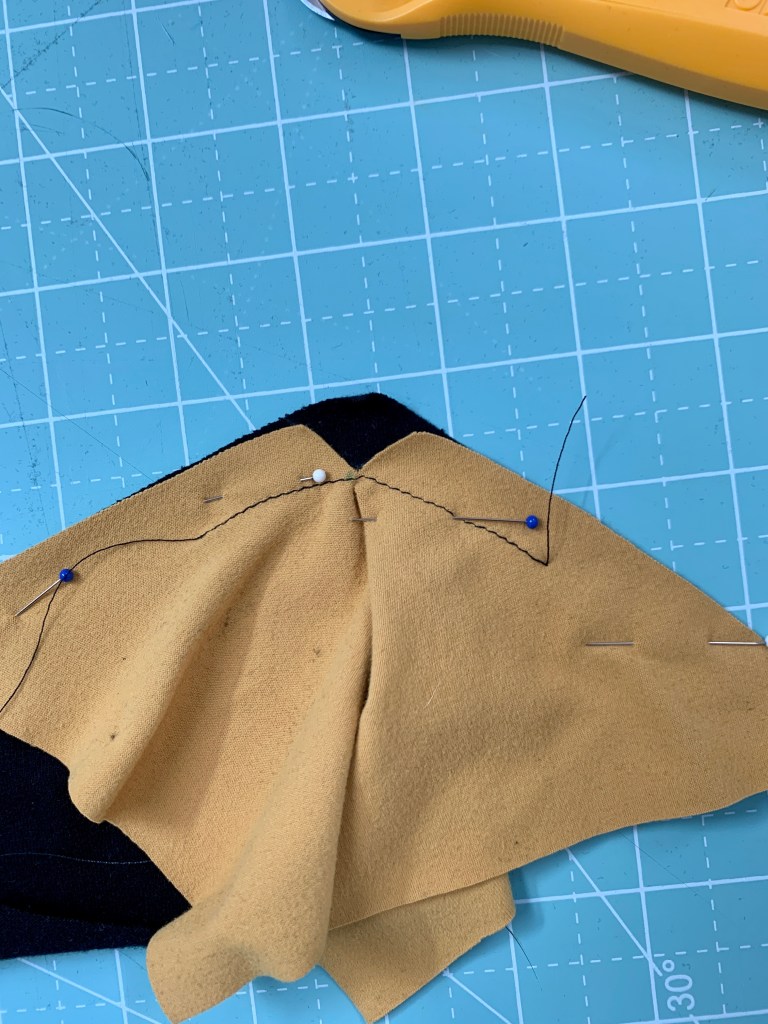
4. Pin both pieces, right sides together, matching seam allowances; there should be a diamond-shaped chunk of fabric (black here) visible 
5. Use a straight stitch to sew right sides together, taking care to get as close to the clipped point as you can; you’ll probably need to lift the presser foot and pivot to sew the other side, and don’t forget to remove the stay stitches! 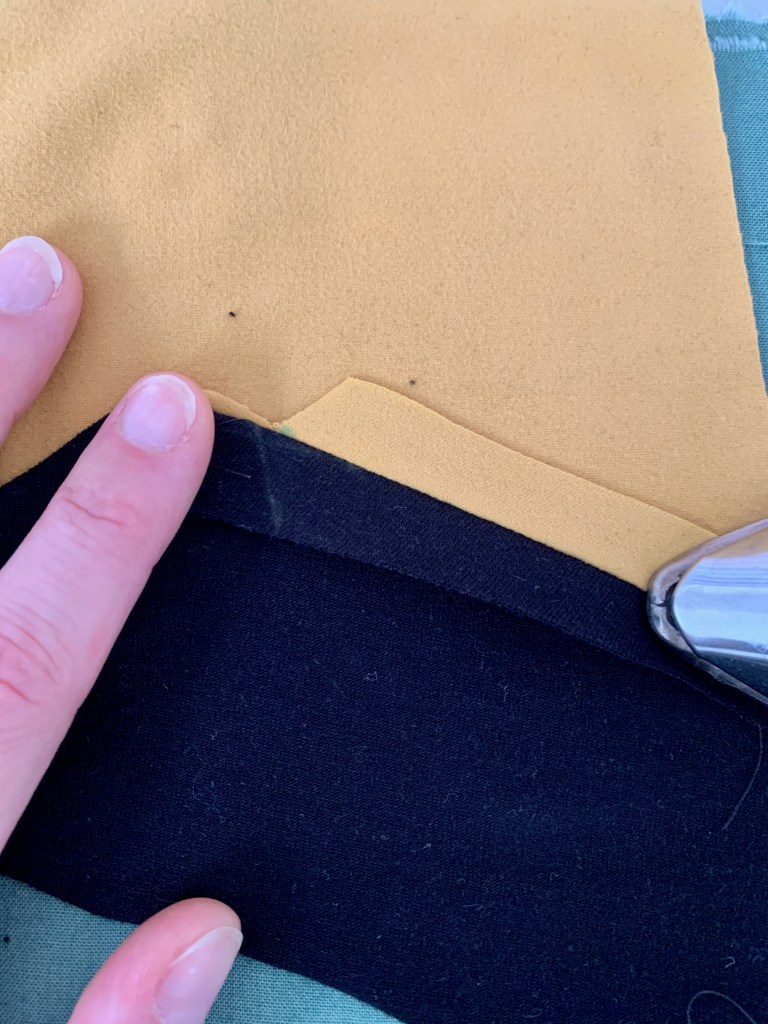
6. Gently press the seam open, and then press the both seams toward the colored fabric 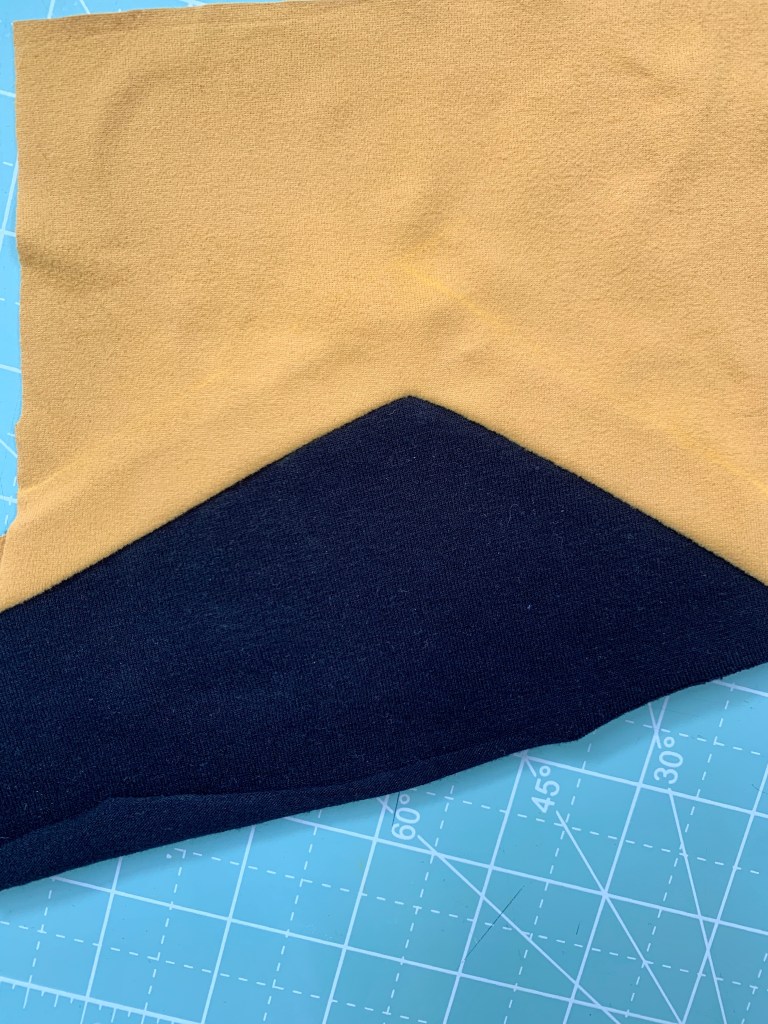
7. Gently press from the right side (use a pressing cloth to be safe!) and finish your seams as desired (honestly, I just left ’em instead of serging for the sake of time)
Step 5: Finish Sewing the Shirt
Once you’ve completed the V-shaped points, CONGRATS! The rest of the shirt is a breeze. I used a serger for most seams, but you could easily finish this on a regular sewing machine with a ballpoint needle and stretch stitch.
Simply sew the respective side panels and top panels to the front and back, and then sew the shirt per the pattern’s directions. Take care to match up the color-blocked portions when attaching the sleeves.
I ended up finishing mine and Marc’s shirts with a 3/4″ turned-up hem instead of finishing with bands as the pattern calls for.

Step 6: Add the Patches and Pips


- Patches: Iron on first, and then sew along the insignia for durability
- Collar pips: Cut them out with a hole puncher, and iron on per package directions
- P.S. I KNOW Data has one hollow pip. Sue me. 🤣)
WHEW! I think that’s it. Leave a comment if you have any additional questions!
Now for some more gratuitous Halloween photos.