
Almost two years ago, I made my first Toaster Sweater #1 by Sew House Seven. I even braved the cold and snow for some photos! After seeing about a million cute versions of the Toaster Sweater #2, I decided I needed to try it out. I was not, however, as brave with the cold this time, so… thus begins the season of questionably lit indoor photos!

The Details
Pattern: Sew House Seven Toaster Sweater #2
Size: Medium (I’m 6′ tall and 36″-29.5″-40″)
Alterations: Added 1″ of length to body and 1″ to the sleeves
Fabric: Telio poly-spandex rib knit
Construction: Serger for side and arm seams*; regular sewing machine with ballpoint needle for the neck facing and hem

*The instructions direct you to stop serging at the large notch and continue the seam with a straight stitch down to the vent dot as indicated. This was a little odd, as you can’t backstitch on a serger. I ended up trailing off the serge a bit before the notch, and sewed a straight stitch farther up the side seam to keep the seam allowance uniform. It’s kind of hard to explain, so I’m including a shameful ugly innards picture to illustrate. #JudgmentFreeZone

The Verdict
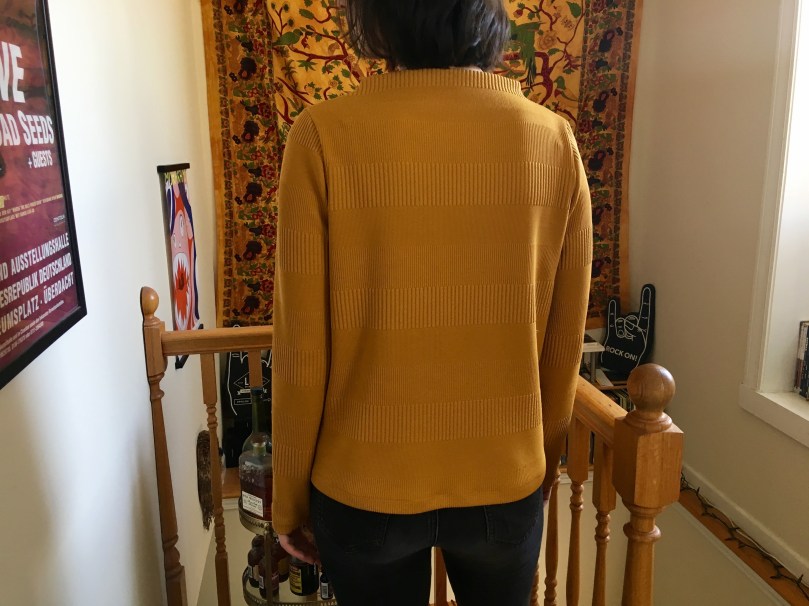
I love it! Not only is this top comfortable and really easy to wear, but it’s also got some surprising design details. The split hem, which is 1″ longer in the back, features mitered corners for a polished finish, and the funnel neck adds some visual interest.


The one thing that feels slightly off is the funnel neck facing. The neckline seems to bunch a bit at the collarbone on almost all of the versions I’ve seen floating around the internet, and the same is true for mine. It seems like blindstitching the facing down might be the best bet according to Meg, but it doesn’t bother me enough to try (and I think the stitching might look wonky on this fabric).

What I’ll Do Differently Next Time
- Consider adding another inch (making 2″ total) to the body. I like the semi-cropped look, but I think longer-torsoed ladies like myself could benefit from extra length, especially if you pair this with a mid- or regular-rise pant. I should mention that the sleeve length feels perfect for me after adding 1″ to the pattern.
- Buy a new twin needle! My twin needle broke a couple months ago and I haven’t gotten around to buying another one, so I hemmed this with a zigzag stitch. It gets the job done, but I prefer the polished look of the twin needle finish.
- Forego serging the vent edges.

Sewn up in a thick knit, this sweater definitely lives up to its name as it’s TOASTY warm for the winter. I highly recommend this pattern if you’re in the market for a comfy sweater with a little bit of a twist.
Bonus pic: My Toaster Sweater in the wild on a coffee date with my girl Veronica—thanks for the gram!

[…] Instagram and I found some helpful blog posts from Beck at I sew Therefore I am, Erin at She Makes, Dani at Sewing and Cocktails , Chuleenan at C Sews , and Michelle at Stichin […]
LikeLike