
Hello friends! It’s been awhile. If you know me personally or follow me on Instagram, you know that I’m having a baby girl in July! 🤰🏻👶🏻💗 👨👩👧
I’m 22.5 weeks along as I write this post, and I can officially no longer button my jeans. (I just bought one of these belly bands and it came with some free waistband extenders. So far they’re all working out nicely.)
My current plan is to buy/sew as few maternity-specific pieces as I can. We’ll see how that goes! I’m fortunate to work from home, which means that leggings have been a staple in my weekday wardrobe even prior to getting pregnant, and now they are a downright necessity! I’ve been getting by primarily in said comfy leggings (Lululemon Align leggings are a true godsend—shoutout to my girl Maddie for clueing me in on this!) and knit dresses if I’m feeling fancy (hello True Bias Rio Ringer).
But sometimes leggings get old. And restricting. Enter the True Bias Nova Jumpsuit. I love a good jumpsuit and think they look kind of adorable whether you’re preggers or not, so I figured this could be a good transitional piece for me as my belly grows and when I’m postpartum.
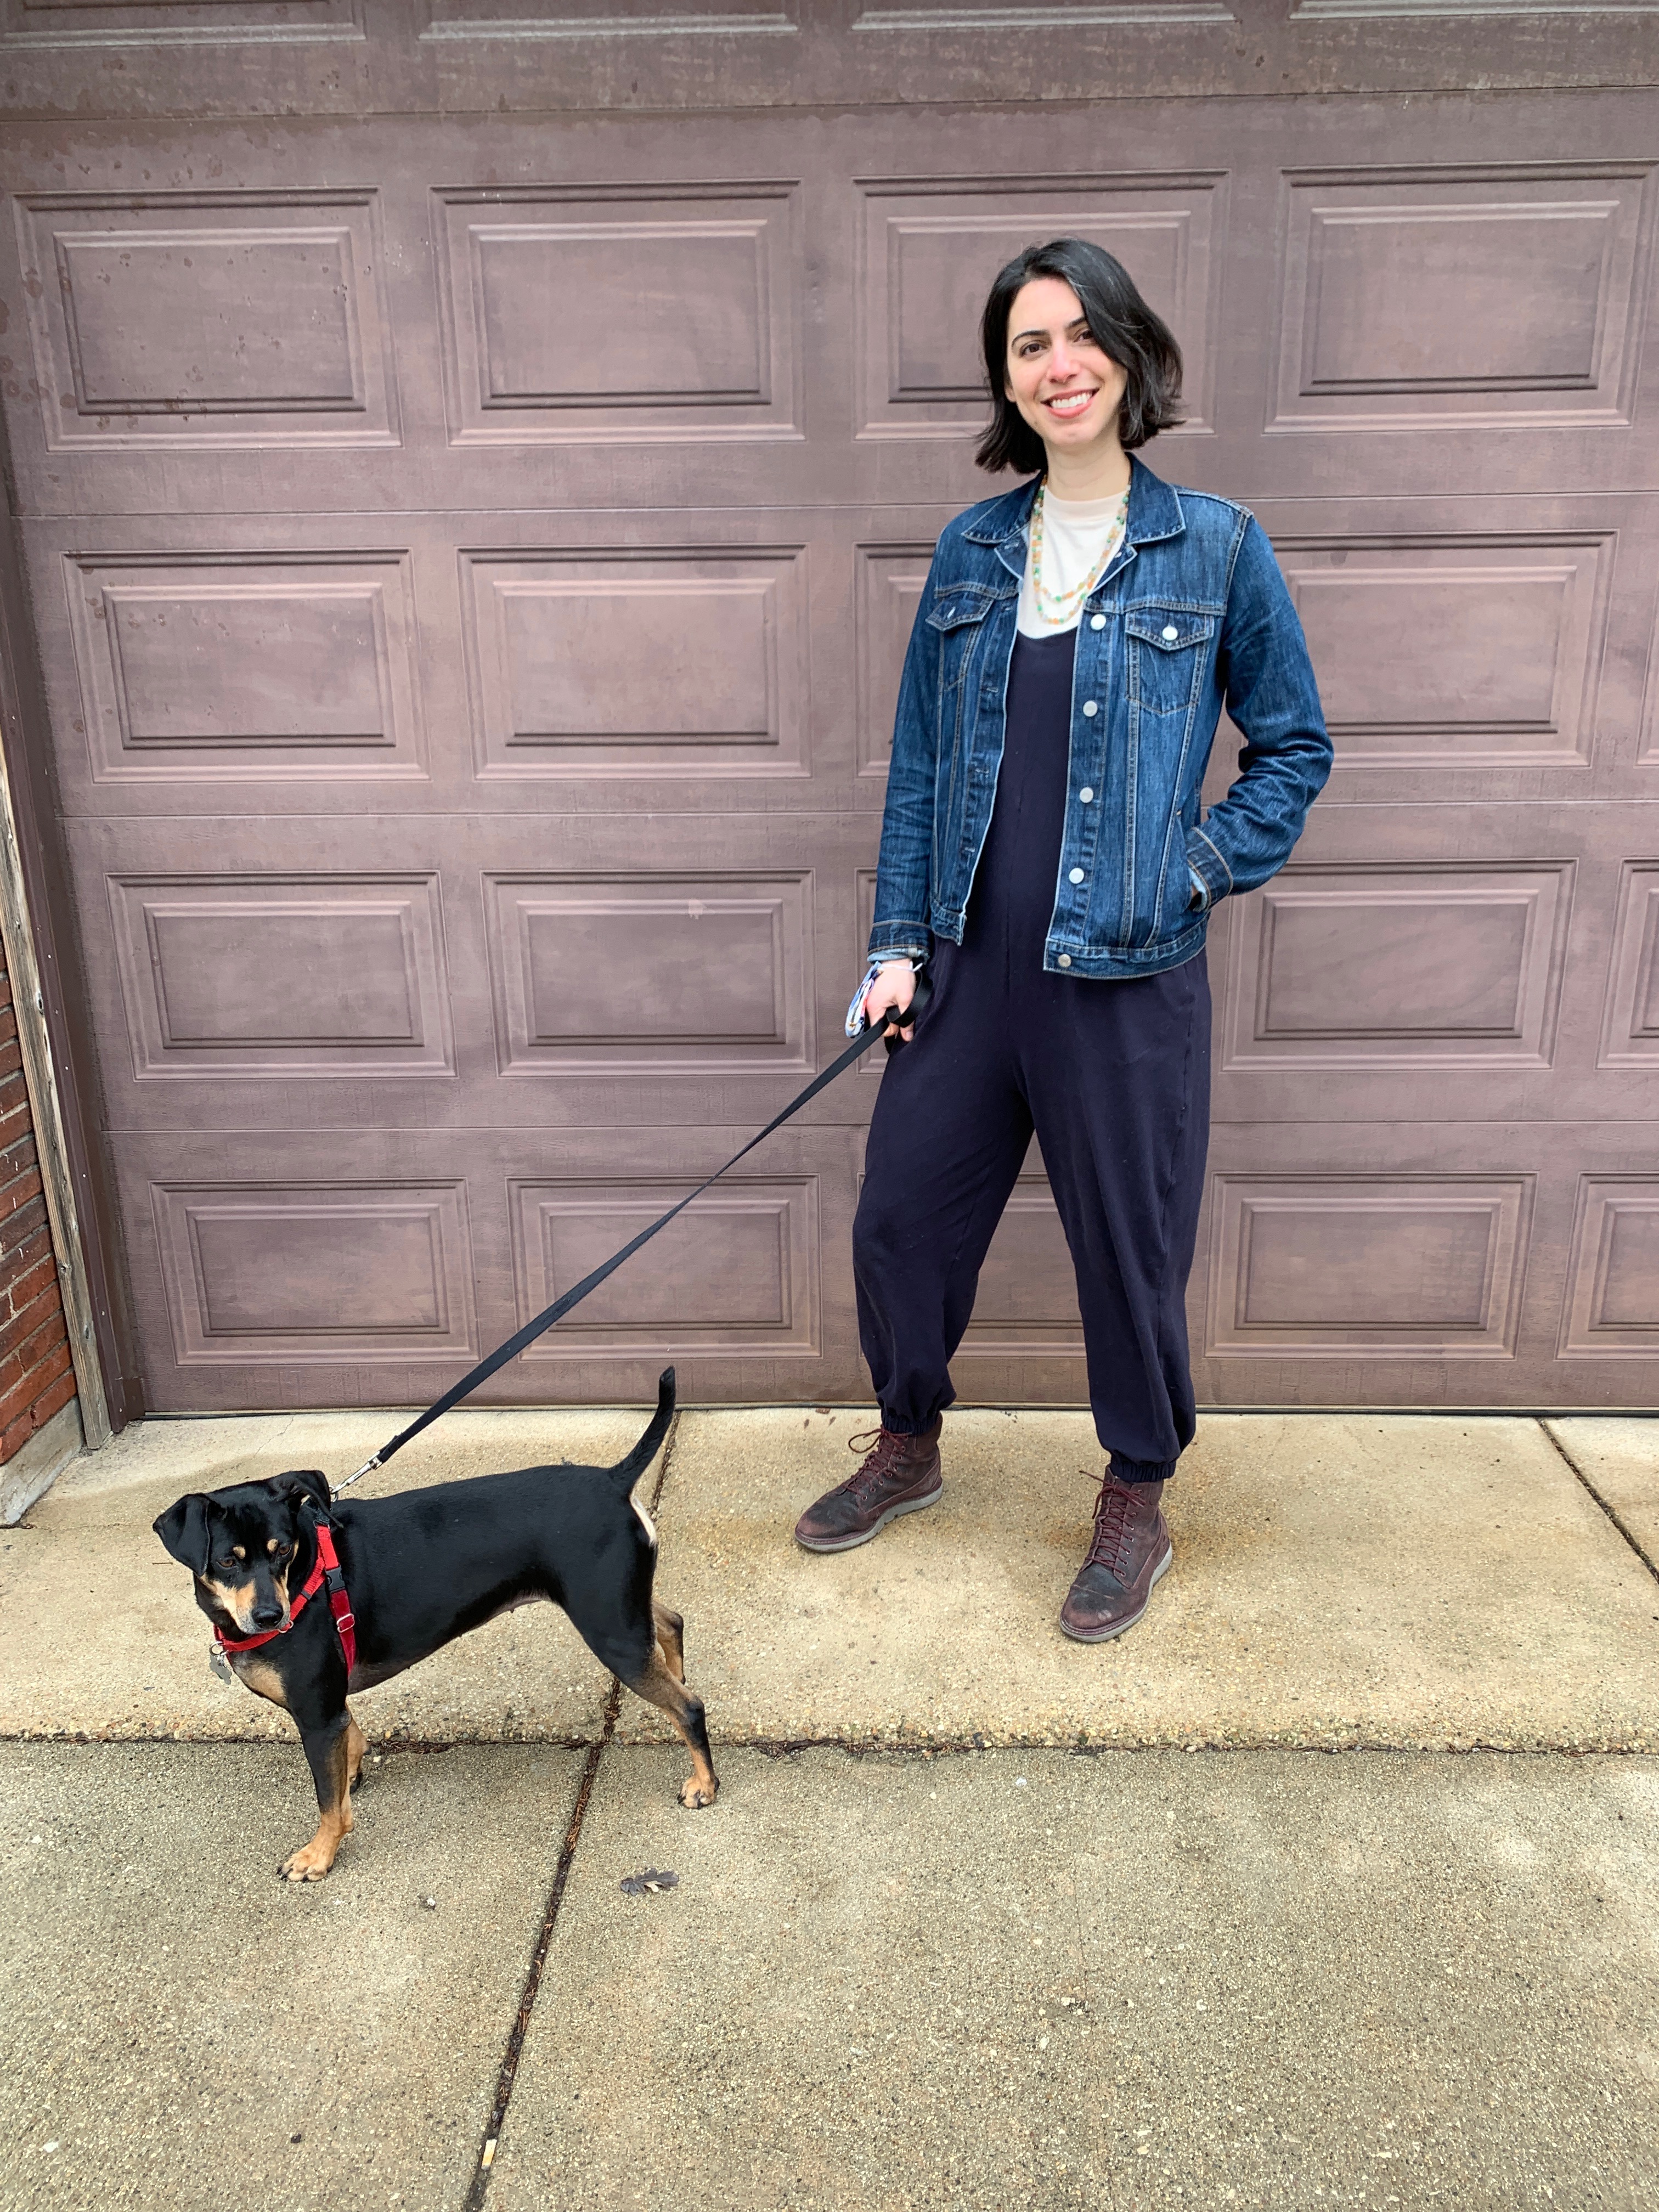


We took these photos when I was about 20.5 weeks, and it still fits about the same today. Fingers crossed that’s the case for awhile! I’ll do a bumpdate post in a couple months to see where I’m at.
The Details
- Pattern: True Bias Nova Jumpsuit in view D
- Fabric: Cotton/spandex knit from Girl Charlee
- My measurements: 6’0″ tall; 39″ B x 31.5″ W x 41″ H; taken at 22.5 weeks pregnant
- Size: 10
- Alterations: I added 3″ total to the length; 1″ each at the bust, hips and legs at lengthen/shorten lines
The Verdict
I love it! I typically wear a size 8 in True Bias patterns, and I think the 10 feels plenty roomy for now. This pattern has a lot of ease built into it, and my fabric has a pretty good amount of stretch and recovery—I hope that’s a recipe for a forgiving garment.
For my #sewingtall peeps: If I make this again, I will add 2″ to the lengthen/shorten line at the legs for a total of 4″ of length added for me.
Some fiddly things:
- I didn’t love the method for finishing the straps. See the sew along for more details and photos. Someone left a comment with my exact thoughts: “Can I ask why we close the straps this way? I struggled getting a clean finish because of all of the seam allowance bulk… If I make the jumpsuit again I will choose to use a more traditional facing method.” I agree Kelly the commenter! My straps look a little messy, but my navy fabric is pretty forgiving so they don’t bother me too much.
- I initially machine-tacked the lining down to the center seams in front and back, but I felt like that left some noticeable pulling in those spots from the right side. I ended up unpicking, understitching about 4″ of the lining to the serged seam allowance on the front and back, and then hand-stitching that down. It’s still not perfectly smooth, but the lining seems to be staying in place better now with less noticeable pulling from the outside.
I’d say if you’re on the fence with this pattern, give it a shot. It seems pretty versatile when it comes to styling: wear it with something layered underneath, with a jacket/sweater on top, or on its own when it’s warmer.

