Hudson Pants

Hudson Pants: The Perfect Athleisure Wear

You can sew knits without a serger. There are countless blog tutorials and YouTube videos detailing exactly how to do so. But OH MY GOD is it faster, easier, and so much more satisfying on a serger.

Brother Designio DZ1234 Serger
fresh outta the box

I’ve sewn so many knits over the past year that I knew it was time to bite the bullet and get a serger. And then Christmas rolled around, and my very generous parents gifted me this Brother Designio DZ1234 Serger (and this awesome The Complete Serger Handbook by Chris James!). I almost started crying. Thanks Mom and Dad!

brother Designio serger
sergin’ some scraps

I didn’t even open the box until well after holiday break, since I figured the thing might consume me. I was correct. It came prethreaded, so I pretty much started serging bits and bobs of scraps at will. So fast! So neat! So professional-looking! Full disclosure: I just flipped the machine on and started using the default stitch. I know there are plenty of stitches to explore, but I’m not kidding when I say that I went at this with reckless abandon. It seems intuitive enough, right? Hehe, hehe (*nervously looks around for whistleblowers*).

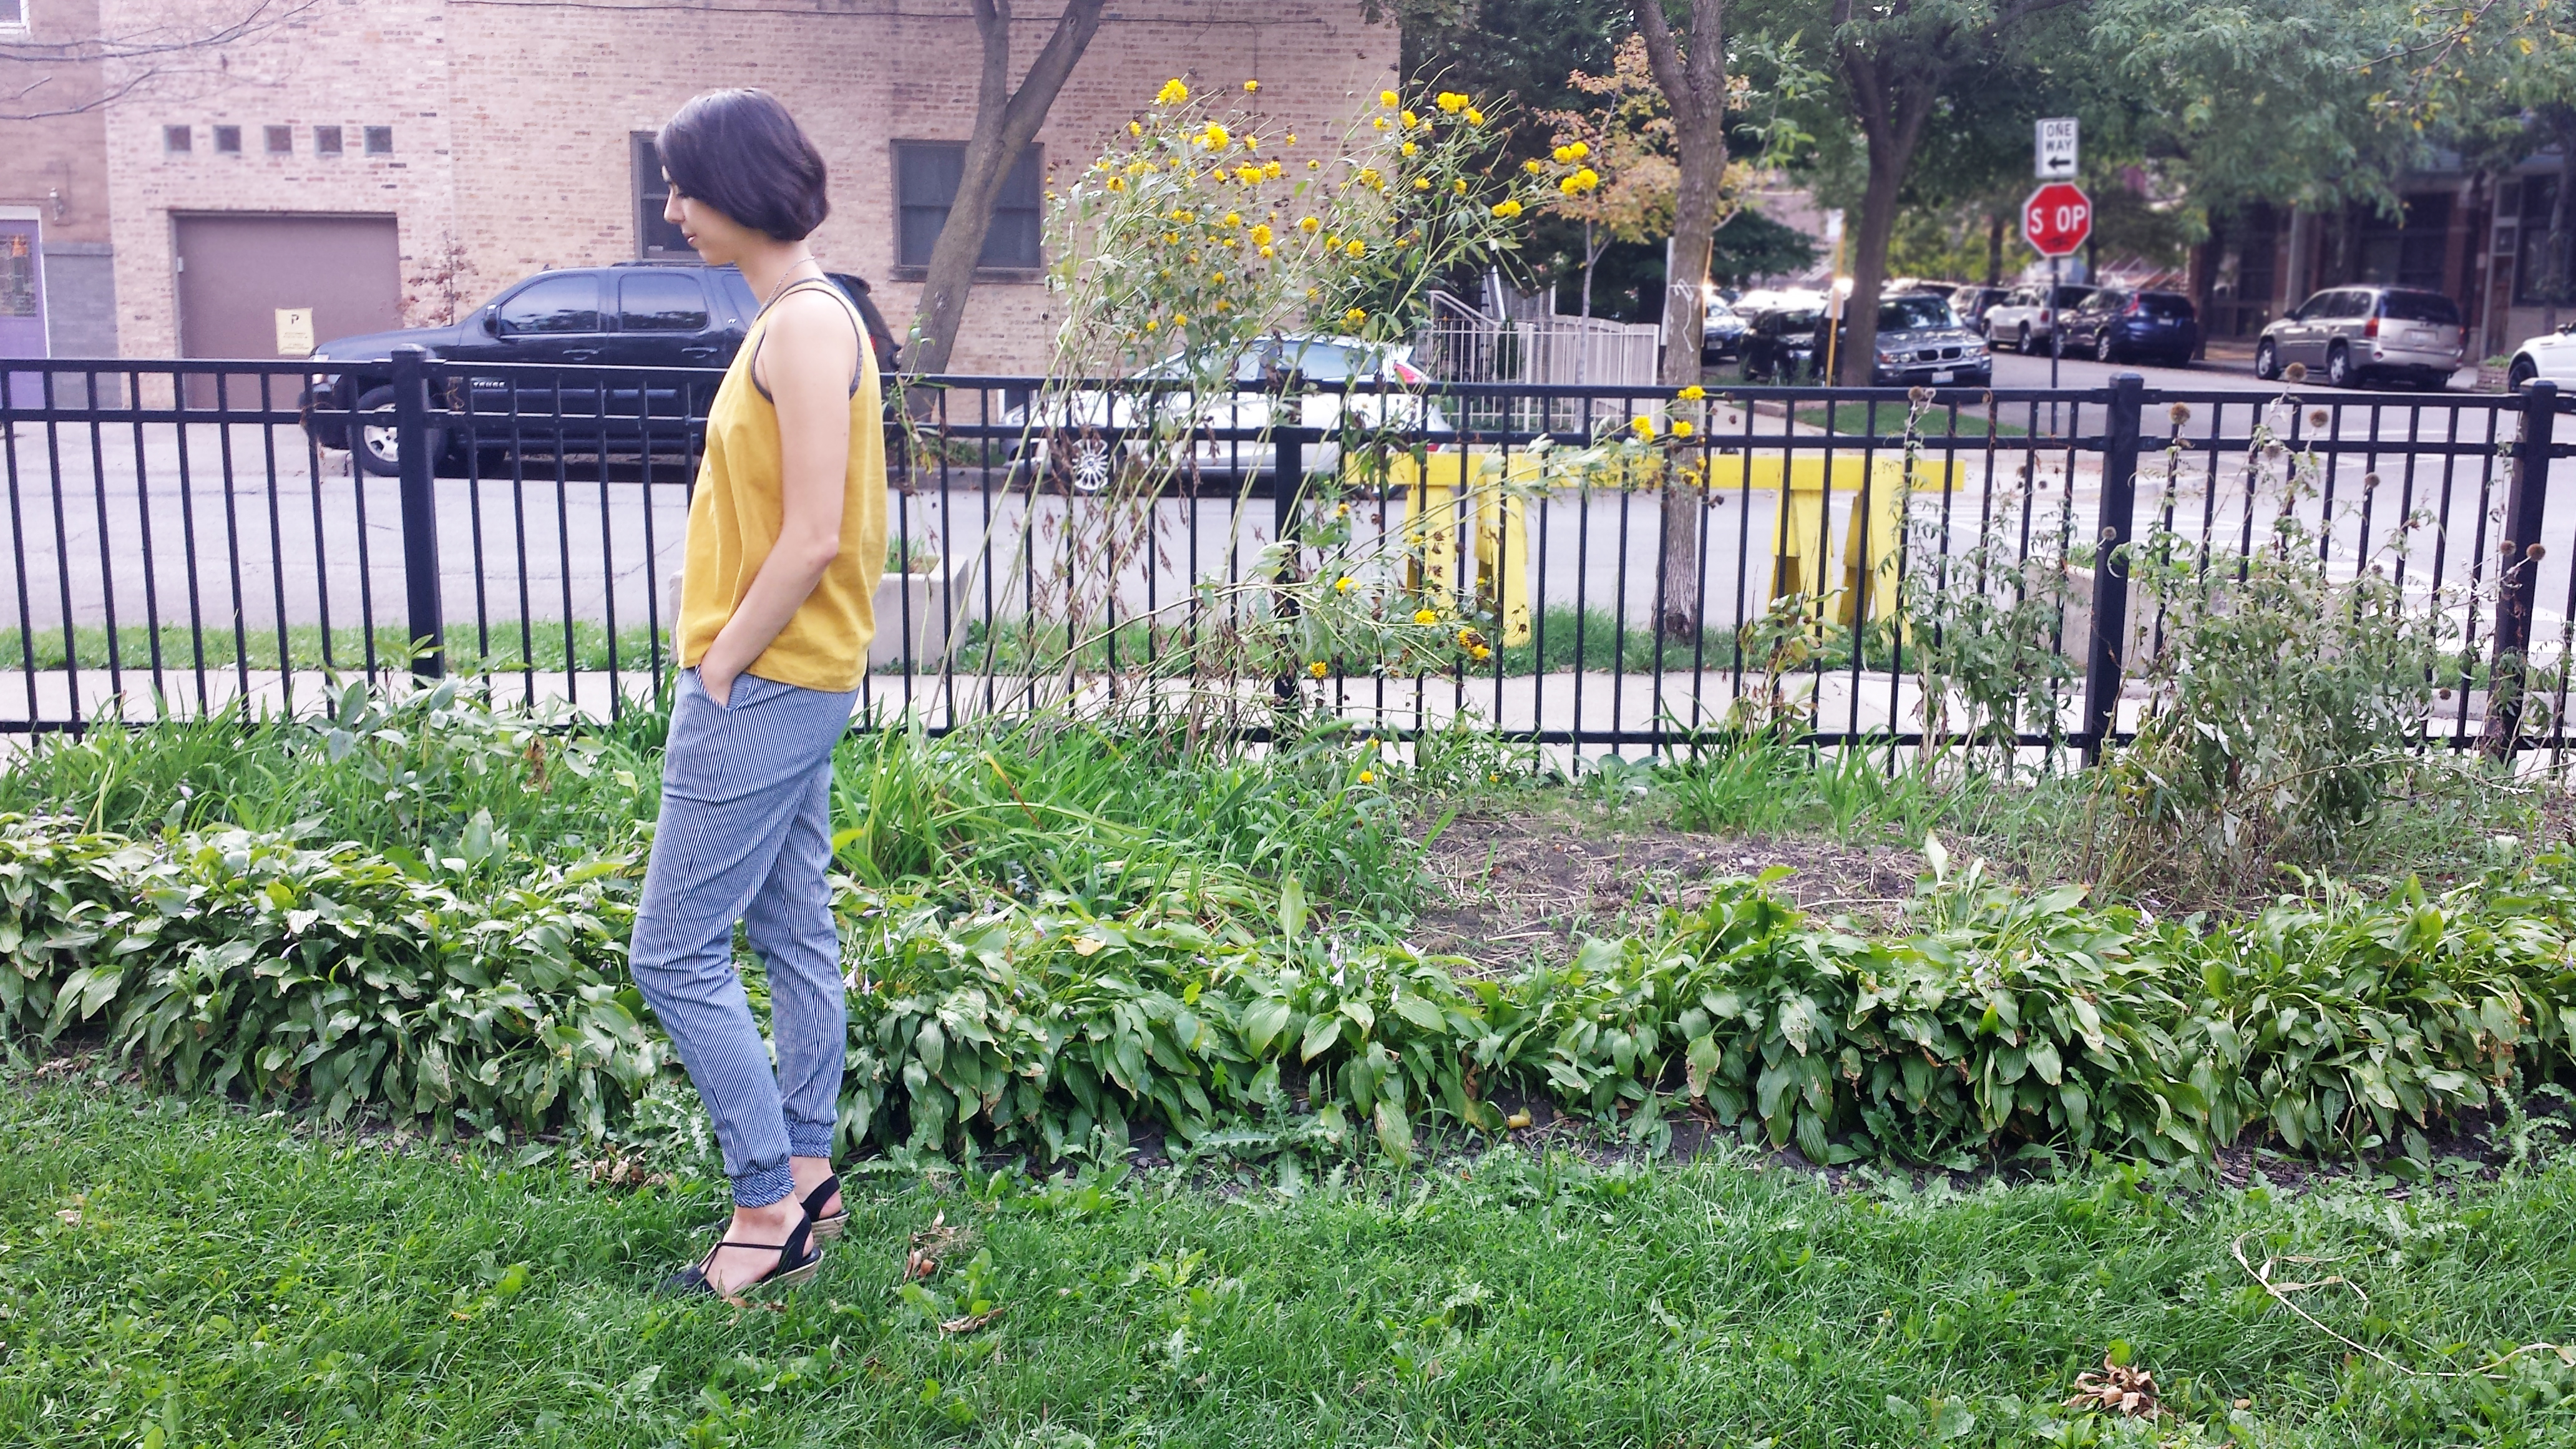
The Hudson Pants from True Bias seemed like a logical choice for my inaugural serged garment. I’ve made them twice already and absolutely love each pair. Kelli came out with this pattern well before I ever heard the term athleisure (thanks, Aria!), but I think it’s safe to say that the Hudson Pants fall squarely into this category. If you’re not familiar with the word athleisure, you’ve at least seen the trend out in the world. Think leggings as pants, cropped sweatshirts over tanks, floaty “yoga tops” that no one actually does yoga in but will gladly wear after yoga class. Preferably at bottomless mimosa brunch.

athleisure lululemon
athleisure in its natural habitat: Lululemon (photo: http://bit.ly/1JcxV2z)

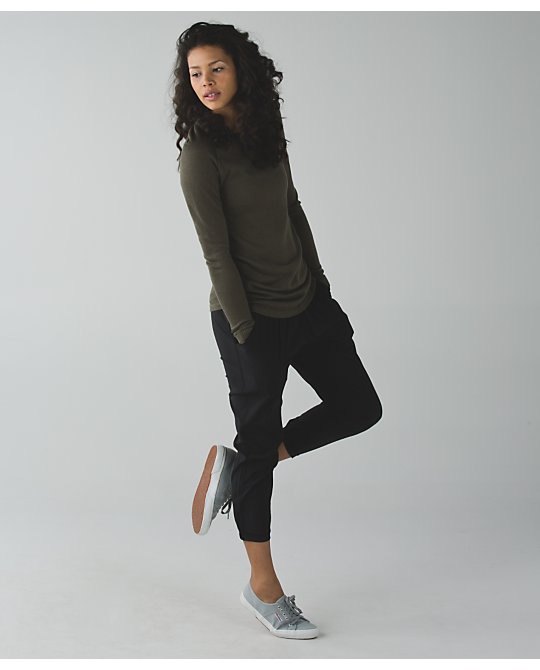
Hate it or love it, athleisure isn’t going away. (Just ask Forbes.) I’ve decided to embrace it, even if only at home on the weekends or after a workout.

True Bias Hudson Pants

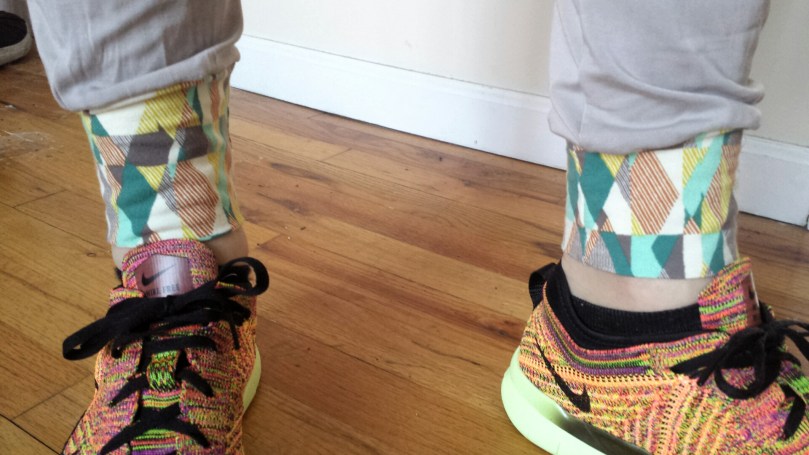
Here are the details for these Hudson Pants:

  • Fabric: stretch bamboo rayon jersey and an Art Gallery cotton jersey knit for the contrast
  • Same fit modifications as my printed Hudsons: 1). slashed and spread to add 1″ to the front and back crotch 2). added 3″ of length
  • Added a seam at the upper thigh because of fabric constraints
  • Smaller waistband because of fabric constraints
  • Omitted the buttonholes/drawstring

Hudson Pants

So… the color. I know. Kind of, very nude-looking. I didn’t buy this fabric (which is incredibly soft and comfy BTW) with the intention of sewing Hudson Pants. It was destined for a Christmas gift, but the color was just wrong for the Hemlock I wanted to make.

Hudson Pants

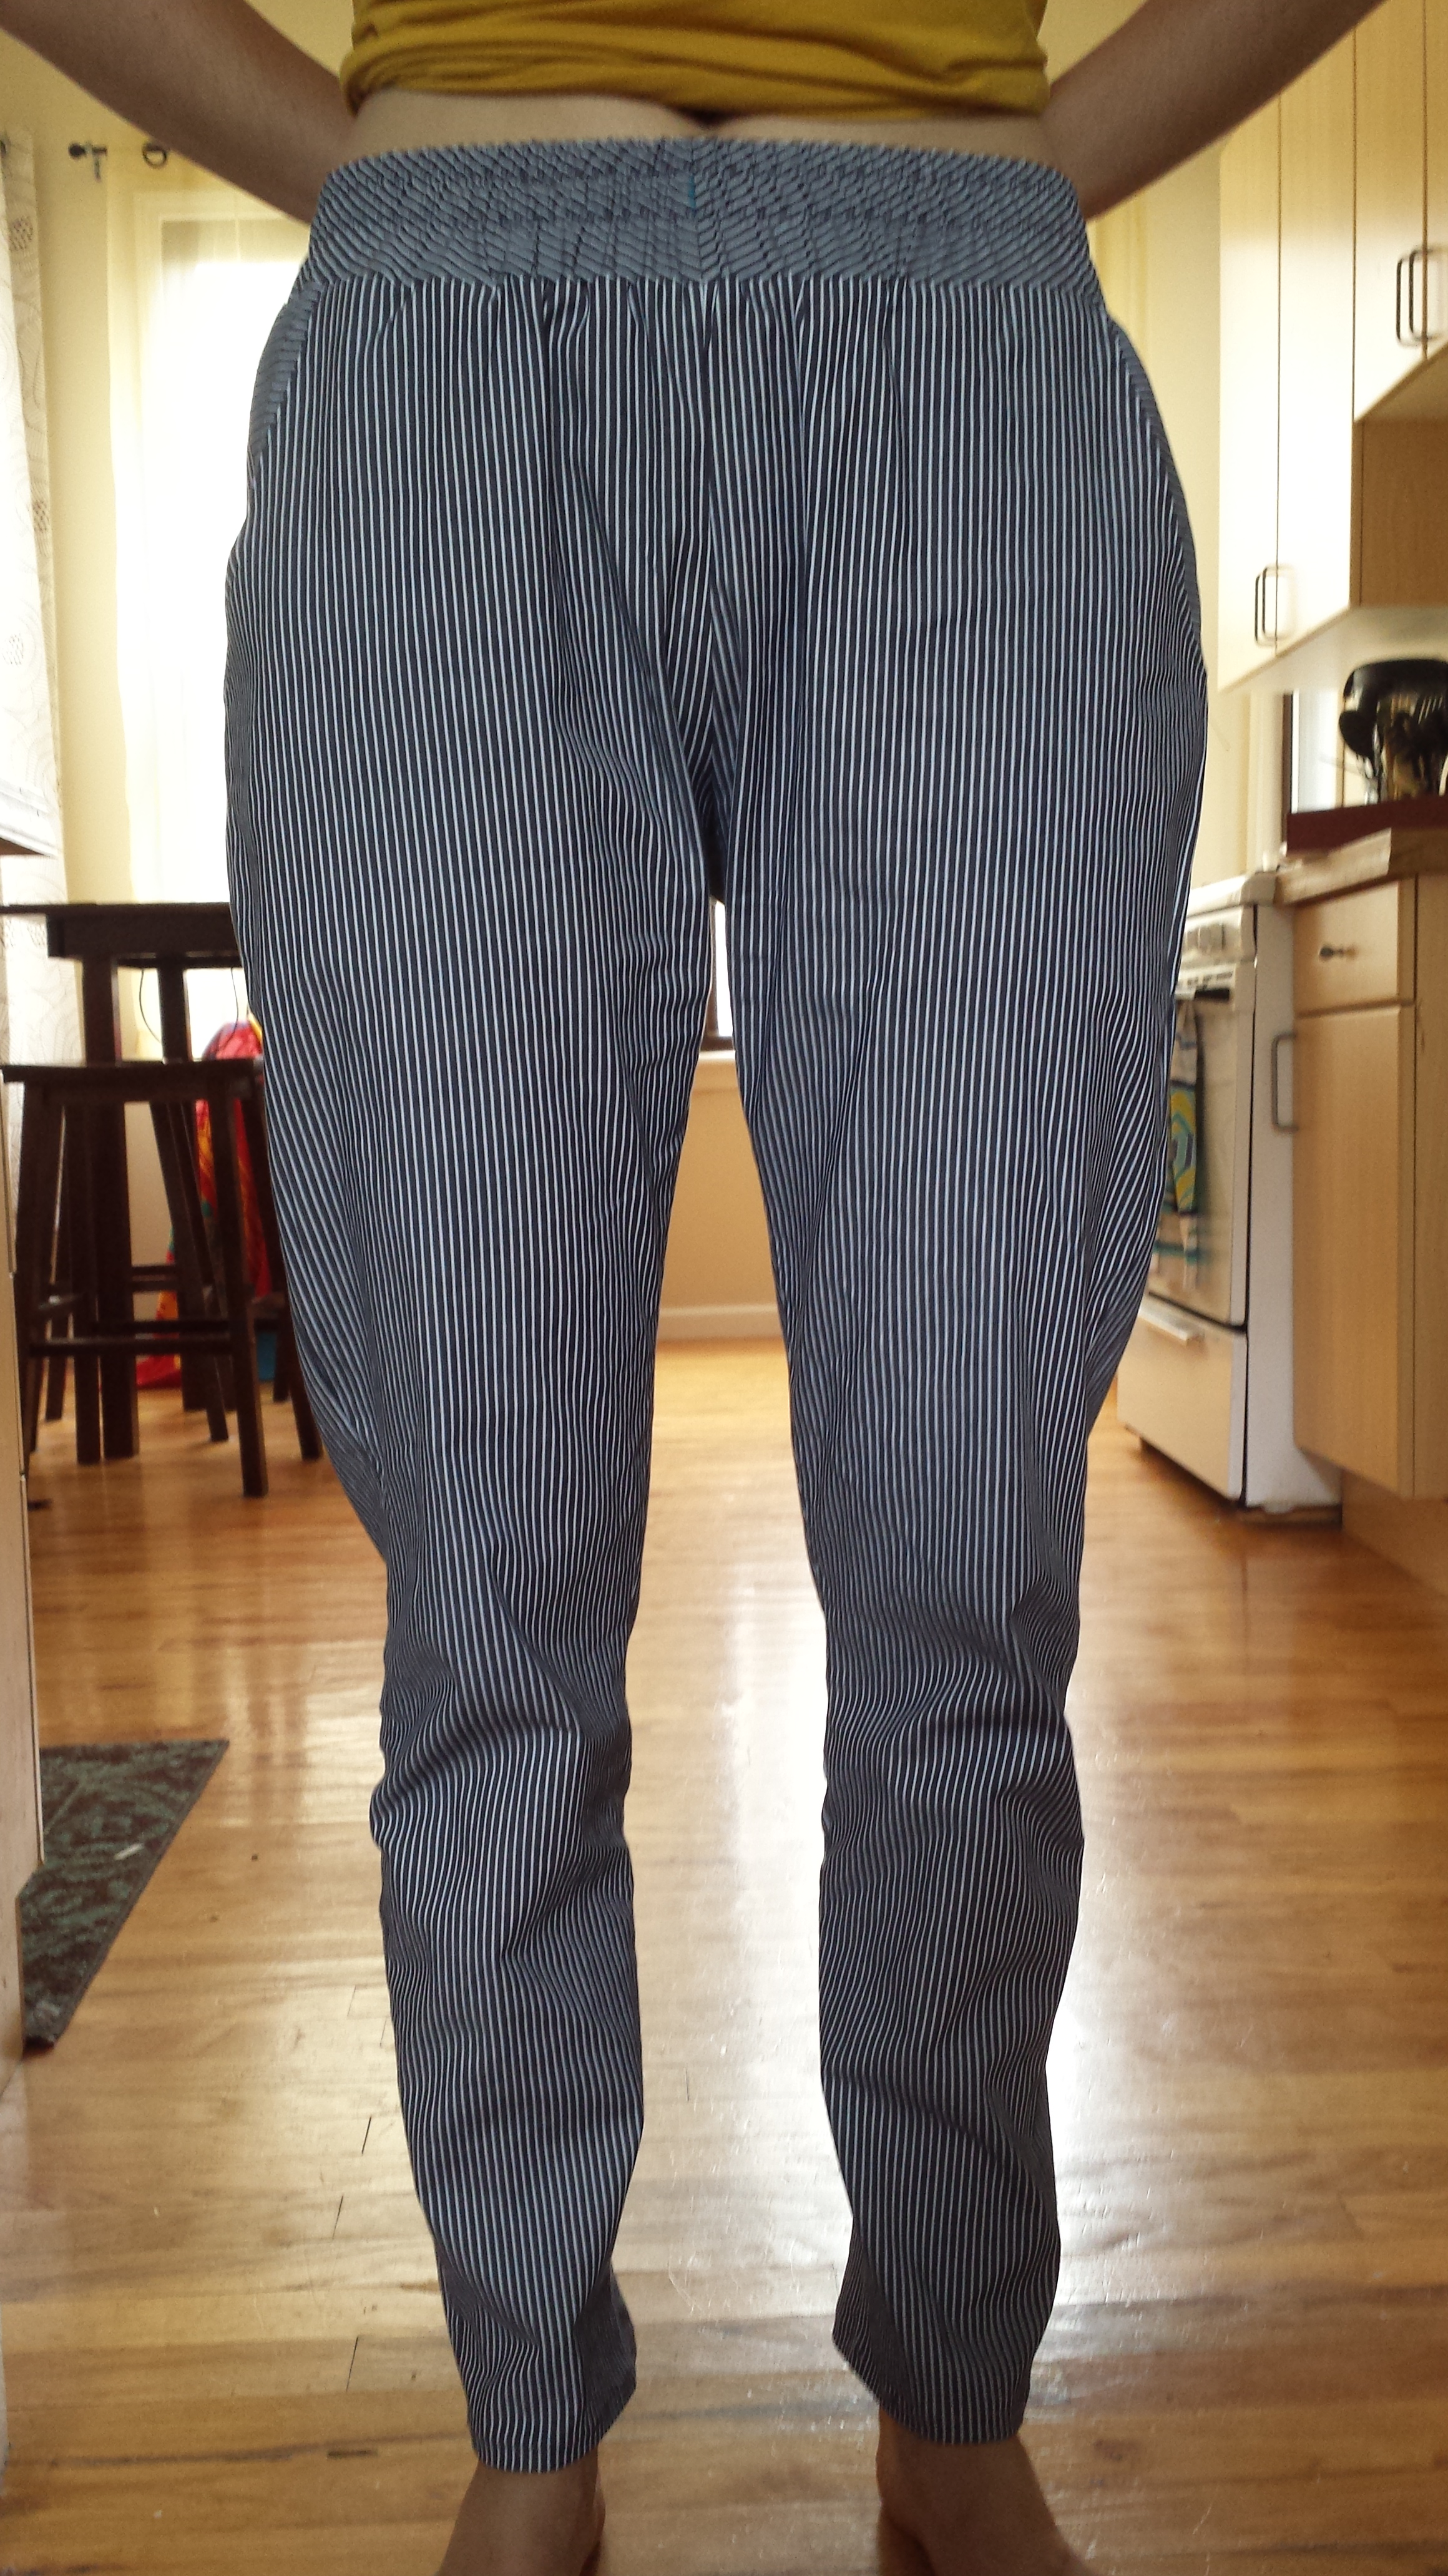
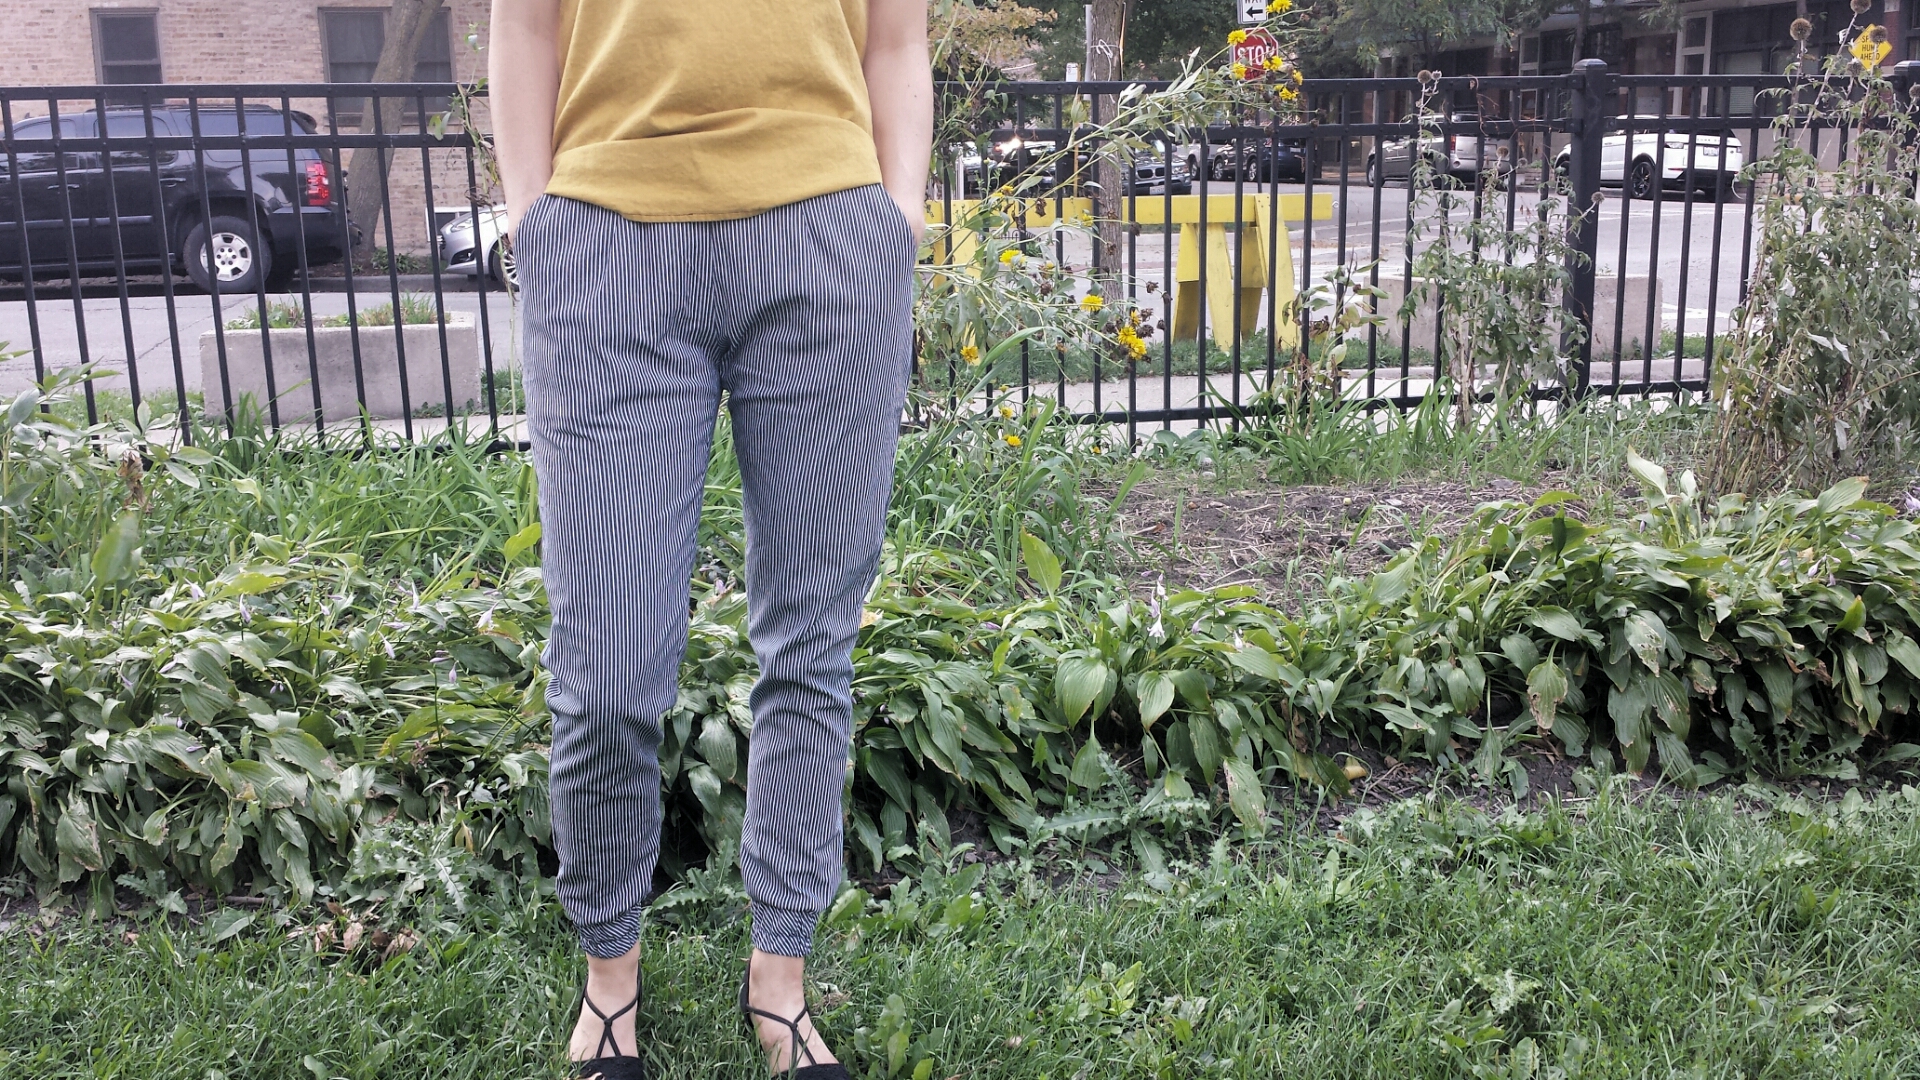
Enter these slightly obscene Hudson Pants. I’m going to spare you a butt shot for the sake of my own dignity. Strange fabric color aside, I love these pants and can’t recommend this pattern enough if you’re looking for some comfortable loungewear. Excuse me, ATHLEISURE WEAR.

Do you have any favorite athleisure patterns? My serger is looking for more work.


Woven Hudson Pants

woven hudson pants true bias aw shucks

Well folks, they can’t all be winners. I won’t call these woven Hudson Pants a fail—they’re still wearable and hella comfy. But even after some major surgery, they’re just… not great.

Note: Please forgive the optical illusion effect that the stripes give off in these pictures. They look totally normal in person—I swear!

For starters, the print I chose reminds me of pajamas. More specifically, Bananas in Pajamas. The fabric itself is fine: a 100% cotton stretch twill with 15% stretch across the grain. It’s a true medium weight though, and I think these pants—when sewn in a woven—would work better with a floatier, lighter textile.

Kelli’s woven variation tutorial on the True Bias blog suggests going up two to three sizes, so I cut a 12 instead of an 8 this time. I must have forgotten about the stretch in these pants when cutting—looking back, I should have cut a size 10 considering the 15% stretch. Here’s what they looked like before surgery:

woven hudson pants beofrewoven hudson pants before

As you can see, they are YOUUUUGE, even with a 3/4″ seam allowance (rather than the suggested 3/8″ SA). There’s tons of excess fabric in the crotch and hip area, and the length is kind of off. Here’s what they look like postsurgery:

woven hudson pants true bias bottom half

The fit still isn’t fantastic in the crotch area, but I had to stop somewhere. Fiddling anymore with these pants would’ve driven me mad, especially considering I sewed the elastic waist too loose the first time around and had to pick out a bunch of zigzag stitches through two layers of fabric AND the elastic. Woof. These pants were truly a test in patience. Pretty sure I got a C–.

woven true bias hudson pants

You might be thinking, “They’re not too shabby from this angle!” You’re right, they’re not. But what fun would a sewing blog be if it didn’t reveal its hideous underbelly? In the interest of transparency, here’s what the crotch looks like now (avert your eyes if you want to avoid gratuitous bunching):

woven true bias hudson pants
No, those aren’t headlights. It’s just the way the fabric on my top is folding.

Elastic-waisted anything always rides up that high on me. The extra crotch depth I added deters any camel toe, but there’s just still too much fabric there. I added a few darts to help fix the issue, and they definitely help. I’m glad I added the cuffs, as I think the pants look more modern and less pajama-like now. See, it’s not all cold pricklies and pessimism here!

woven hudson pants cuff

The Nitty Gritty

  • Lengthened the pants 3″ at the lengthen/shorten line.
  • Followed Kelli’s instructions re: altering the pocket pieces, adding length to accommodate for hemming instead of sewing on an ankle band, and grading the leg opening a little wider. I cut the main pocket on the cross grain, and I love the way the stripes play against each other.
  • Cut the waistband on the bias for similar stripey goodness.
  • Ended up adding cuffs, cut on the bias after measuring the leg opening.
  • Added 1″ to the crotch depth on the front and back pattern pieces. On my second pair of knit Hudsons, I added 1″ to the crotch length. That seemed to help a little bit with the camel-toe issue I had on the first knit pair, but the second pair seemed to pool too much in the front, so I figured it might be more of a depth vs. length issue. For a little background on that, here’s what the Reader’s Digest Complete Guide to Sewing has to say:

The crotch depth is the measurement of the distance from your waist to the bottom of your hips, taken when you are sitting. . . The crotch length is is actual length of the crotch seam, taken between the legs, from waist at center front to waist at center back.

  • Added two small darts in the front and back to reduce some of the excess fabric.

woven hudson pants

All-in-all, these pants aren’t a total bust. They really are comfortable and I think they look okay styled with my Ruby Top. In reality, I’ll probably wear these around the house on my work from home days. Normally I’m wearing shredded old pajama shorts and a tank top when I work from home, so these pants will be a vast improvement. And who knows—maybe they’ll grow on me.

Have you sewn any duds lately? If you have, at what point did you throw in the towel? Commiserate with me, it’ll be fun!