Sorbetto Part II: The Crop Top

colette sorbetto crop top

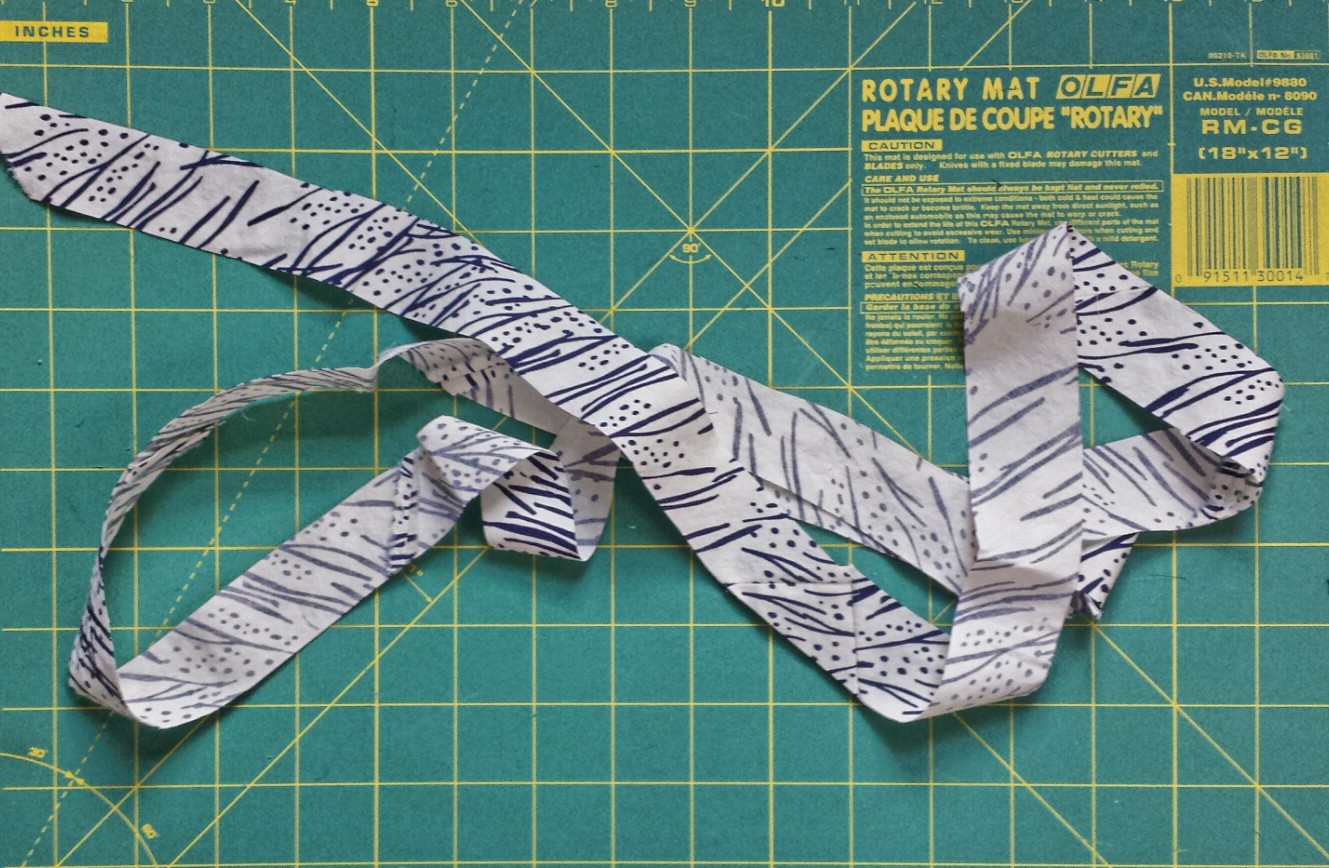
Weekend sewing > weekday sewing. I don’t remember the last time I’ve churned out two items of clothing within a four-day span, and it feels gooood. On an average weekday, I might break into a cold sweat at the thought of making and applying bias tape sometime in between an after-work run and dinner. This glorious morning, I sat with a cup of coffee while listening to Marc Maron’s charming neurotic rants, happily pinning bias tape to the edges of my nearly finished Sorbetto #2. Having nowhere to be and nothing to do on Sunday mornings has become my favorite (non)pastime. That and screaming at the TV during World Cup games. I had no clue soccer was so full of drama and biting! Anywho, on to the garment:

colette sorbetto crop top

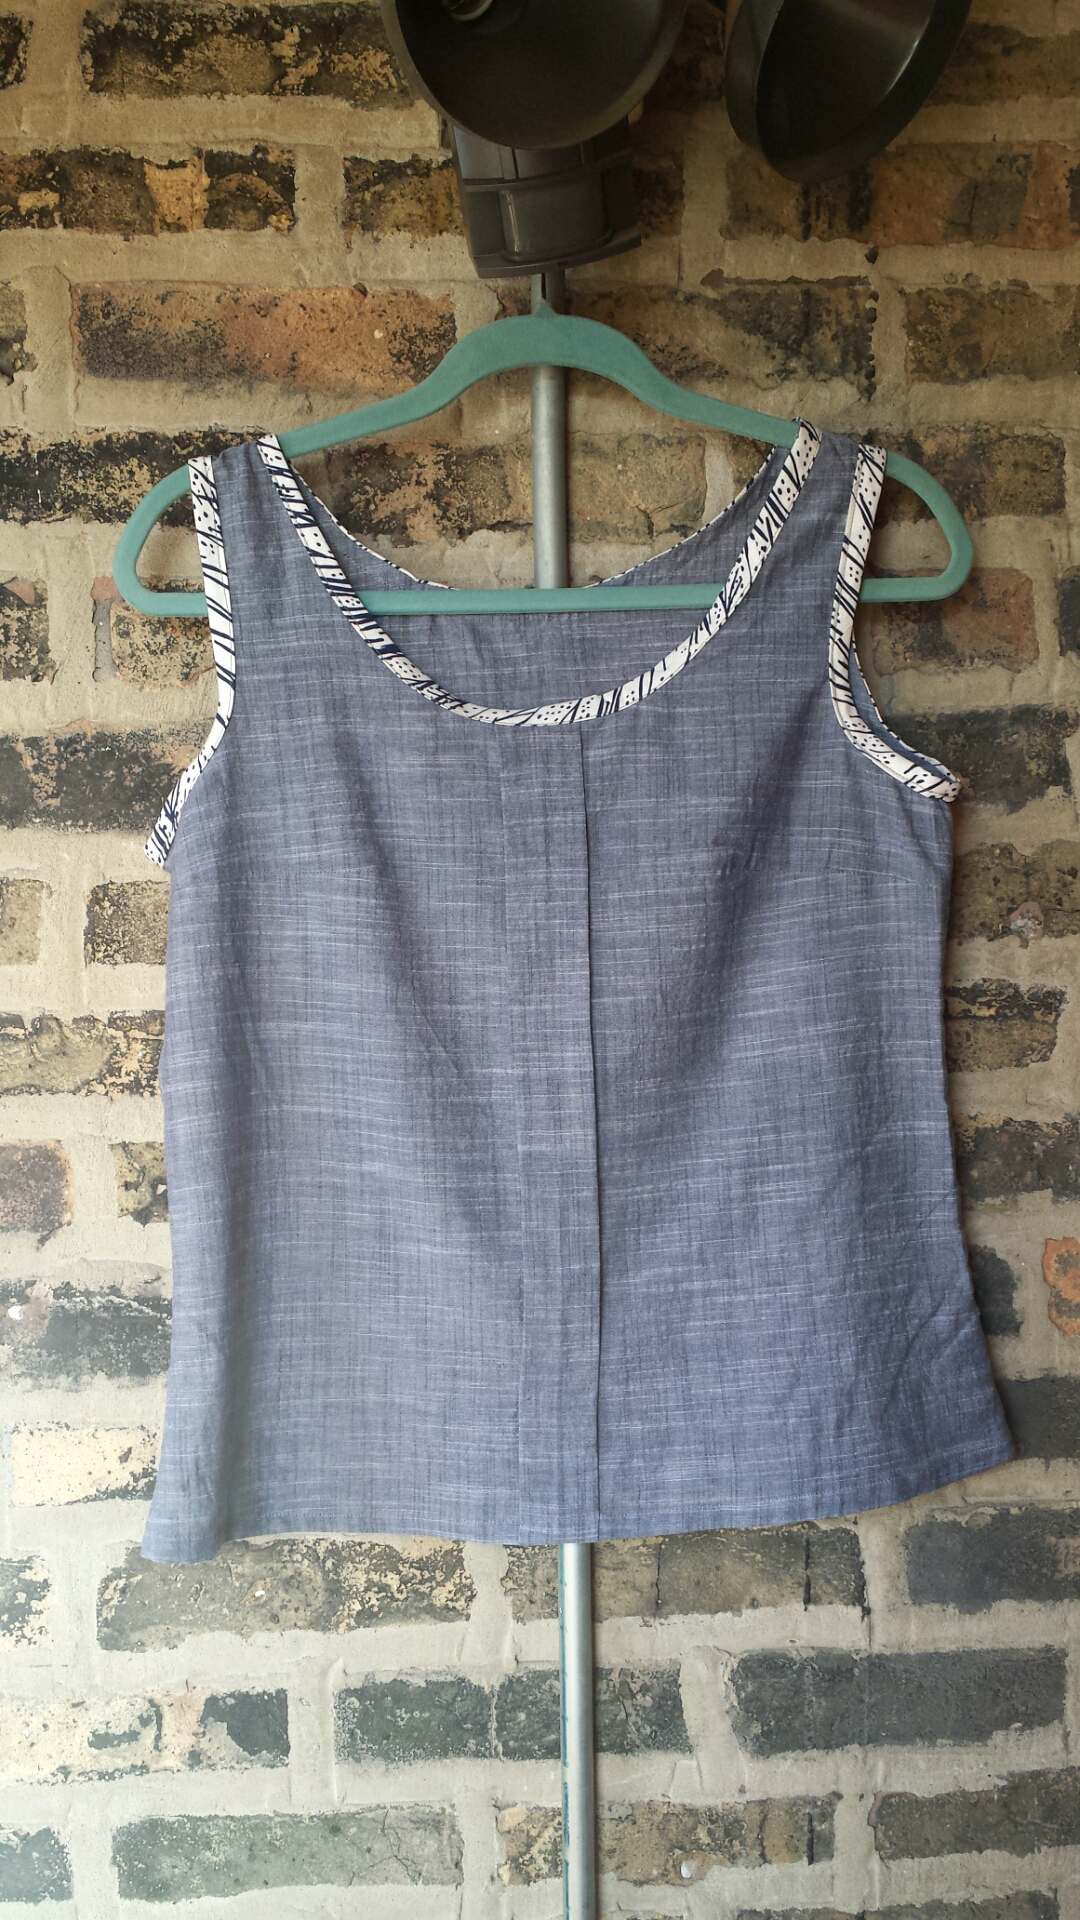
I’m a big fan of the structured, polished crop tops that have been dominating runways and fashion blogs this summer, but I couldn’t seem to find what I envisioned (or one that was worth the $70 at Topshop). After whipping up my first Sorbetto a few days ago, I thought it might be the perfect candidate for a pattern-hack crop top.

All I did to alter the pattern (which I’d already tweaked for the last Sorbetto) was take off 3″ of length and decrease most of the flare that occurs toward the hem.

colette sorbetto crop top
a “headed to the pharmacy” selfie

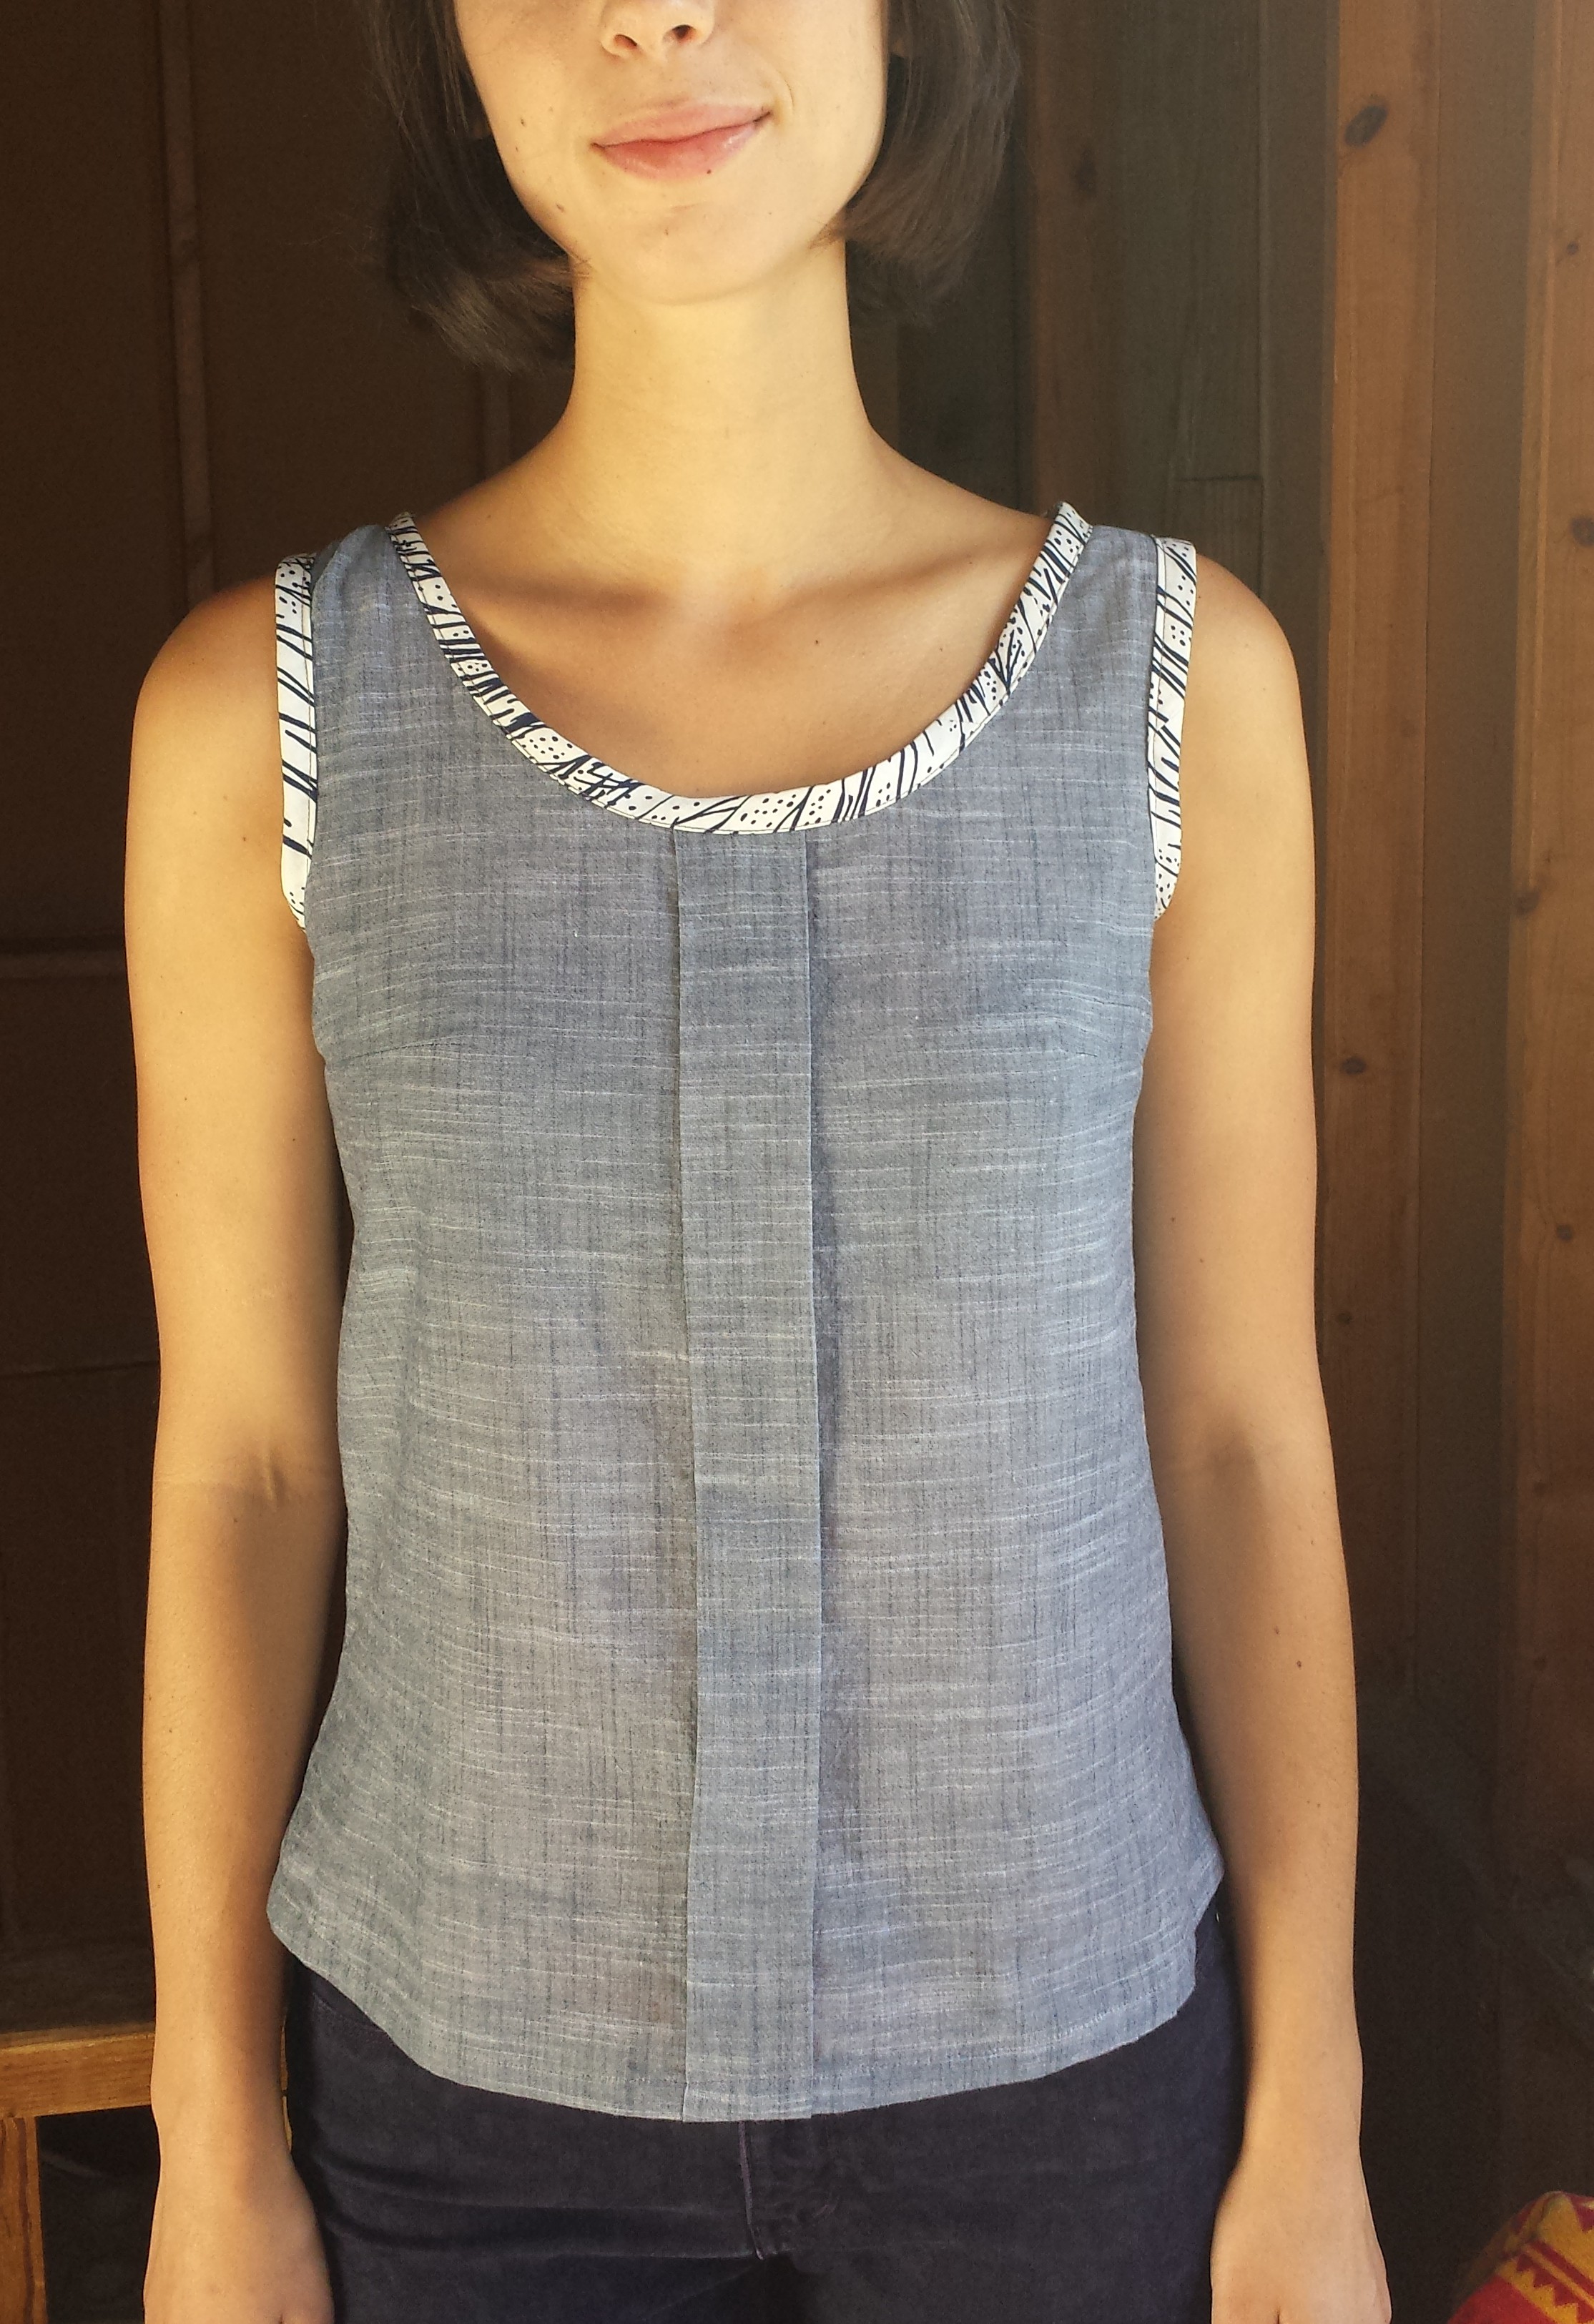
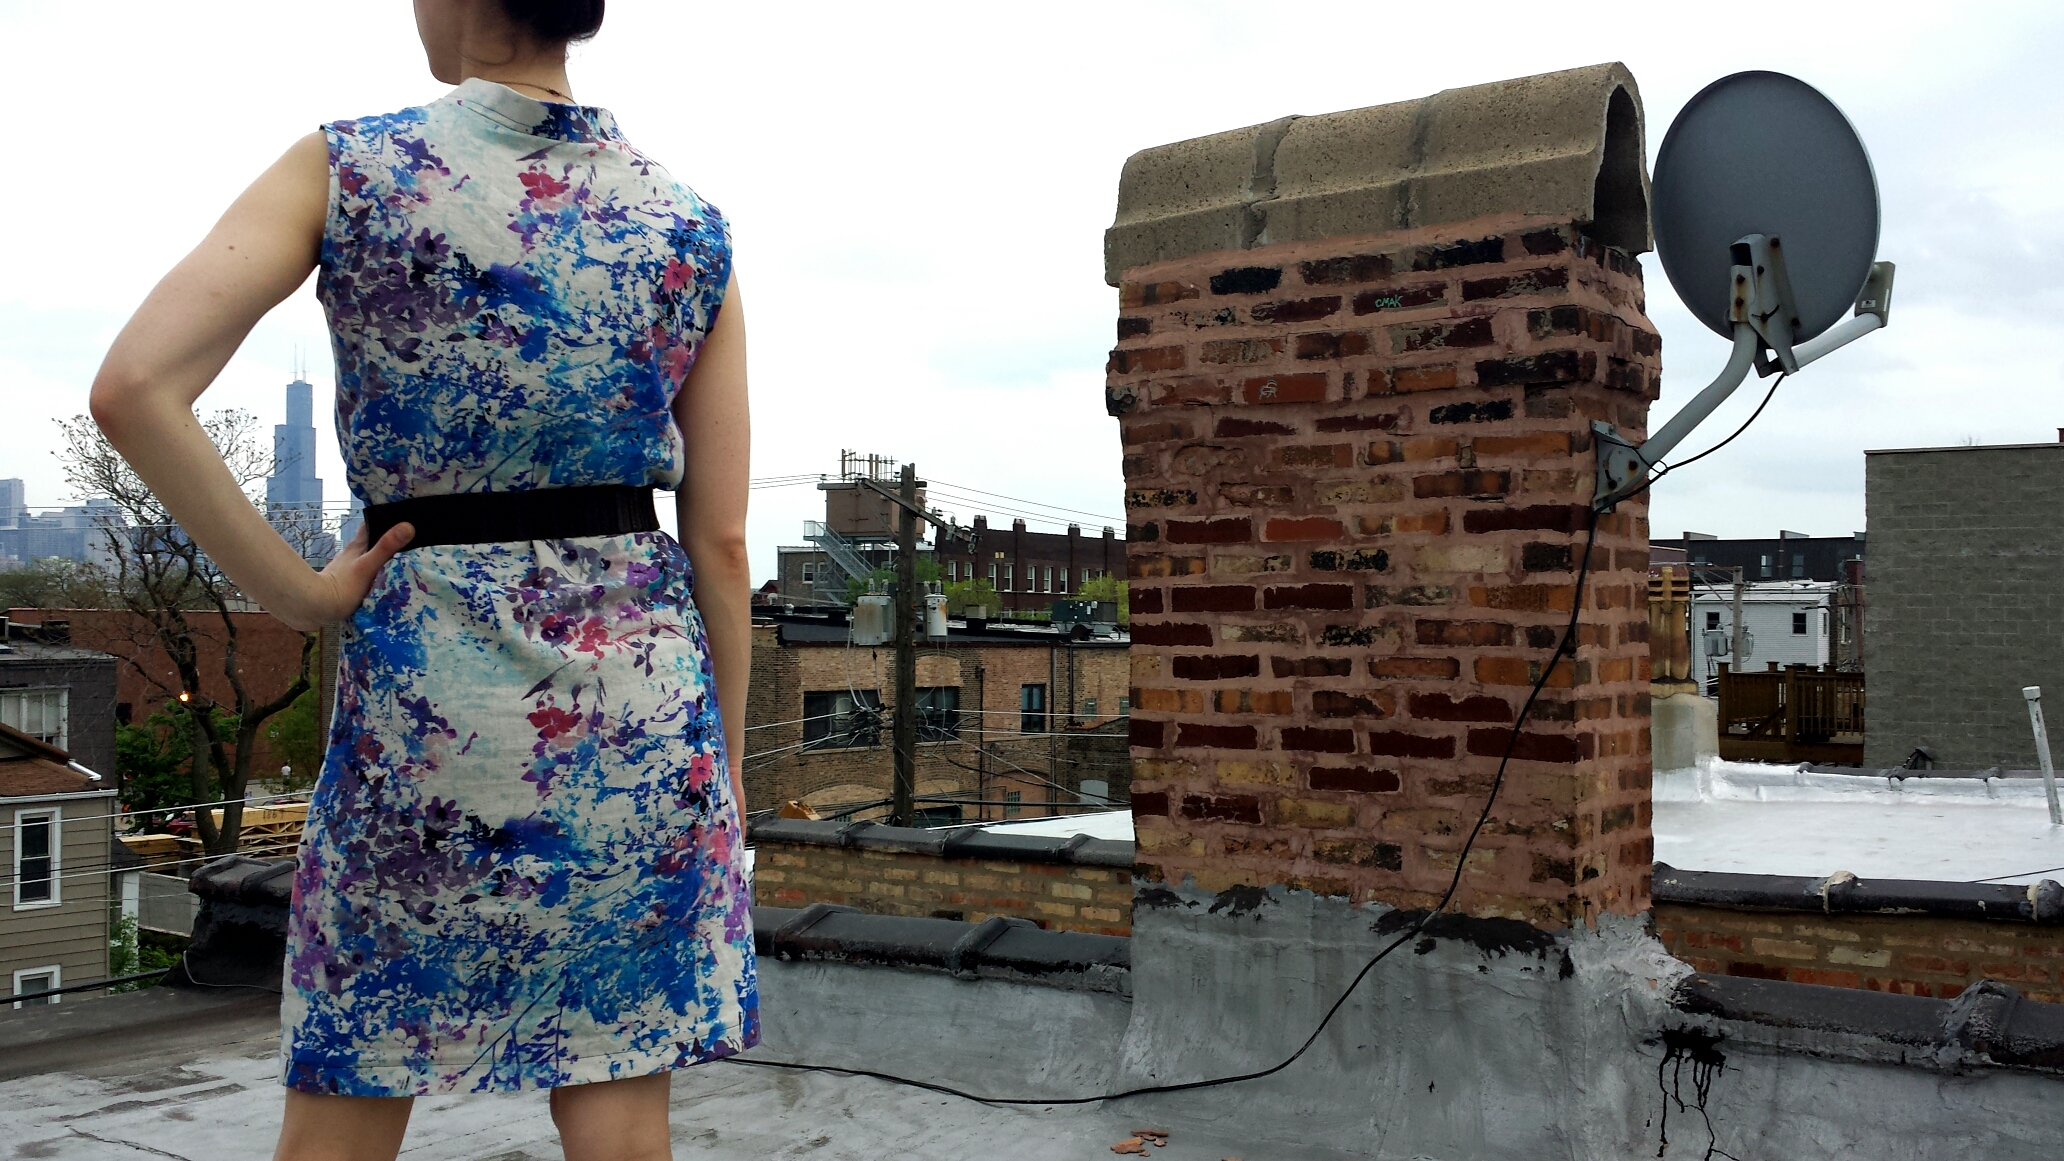
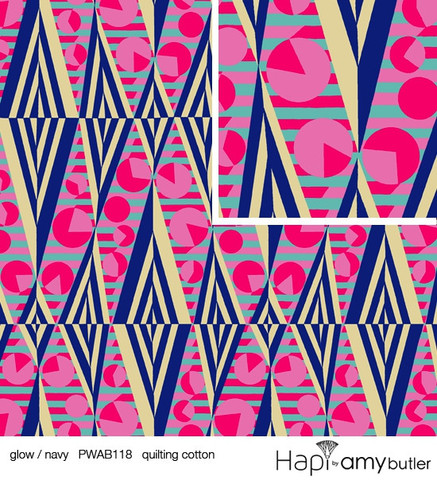
I love this Amy Butler fabric—it’s billed as a quilting cotton, and I think the added heft really helps achieve a more structured look. At 3″ shorter than the original, the length is perfect. Here, I’m wearing the top over a lightweight jersey slip dress (I’m all for the no-skin-showing crop top), but I can see pairing this with a midi skirt or even some pants or shorts if they hit high enough on the waist.

colette sorbetto crop top
blurry pic + derpy face

The one thing I dislike about this top is the armholes. Somehow, these armholes are higher than my first Sorbetto, even though I cut them from the same pattern. I wore this top around for a few hours today, and it was comfortable, but my armpits could definitely stand for some more breathing room. I’m wondering if it just feels tighter since this top is a thicker cotton, rather than a lightweight chambray? Either way, I’m going to give it another wear and then decide whether or not I want to hack those armholes down.

Now that I’ve made a couple Sorbettos, I feel like I owe it to the ladies at Colette to cough up for a non-free pattern of theirs. Any favorites?

Hope you had a relaxing holiday weekend filled with lots of fireworks and patriotic Jell-O molds!


Chambray Colette Sorbetto Top

Colette Sorbetto top

For the July installment in the Summer of PDF Sewing Patterns, I went with a pattern that cost $0. That’s right—the Colette Sorbetto top is a FREE download! If you sew, this is probably super old news. I admit that I’ve seen images of this shirt (and hacks of this shirt) floating around the blogosphere for awhile now, but I’d never actually taken the plunge myself. Am I glad I finally did? I…. think so.

After reading what felt like 10,000 reviews of Sorbetto, I decided to make a few adjustments to the pattern before cutting out my fabric. For the record, I’m 6’0, wear a size 6/8 in dresses, and have a broad back and a long torso. Using Colette’s sizing chart as a guide, I cut a 6.

Colette Sorbetto pattern

Some reviewers mentioned that the top cut into their armpit, so I cut the armhole down to where it is for the size 12. I also cut the neckline down about 1″, because I get a little sweaty/panicky with high-cut necklines. My clavicle needs to breathe, y’alls. For length, I added 2″ to the waist area and about 1/2″ to the hem.

One of the most common complaints I’d seen was that the bust darts were waaaay too high. Since my whole upper half—from shoulder to hipbone—is long, I figured I’d need to lower the bust dart. Full disclosure: For some reason, I hate tracing bust darts onto fabric. That said, I tried to trace equal darts onto both side of the bodice, at roughly where the size 12 darts lie north/south and where the size 6 darts lie east/west.

On to the actual sewing!

Colette Sorbetto top

Pros

  • The pattern was super easy to follow. The directions are spot on, and thanks to their in-house continuous bias binding tutorial, I now know how to make tons of bias tape from a measly 10″x10″ fabric leftover.
continuous bias binding
Scrap of fabric destined for the trash becomes…
bias binding
…nearly 100″ of binding. Magic!
  • The pleat! I’ve never made anything with a pleat before, and I love it. It was super easy with the help of a nice steamy iron. (Sidenote: my old starter Rowenta has a broken handle and leaks water everywhere—any tips on good irons?)
  • It requires very little fabric. I bought 1.5 yards of this Robert Kaufman lightweight chambray, and I probably have enough leftover to make another shirt.
  • Comfort. It feels like I’m wearing pajamas. (Hell, maybe it looks like I’m wearing pajamas, too.)

Colette Sorbetto top

Cons

  • It’s short. Even after adding length in the torso and the hem, it felt a little cropped. Maybe that’s just the style of the shirt. Either way, I prefer my tops a little longer, especially if they’re woven.
  • The darts are too high. Surprise! My half-assed attempt to place these darts didn’t work. In fact, one was almost a full inch higher than the other (it was barely grazing boob at this point), so I had to seam rip that sucker and re-sew it. This was after I’d already sewn the side seams. Needless to say, I’m very happy my lightweight fabric stood up the the challenge of exasperated me + a seam ripper.
  • The bottom is slightly flared. It doesn’t necessarily look bad, it’s just not my style.
  • It’s a little tight in the upper back. It’s not uncomfortable, but since the rest of the shirt is so breezy, I’d like a little more breathing room for my oversize ribcage.

Fourth of July outfit

Overall, I’d say the pattern itself is well-drafted and includes amazing directions. (Colette really lives up to it’s motto, “Patterns that teach.”) Because a lot of Colette’s patterns are vintage-inspired, I think they might run a little short for me. I like the Sorbetto I made, but it’s a little swingy at the bottom for me. With it tucked into my red-white-and-blue shorts, I might just have a Fourth of July outfit on my hands. Now all I need is a Budweiser and a ketchup stain running down my chest.

Colette Sorbetto top

Anywho, I’m excited to take another stab at Sorbetto with a different fabric, maybe trying one of the fun modifications I’ve seen (like this scalloped edge) or trying a crop top version. Has anyone tried a crop? I’m curious to know before I go wasting fabric and end up crying in a heap of leftover thread and crumpled pattern pieces. (This has never happened.)

Happy Fourth!

Grainline Studio Scout Woven Tee

sewing project grainline studio scout tee

I think it’s safe to say that Grainline Studio’s Scout Woven Tee is the darling of the indie pattern world. I’ve read rave reviews from probably 15+ bloggers at this point, most commending the pattern for its sizing, breezy fit, and ease of construction. Not to mention that it makes it really easy to highlight a fantastic print.

But, being slightly cynical, I wasn’t quite sold by the blogosphere’s near-unanimous praise. A slouchy, loose-fitting T-shirt with no bust darts (no darts at all, actually), to be made with a nonstretch woven fabric. Uhhh, I’m all for embracing this summer’s boxy shirt trend, but I was a little afraid this would veer into the “looks like you’re wearing a tent” arena. Still, at only $6.50 ($7.50 total because of dumb Illinois tax), I had to give it a shot.

Scout calls for a lightweight woven fabric. Per usual, I hit up the Needle Shop in Chicago’s North Center, where I found a beautiful Leah Duncan hyacinth fabric (not in stock anymore).

It’s 100% cotton and super soft—really an awesome print for summer with its crisp off-white color and pops of navy. I washed and dried it, then got to work laying out my PDF pattern pieces and cutting out the fabric.

There are only four pattern pieces total—the front, back, sleeves, and bias neckline binding—making the cutting process a total breeze. The pattern includes seam allowances (my last PDF pattern did not), which is another huge plus in my book. So far, so good, Scout.

scout tee bias neckline sewing

After sewing the back and front pieces together, I used Grainline Studio’s tutorial, Getting Flat Bias Necklines, to finish the scoop neck. If you haven’t visited the Grainline Studio website, check it out. Jen Beeman, the brain behind Grainline, sells her PDF patterns there and also shares super helpful tutorials and tips that complement her designs. Plus, I read an interview that revealed she lives in Chicago and likes Black Dog Gelato, the best dessert in the city/state/world. OK, done fan-girling and pining for goat cheese cashew gelato. Back to the pattern!

I finished the bottom with a simple double-fold hem. Next were the sleeves, and the directions call for a double row of basting stitches in order to gather the sleeves when attaching them to the bodice. The sleeves went in without a hitch, and I finished each edge with another double-fold hem and gave the whole thing a quick press.

At this point, I was… done?! How could it be!? Surely this was too good to be true. I’d never sewn a (wearable) shirt in less than 90 minutes, so naturally I assumed it would look wonky when I tried it on.

To be honest, I wasn’t 100% sure about it when I first tried on the finished product. I usually wear more fitted tops or ones that are cinched at the waist. This tee is kind of the opposite of all that. The garment details aren’t lyin’ when they say that “this top falls into a loose shape below the bust.” But within 15 minutes of wearing Scout, I was converted. It’s loose, yet somehow manages to skim the body in a flattering way. It’s also insanely comfortable. I can see pairing this shirt with everything from linen shorts to skinny jeans or even tucked into a pencil skirt with a belt thrown on top. This is really a great, simple pattern and I can’t wait to sew up a few more. Maybe I’ll try Jen’s Madewell Scout variation next.

Grainline Studio Scout woven tee sewing

And that’s about it! PDF pattern #2 complete for my summer challenge. If they’re all as easy and awesome as Scout, I might need to up the ante and start sewing two or three per month! Any personal favorites?


Floral Linen Shirtdress

handmade shirtdress

Living in Chicago, I’m all for changing with the seasons. In the spring and summer, that means walking everywhere, eating on patios, and drinking a lot less bourbon and lot more gin. It also means ditching boots and sweaters for—finally—all the skirts and dresses.

handmade floral linen shirtdress

But when I flipped through my closet recently, I realized that there’s a particularly large hole in my wardrobe in the form of shirtdresses. And I love me a good shirtdress, since all you need is a belt and a pair of sandals and you can go anywhere from work to a family party to a metal-blasting burger bar. (I speak from experience).

Salme Patterns 149 shirtdress pattern

Enter my first foray into sewing up a PDF pattern (also part of my summer sewing goal).  This one is Salme Pattern’s Buttonless Shirt Dress (#149), which calls for cotton, a cotton/poly blend, etc. Linen wasn’t a suggested fabric, but I couldn’t resist this abstract floral print. Plus, if there’s any fabric that begs to be worn on a hot, sticky summer day, it’s linen. Or mesh, but that ain’t happening. (Not for a shirtdress at least.)

handmade floral linen shirtdress

I took the better part of a weeknight to cut out the pattern, tape it together, cut out my size, and finally cut the fabric pieces. My next step was fusing interfacing to the collar pieces and the inner front, from the bottom of the slit to the neckline. After that I got to work sewing the whole thing up. Other than a few hitches here and there with fit, it was pretty straightforward. I’d definitely recommend this to a beginner/intermediate seamster.

back of the shirtdress

A few things I’ll keep in mind for next time:

  • The sizing runs large. Even if your measurements match a particular size, I’d suggest going down one. I’m usually a US 6/8 in dresses, and my measurements matched up to a US 10/UK 12. It was definitely too big, and I had to compensate by taking it in after I’d sewn the side seams.
  • The collar directions are a little confusing. My collar turned out slightly unfinished at the very edges, and I’m still not sure why. Next time I’ll do some more research about attaching standup collars, and hopefully I’ll have a more polished end product.
  • I have a long torso, so  I added about 1 inch to the pattern at the waist before cutting out the fabric. It didn’t seem entirely necessary, but I think it helps if you’re going to pair this with a belt (which I always do).
  • Since I added length at the waist, I figured that meant I should place the belt loops an inch lower. WRONG. For whatever reason, the PDF directions that place the belt loops at 7 7/8″ below the armhole are pretty spot on.
  • I opted for a brown leather/elastic belt, worn over the belt loops. The matching fabric belt works, too, but I like the edge of this darker color to balance the pretty floral.

handmade shirtdress on the rooftop

Luckily, Monday’s storm held off long enough to snap some photos from the top of my building. There’s nothing like an 80º day on the roof to drink in that ridiculous Chicago skyline. (Even with a few trees in the way).

Anywho, have any of you sewn a Salme Pattern before? I’d love some suggestions for great PDF patterns—leave a comment if you’ve found any gems!

Springtime Quarter-Circle Skirt

Circle skirts are the epitome of Sewing 101. But since I seem to do everything backwards, I have nary a full- or even a half-circle skirt under my belt. Naturally I decided to remedy that on Easter morning, just hours before a family party. Ahem. I was mentally prepared for a disaster that might result in me wearing dirty jeans and a Mars Volta T-shirt on Easter afternoon, but miraculously my new skirt turned out pretty well.

spring quarter-circle skirt

I should start by mentioning that this isn’t a standard circle skirt. It’s a quarter-circle skirt, which I like to think of as the flirty, yet sophisticated cousin of the full circle. It falls like a classic A-line but with a bit more movement and flow. I initially wanted to make a half circle, but it turns out that the Amy Butler fabric I fell in love with at The Needle Shop comes in 44″ wide bolts, which just wouldn’t leave enough fabric for anything but a quarter. (Unless you have like a 20″ waist or something.)

Amy Butler Hapi fabric

To figure out how much fabric I needed and how to cut it, I used this fantastic Circle Skirt App from By Hand London. You simply choose your desired fullness and length, plug in your waist measurements, and click “Do the maths, please!” (Sidenote: Do British people say “maths”? Am I an anglophile for thinking this is kind of charming and not dumb?) Anywho, the app spits out your waist radius and the fabric length required—seam allowances included. It also tells you whether or not your skirt will fit onto 45″ or 60″ wide fabric.

circle skirt measuring

After marking my waist radius and fabric length, I drew the arcs using a janky handmade compass—also known as a piece of twine tied around my marking pencil. I then used a combination of this youtube tutorial and this By Hand London tutorial to sew up the skirt, insert the invisible zipper, and create and attach the waistband. I went for a lapped waistband with a hook-and-eye closure.

lapped waistband

To finish up, I sewed a narrow hem all the way around. If you’re not familiar with hemming round edges, check out this super helpful Coletterie tutorial.

As a whole, I really love this fabric and the fall of the quarter circle. Next time I make a circle skirt (and there will be a next time), I’m going to add another 1″ or so to my waist measurement. After a big family-style meal, I was mildly afraid that my hook-and-eye was going to burst off and get lost in the lemon meringue pie. Luckily that didn’t happen.

quarter circle skirt

Hope you had a relaxing holiday filled with many sweets and salty meats! Have you ever made a circle skirt? Any suggestions?