
My boyfriend’s wardrobe consists almost entirely of slim-cut button-down shirts, which look great but don’t last forever. A few of the older ones have started fraying and two of them have developed the dreaded elbow hole. Since it’s summer (THANK GOD) and elbow patches don’t sound too appealing right now, I decided to chop off the sleeves and hem them so the shirt’s still wearable.
I found this simple tutorial from The Mother Huddle, and the process is nearly as straightforward as it seems.

First, find an existing short-sleeve shirt to act as your guide.

Using a rotary cutter, cut parallel to the line of the short sleeve, leaving an extra 1.5″ for hemming purposes.
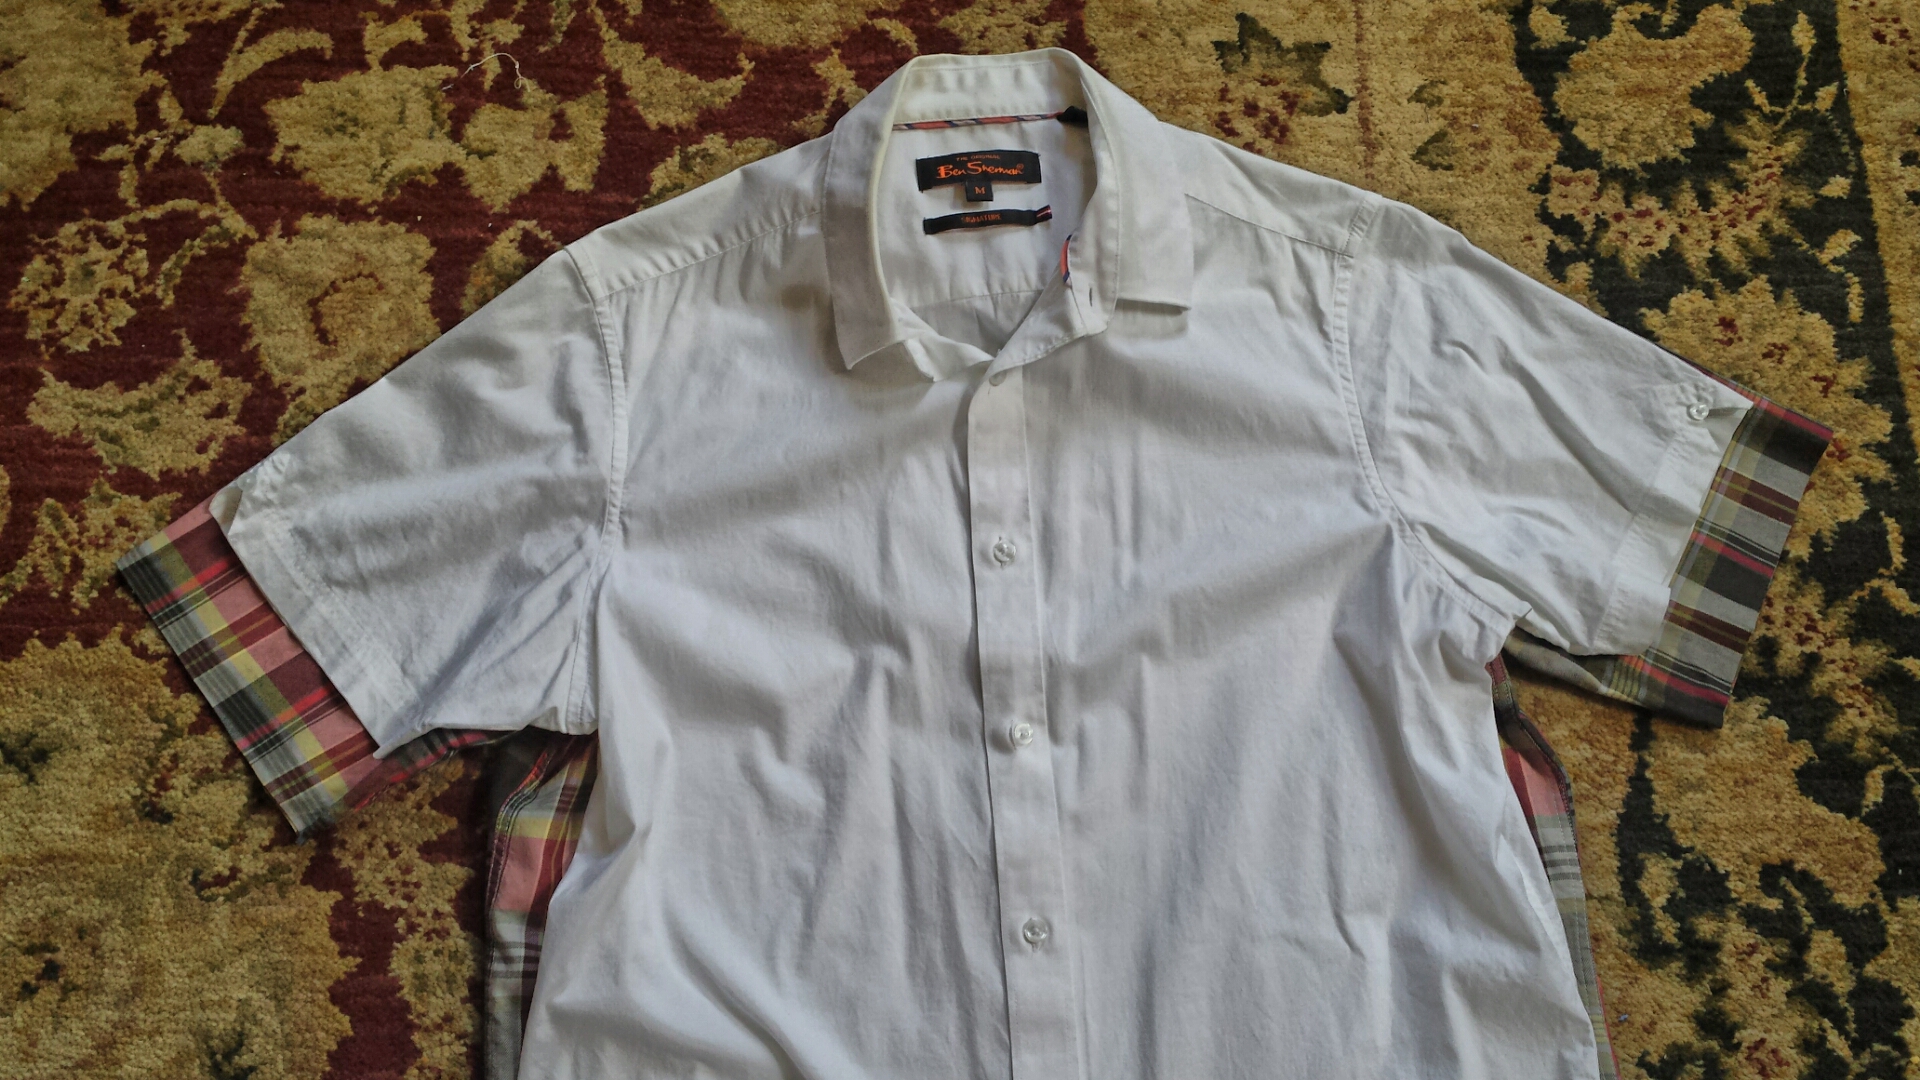
You should be left with something like this. (Sorry for the clashing floral carpet/plaid. My eyes!)
Fold the raw edge of each sleeve up 3/4″. Give this fold a quick press so it stays uniform and doesn’t unfurl.

Fold the sleeve edge up again another 3/4″ and press thoroughly. You might want to try the shirt on at this point to make sure the sleeves are even.
And now for the slightly tricky, but manageable part: stitching around the cuff without having the seam pucker. For whatever reason, there was a little extra fabric leftover the first time I hemmed the sleeve, causing it to pucker where the stitches ended. After ripping those suckers out, I tried again. I avoided the seam pucker the second time by starting the stitch about 1/4″ past the underarm side seam. That way, the small amount of leftover fabric can be folded directly under the side seam, hidden from view.
Keeping that in mind, back to The Mother Huddle’s directions:
On the right side of the sleeve (from the starting position mentioned above), sew a row of stitches at 5/8″ from the bottom of the cuff. Take your time with this, keeping the stitches uniform all the way around. Sew another row at 3/4″ from the bottom. Don’t forget to backstitch! Press the finished double-row stitching. Repeat for the other arm.

The hem should look something like this.

And it’s really that simple. No more throwing away holey shirts or using them as expensive dish rags. Happy upcycling!

Great idea! After reading about PDF patterns (I had never heard of this for sewing) I did a search and also discovered all the “vintage” patterns on the web. Interesting! Took me back…keep sewing and posting!
LikeLiked by 1 person
Fabulous! Two of my favorite long sleeve shirts now have the dreaded elbow holes on the left sleeve. I’ve been resorting to roll up the sleeves in order to hide the hotels. Besides that they are in great shape. I was about to drop them in the trash with teary eyes. Thanks for the advice although I will seek out a good dry cleaner who also does alterations. 🙂
LikeLike
[…] this tutorial I began the process of turning this long-sleeved shirt into a short-sleeved one. I then removed […]
LikeLike
When you turn it under it’s always to small to stitch flat. What’s the answer?
LikeLike
Hi Nora, I’m not sure what you mean. Do you have a picture?
LikeLike
The answer is to stitch in a bit on the sleeve to make it slightly more narrow and at the point where you are folding the new hem, pivot back out at the same angle. The idea is to make the top of the hem and the sleeve the same size. Look at any short sleeve shirt pattern from the 60’s or early 70’s and you will see that that pivot is what eliminates the pucker.
LikeLike
Hi, what do you mean by “pucker” exactly? Also, the directions are to fold the newly cut short sleeves “up” and in the picture with the iron, they are folder outward (folded cuff is visible.) But then later after the stitching, the cuff edges are no longer visible (i.e. it appears that they were folded up and INWARD.) Can you please clarify? Thanks!
LikeLike
Hi AJ! By “pucker” I mean that the fabric will bunch a bit when you get to the last few stitches of the hem. Sleeves are wider at the top than the bottom when you cut them this way; a short-sleeve shirt pattern is normally drafted to accommodate the taper of the hem. See this post for an example: https://threadtheoryblog.wordpress.com/category/fairfield-button-up/; this thread also has some great comments: https://sewing.patternreview.com/cgi-bin/sewingclasses/board.pl
As for folding the pressed hem up, you should fold it inward toward the inside (wrong side) of the garment. It might be tricky to tell from the photo, but that’s what I did. The fabric looks almost identical on each side! I wrote this post a few years ago when I was still relatively new to sewing, and I’m going to update it soon with some clarifications. Thanks for the comment!
LikeLike